In this article I will briefly explain how I built a foot controller for the GYS Protig 201 AC/DC TIG welder. Previously I’ve already talked about the connector for the foot pedal here.
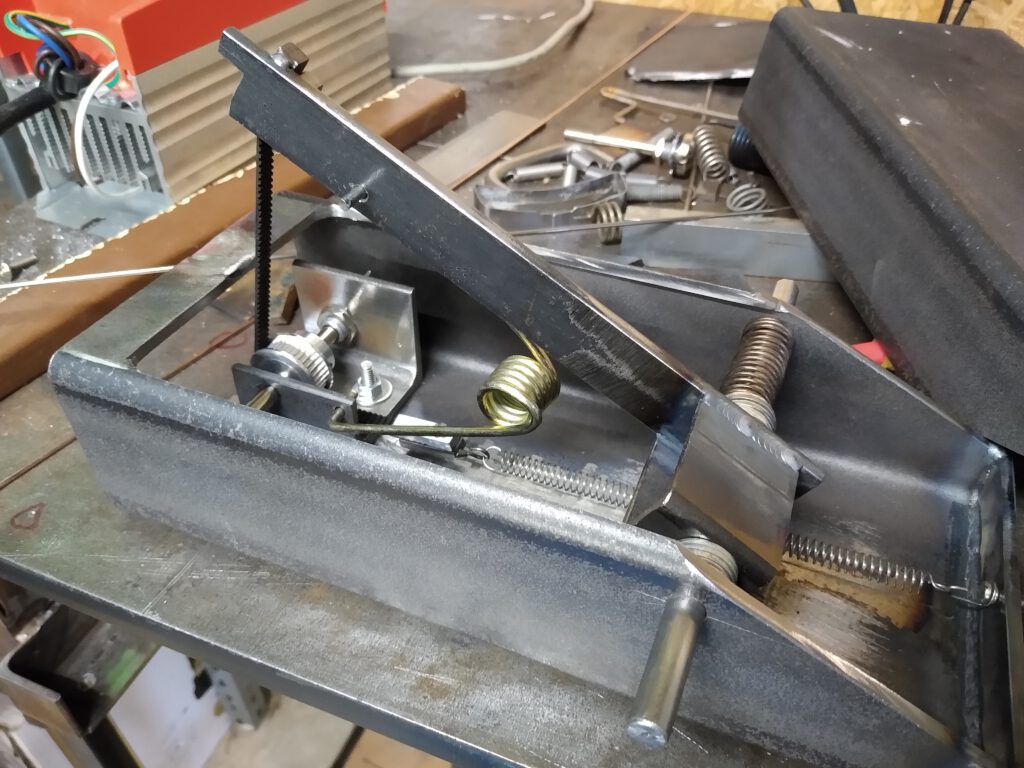
The (almost) finished pedal looks like this:
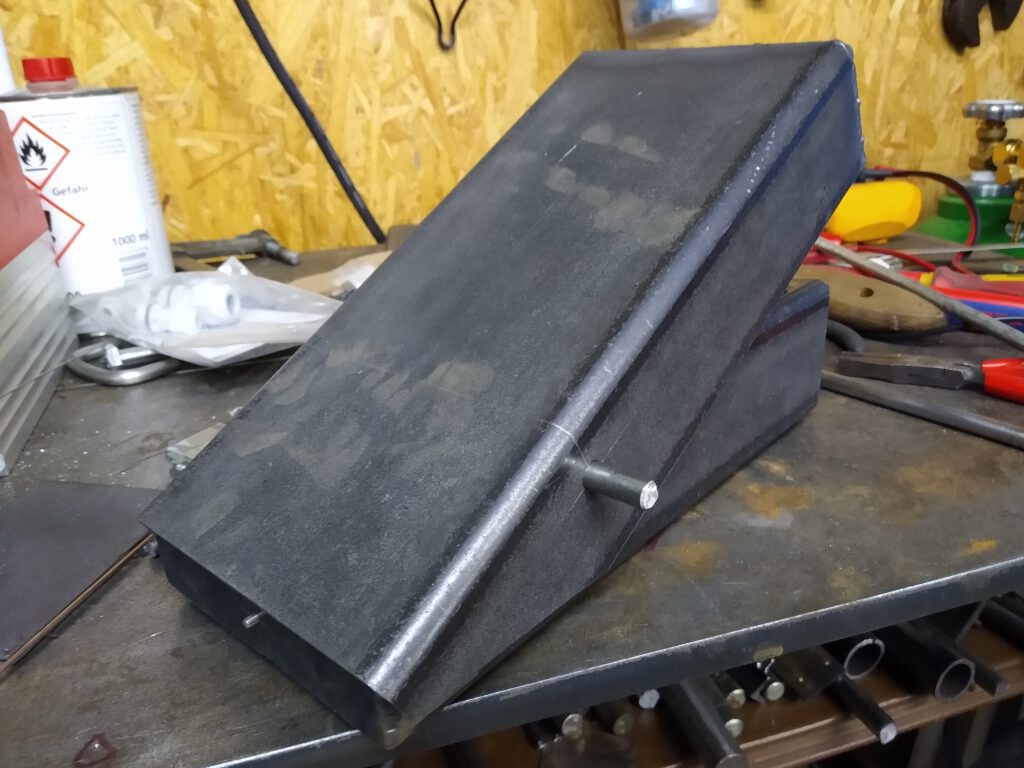
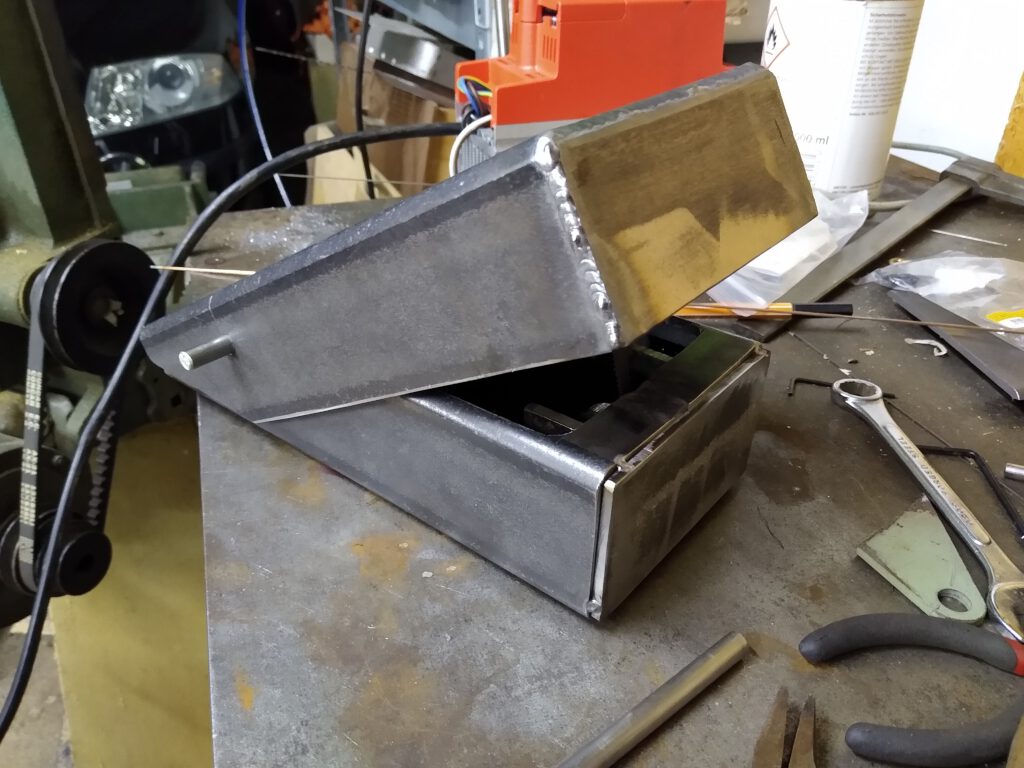
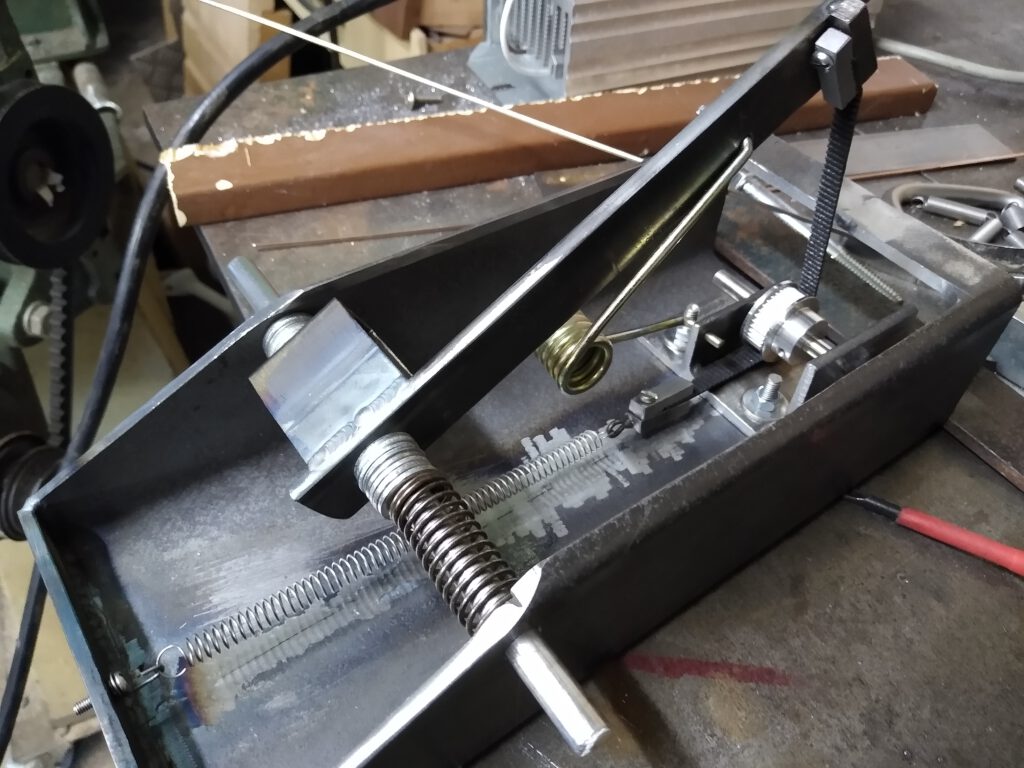
For the case or the body of the pedal I used a piece of rectangle steel tubing. To make the bottom part fit inside the cover I cut out a narrow strip and welded it back together. There’s no exact plan for this build. Most of the measurements and angles I just eyeballed. You want to make sure that the pedal has enough travel so you have good resolution. Otherwise small movements of the foot controller will change the amperage a lot.
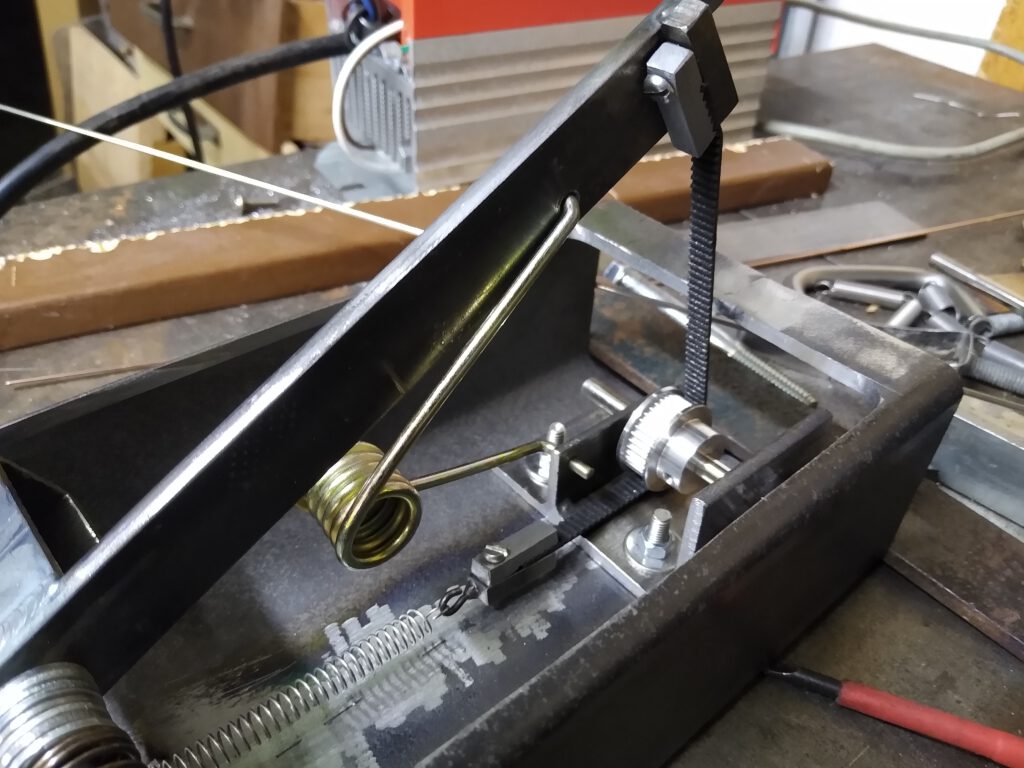
The basic idea of this construction is to have a potentiometer with a pulley driven by a timing belt that’s attached to the top part of the pedal. This requires two springs. One spring is to preload the belt and take up the slack when you press the pedal down. The other (stronger) spring acts against the foot pressure and resets the pedal when you lift you food off the pedal. It’s a bit finicky to find the rights springs with the correct range and force. I bought a whole bunch of different tension springs for this project. The torsion spring was a lucky find. So you have to keep your eyes open and maybe collect springs you come across.
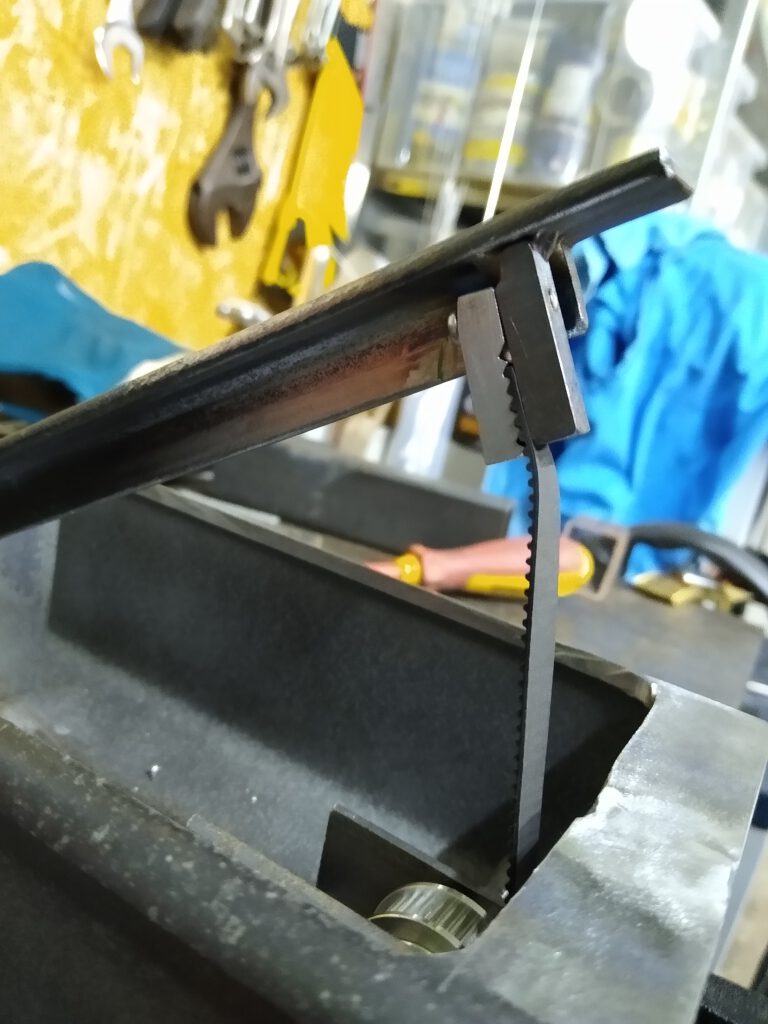
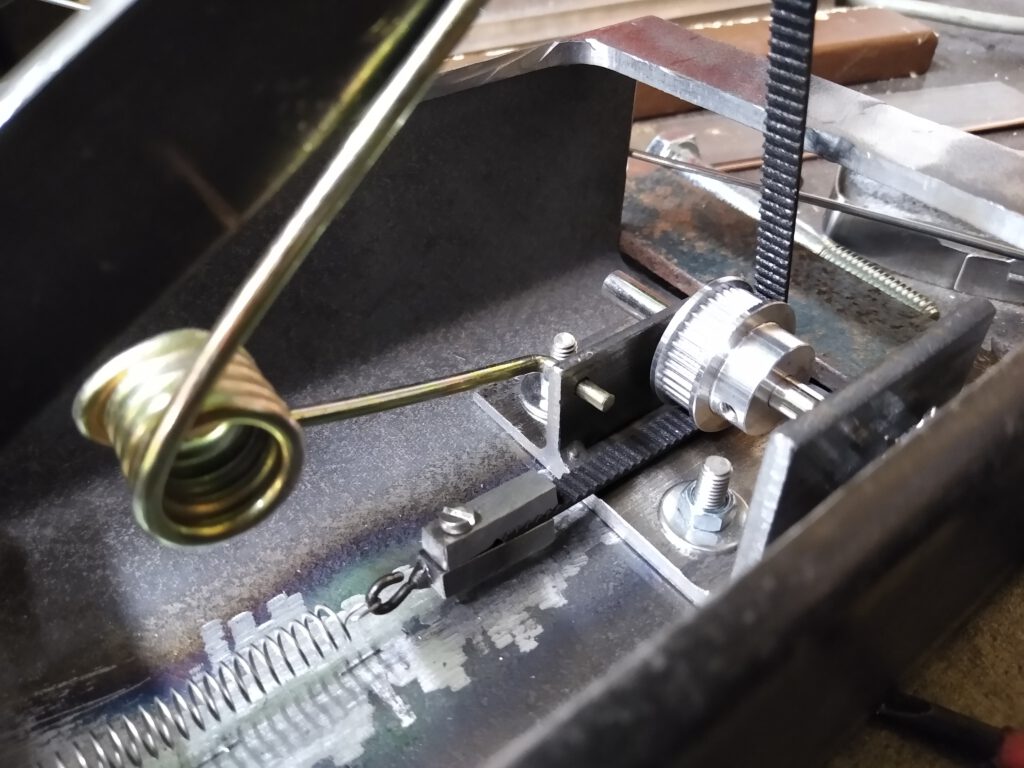
To hold on to the belt on both ends I made little screw clamps. There have been a few changes during the construction so some pictures show earlier versions. Later I added a bearing for the potentiometer shaft. The reason for having a lever just below the cover of the pedal is that you can initiate the arc without turning the potentiometer. That way you can start the arc on the lowest possible amperage. Besides that it makes the already difficult assembly of the pedal a little easier. The switch isn’t ideal for this application but it is what I had around. Ideally you would want a switch with a snap action. The downside of that is that you need to balance the spring force of the switch with the other springs. Otherwise you will turn the potentiometer before the arc starts.


In the end I added some caps to the back side of the pedal. While it closes the pedal up somewhat it doesn’t make it exactly dust proof. Time will tell how susceptible the pedal is to dust. All in all it works good enough for me. Is it any cheaper than buying a commercial TIG pedal? Maybe. But I learned a bit building this, it’s pretty sturdy and it’s certainly fixable should something break.