I built a second, smaller kiln very similar to this. You can find it here.
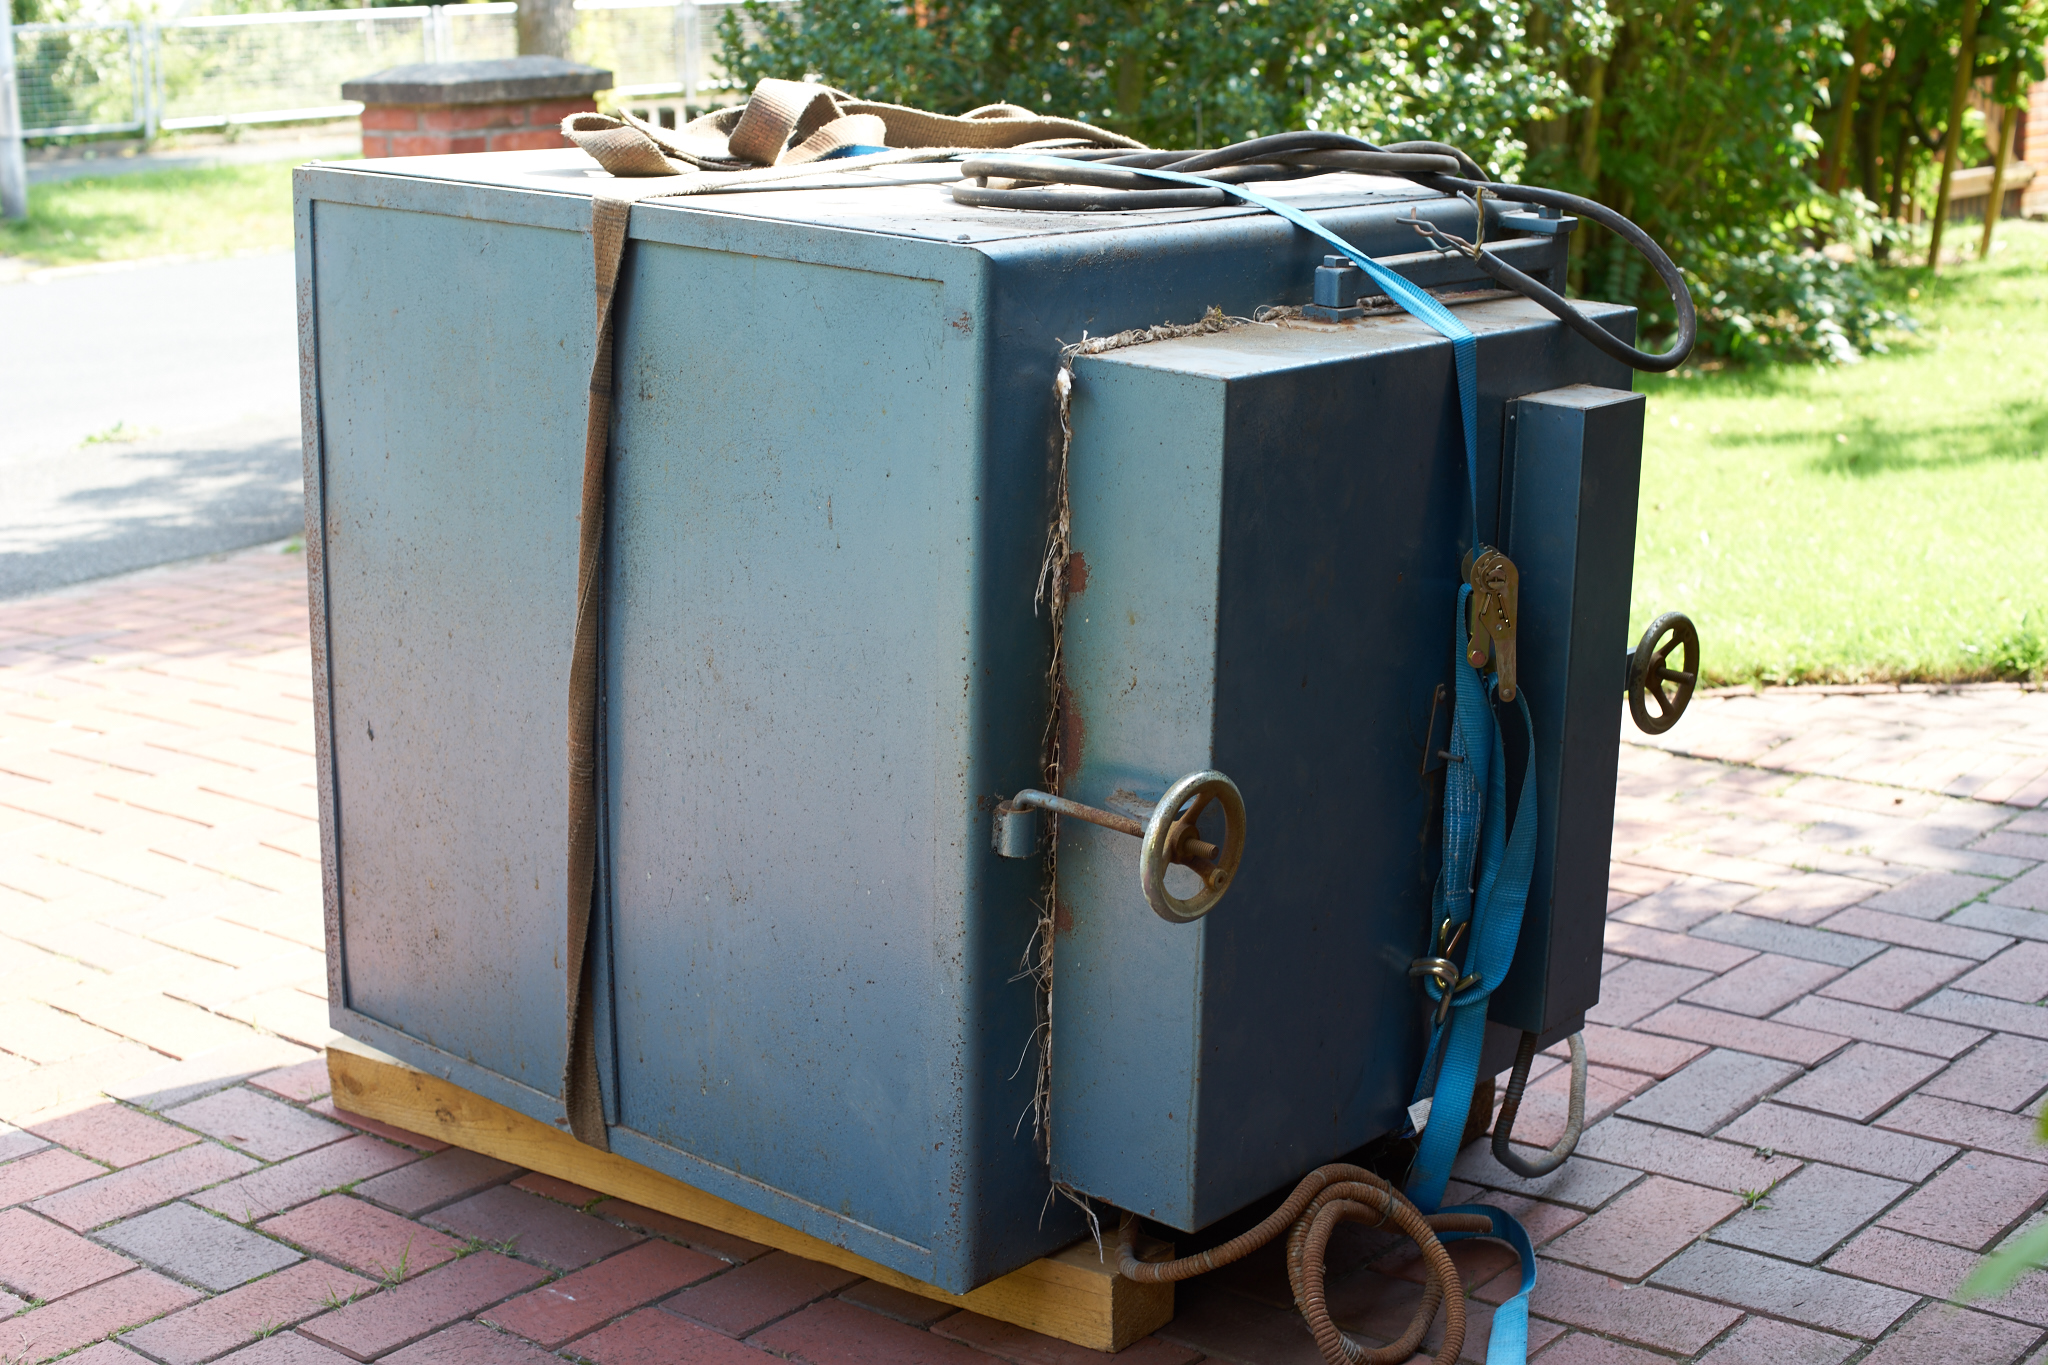
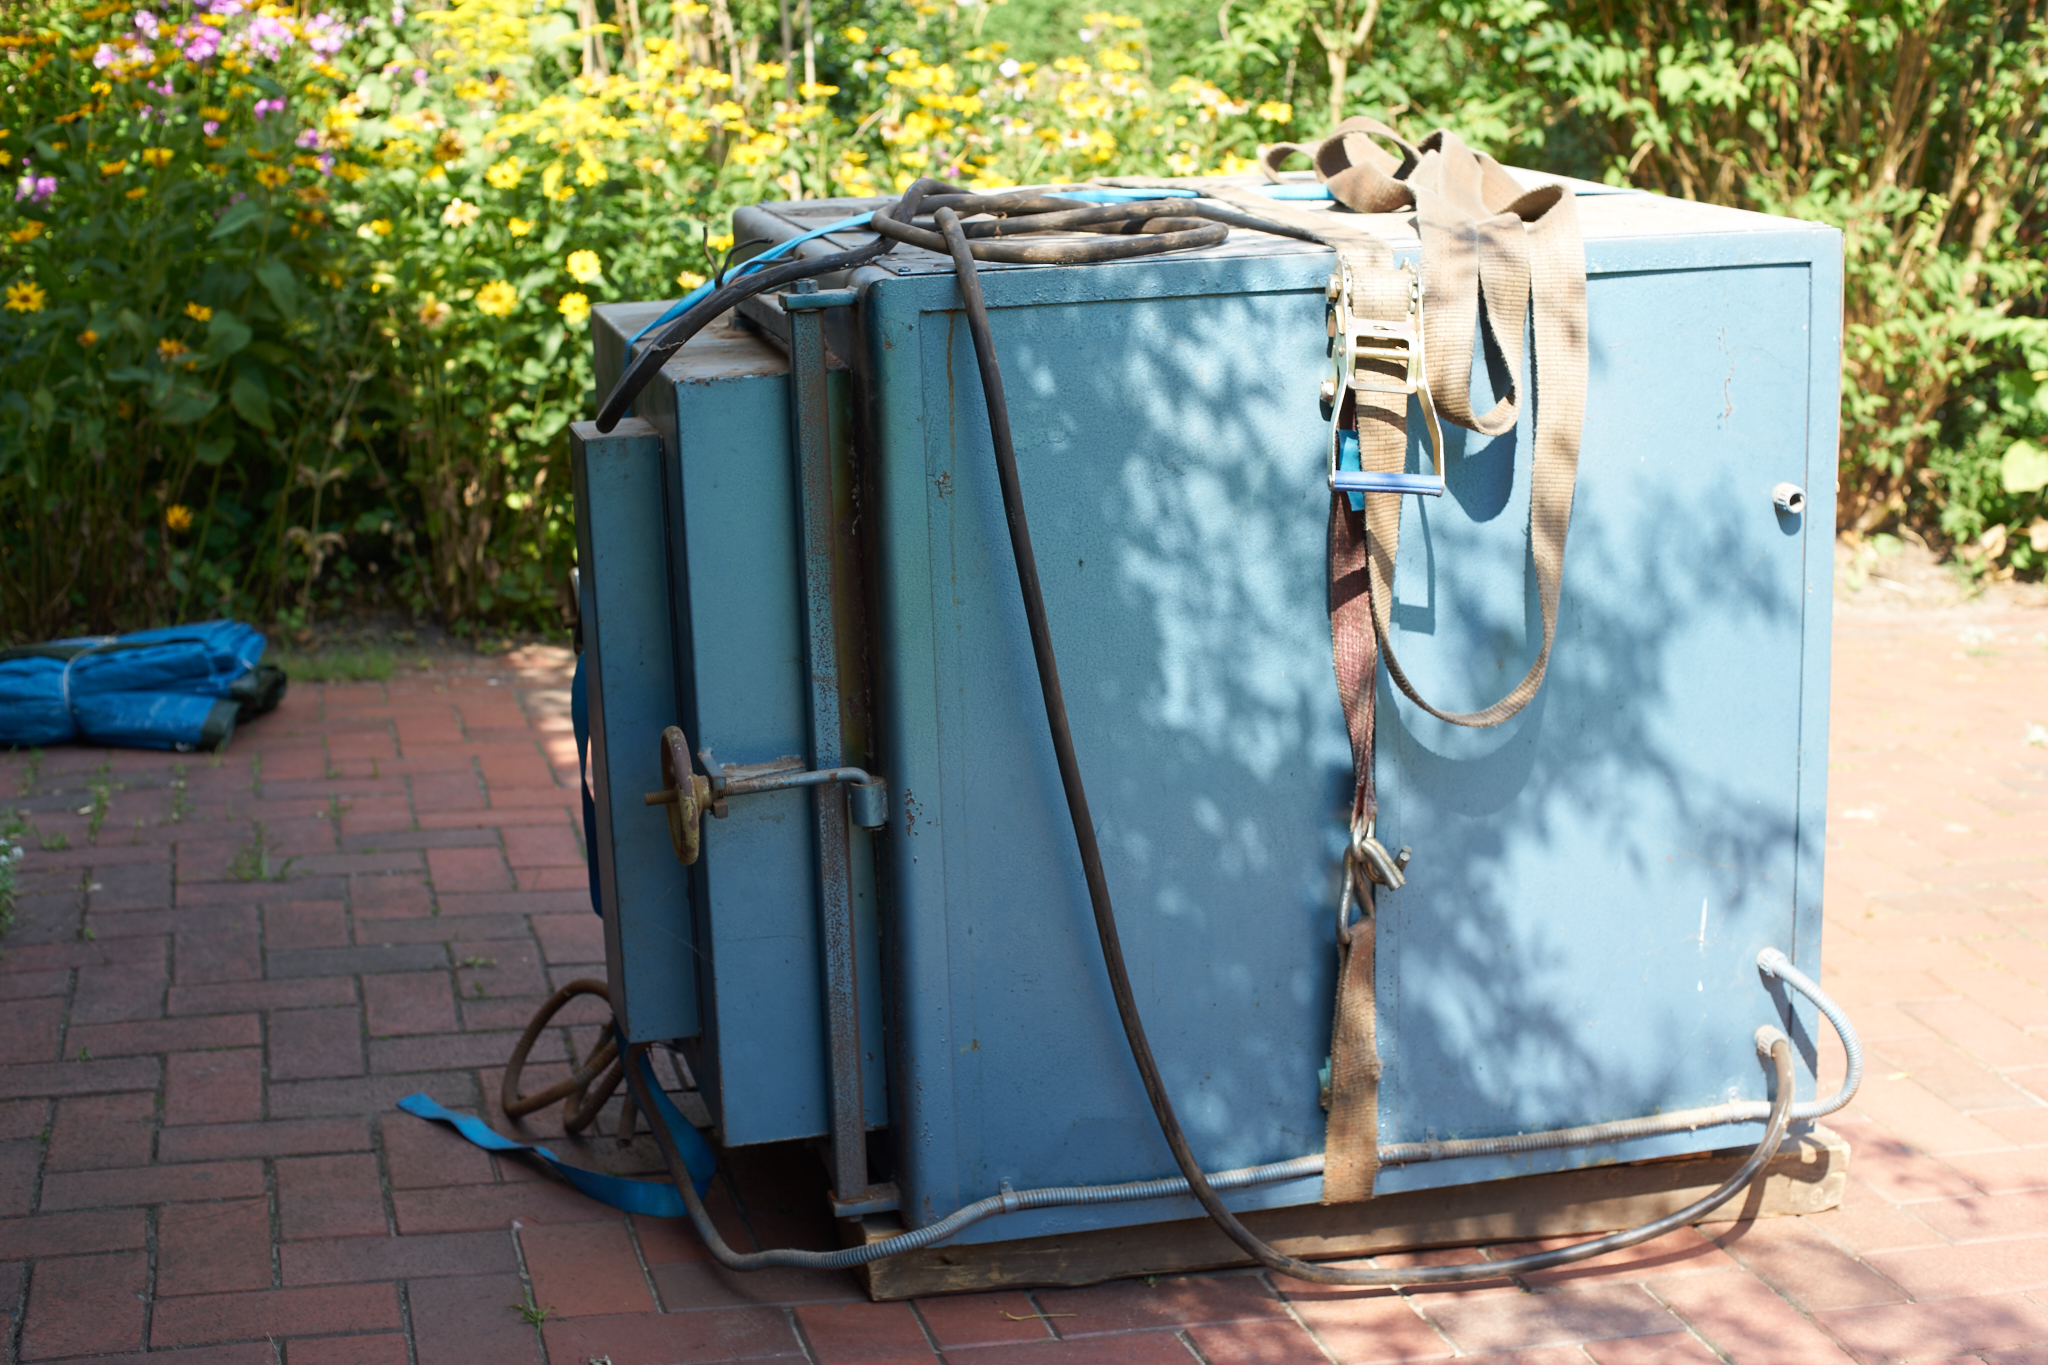
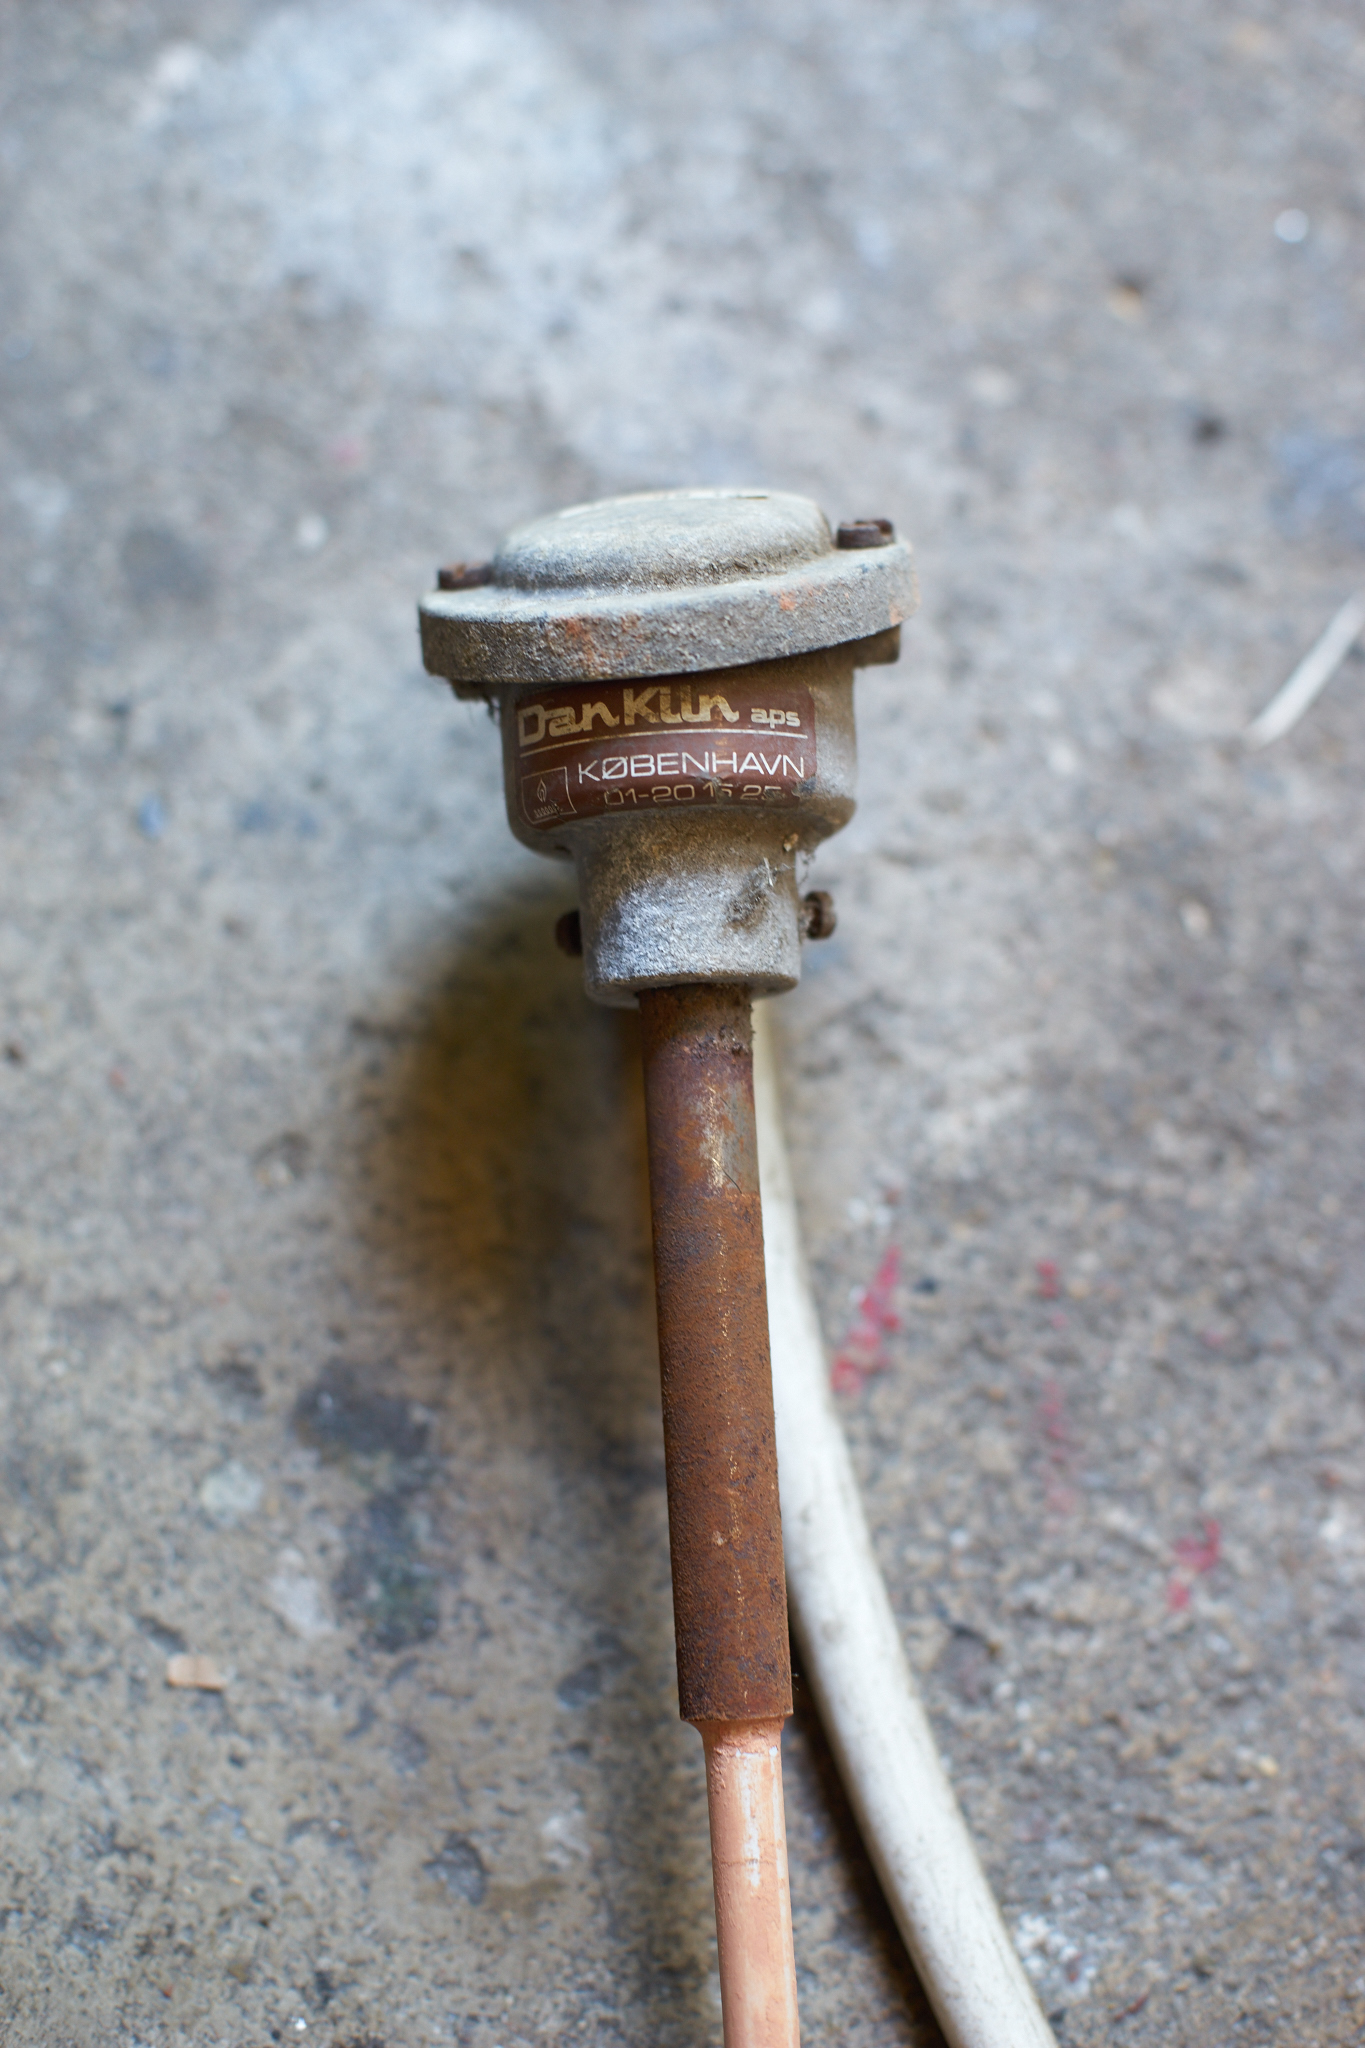
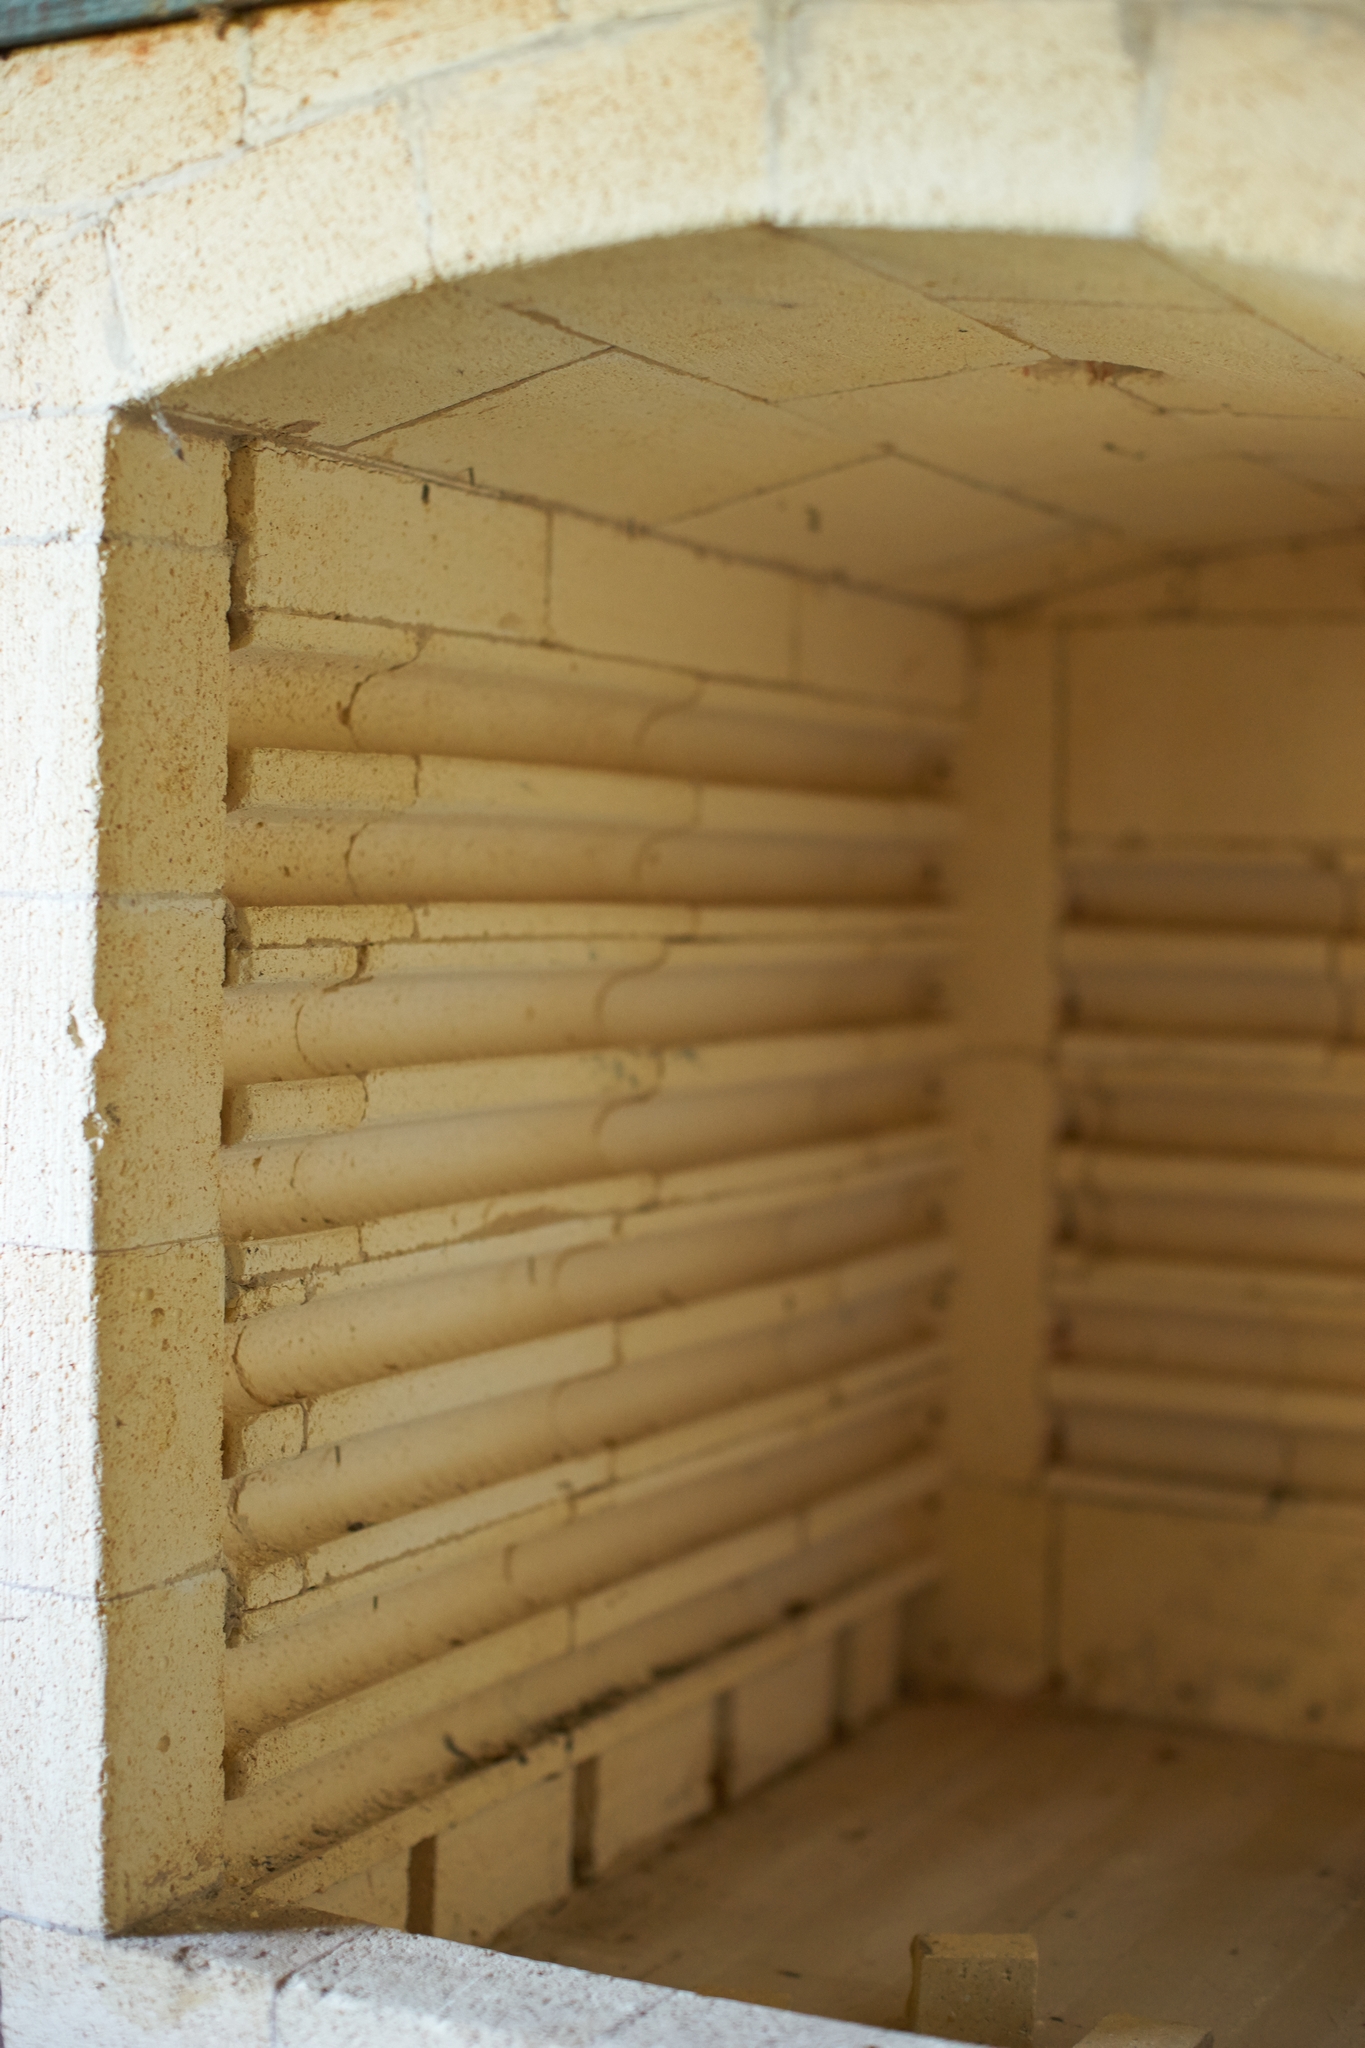
Years ago I picked up an old electric kiln for free. The insulation wasn’t bad although the kiln was made in the 1970s by a company called DanKiln from Copenhagen. The kiln was made of insulating firebricks on the inside, a layer of vermiculite boards and another layer of red firebricks on the outside. The The roof arch was made from firebricks with a second layer of loose vermiculite insulation on top. Some of the heating elements were broken and I didn’t have the means to connect it to 3-phase power that would have been required to run it. From the beginning my plan was to use it with propane burners. I started out with a weed burner that I used for a Simon Leach raku type kiln. It kinda worked but I had problems with the atmosphere. The walls of the kiln were very thick and I had trouble making holes for the burner and the flue. Also I wanted to have a downdraft or at least a crossdraft kiln to improve efficiency. My burner port was too small and when I turned up the gas during the firing I went into reduction unintentionally.


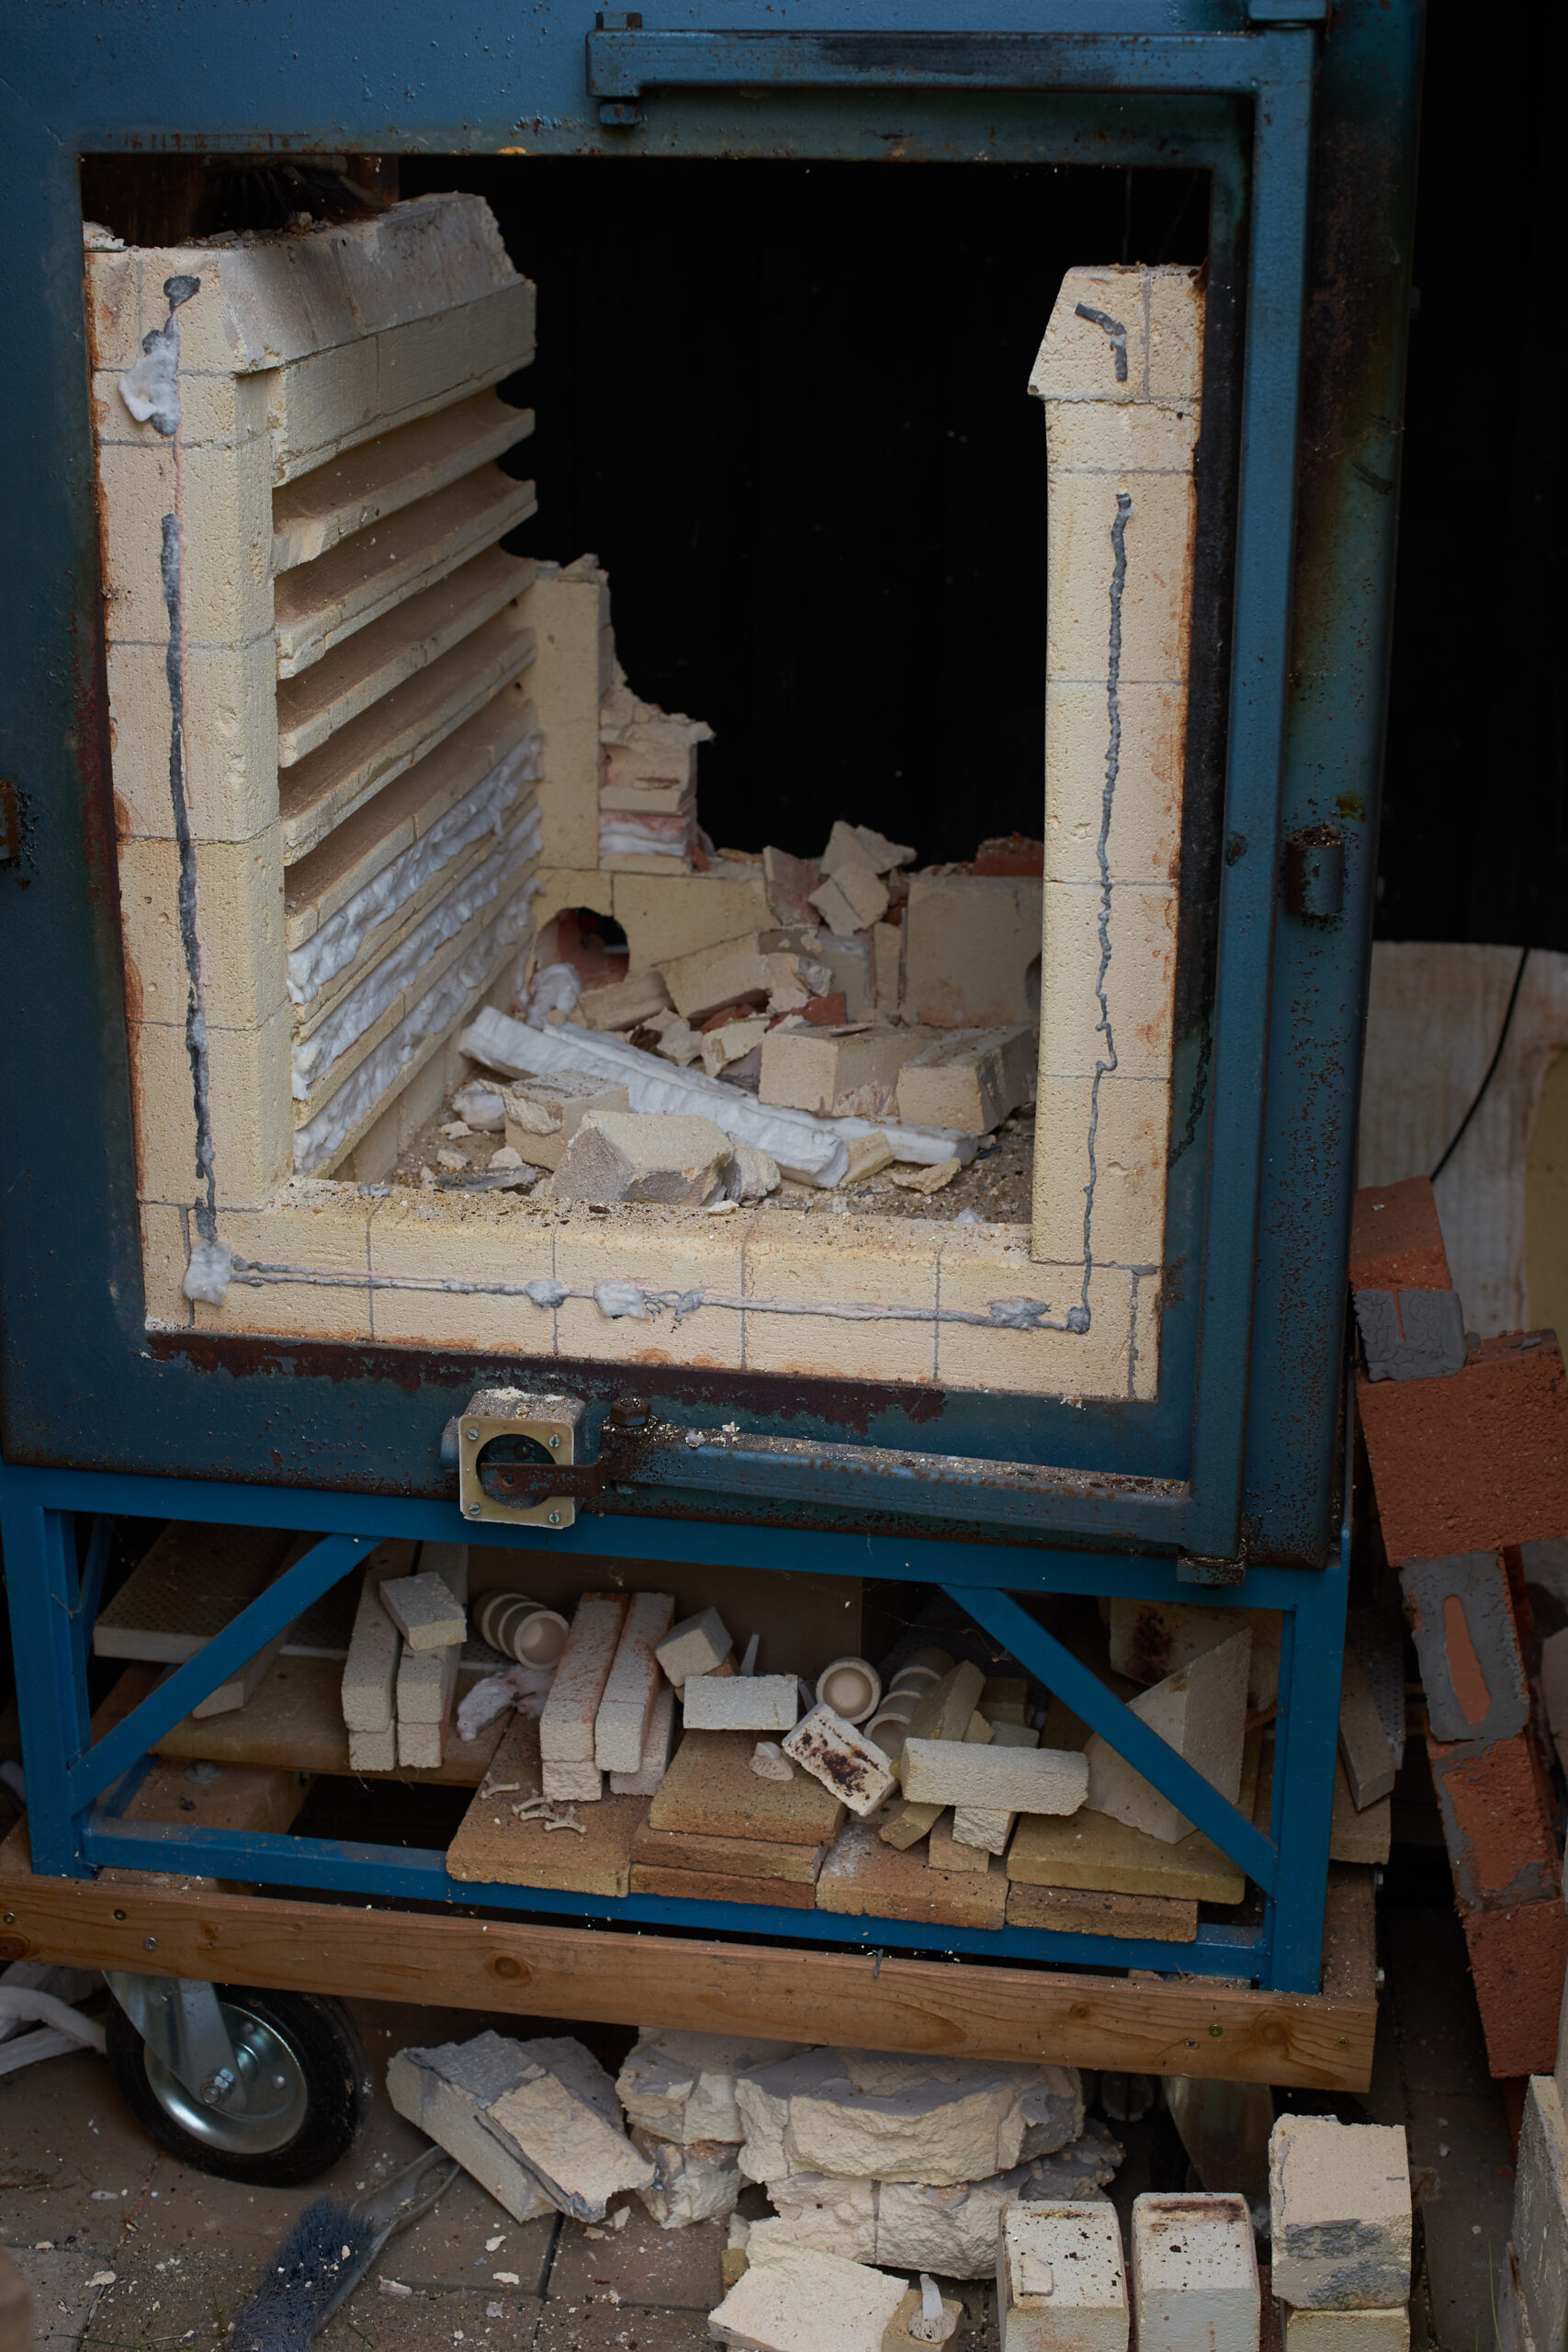
Breaking down the kiln
After a few years I finally decided to break down the kiln and build something new. It hurt me to destroy the kiln but at least I was able to reuse some of the material. I also used the steel construction of the kiln. The door was too small though and I had to fabricate a new one.
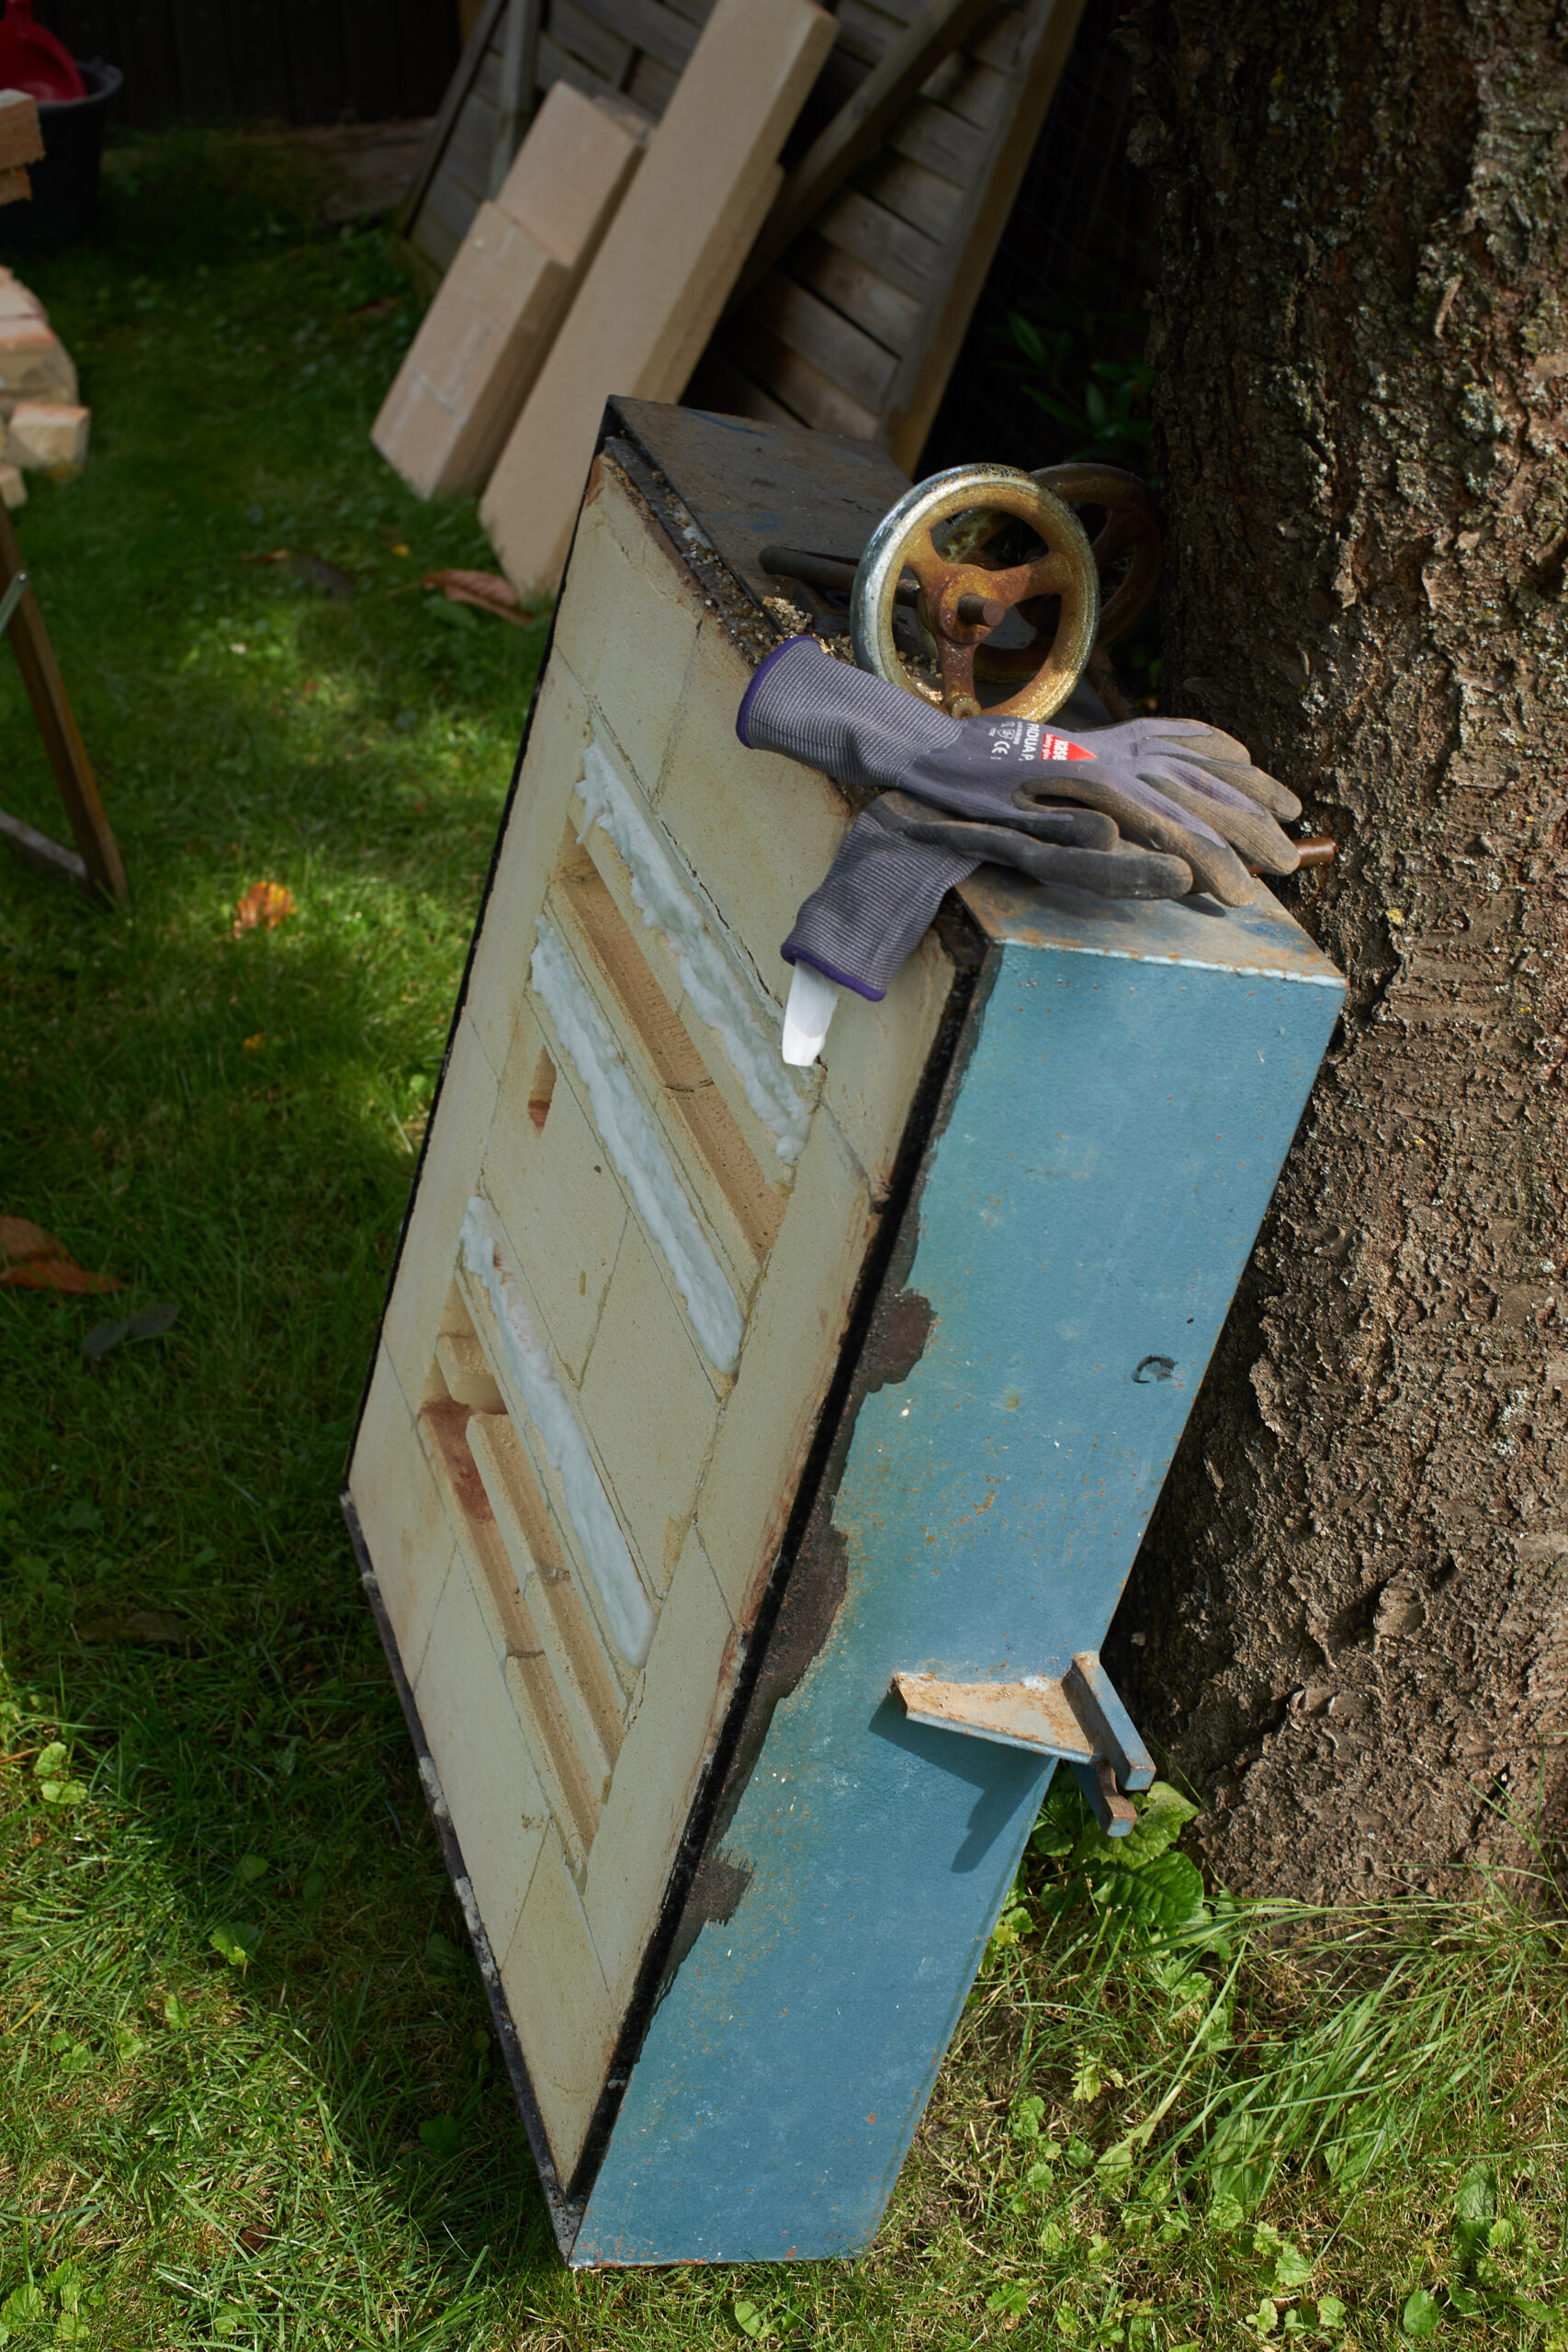
Fabricating a new door and side walls
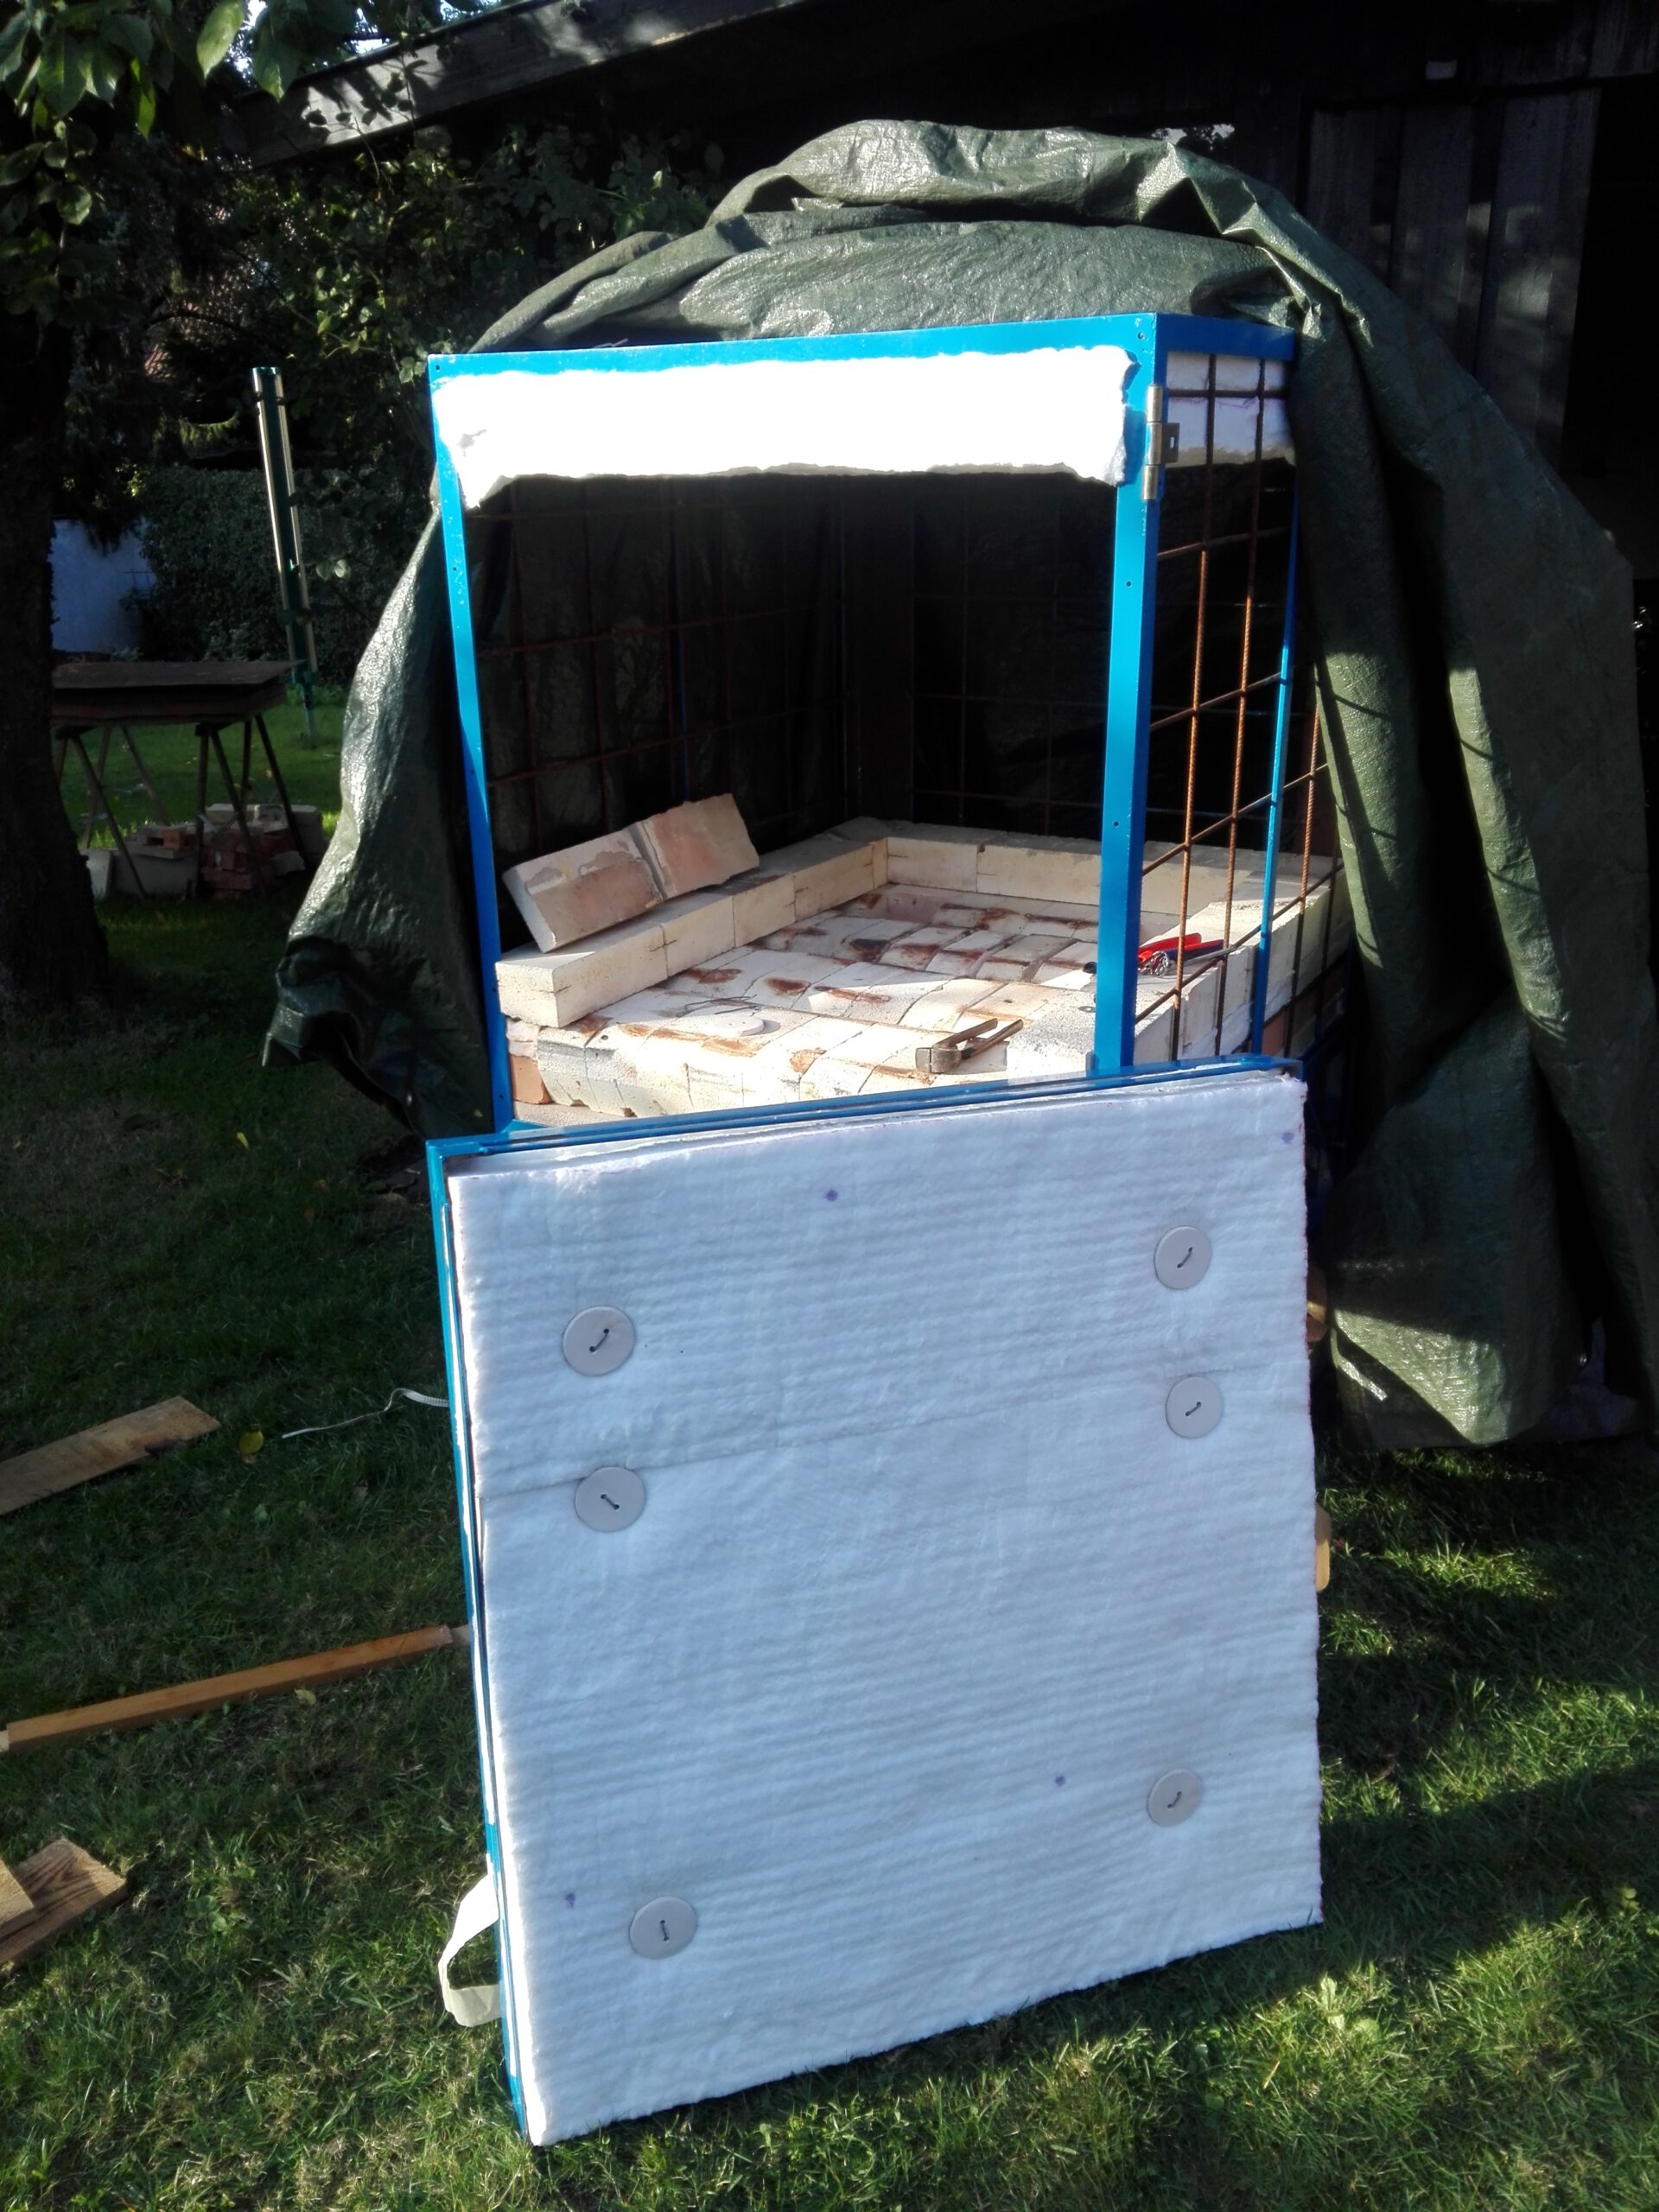
After removing all the bricks and other insulation I first had to close the hole in the floor of the kiln that I previously cut as a burner port. Instead of having one burner port in the middle there will be two burners, one on the left and one on the right. I was able to patch the sheet metal with a TIG welder. Into four sides of the frame I welded rebar mesh to have something to tie the ceramic fiber blankets to.
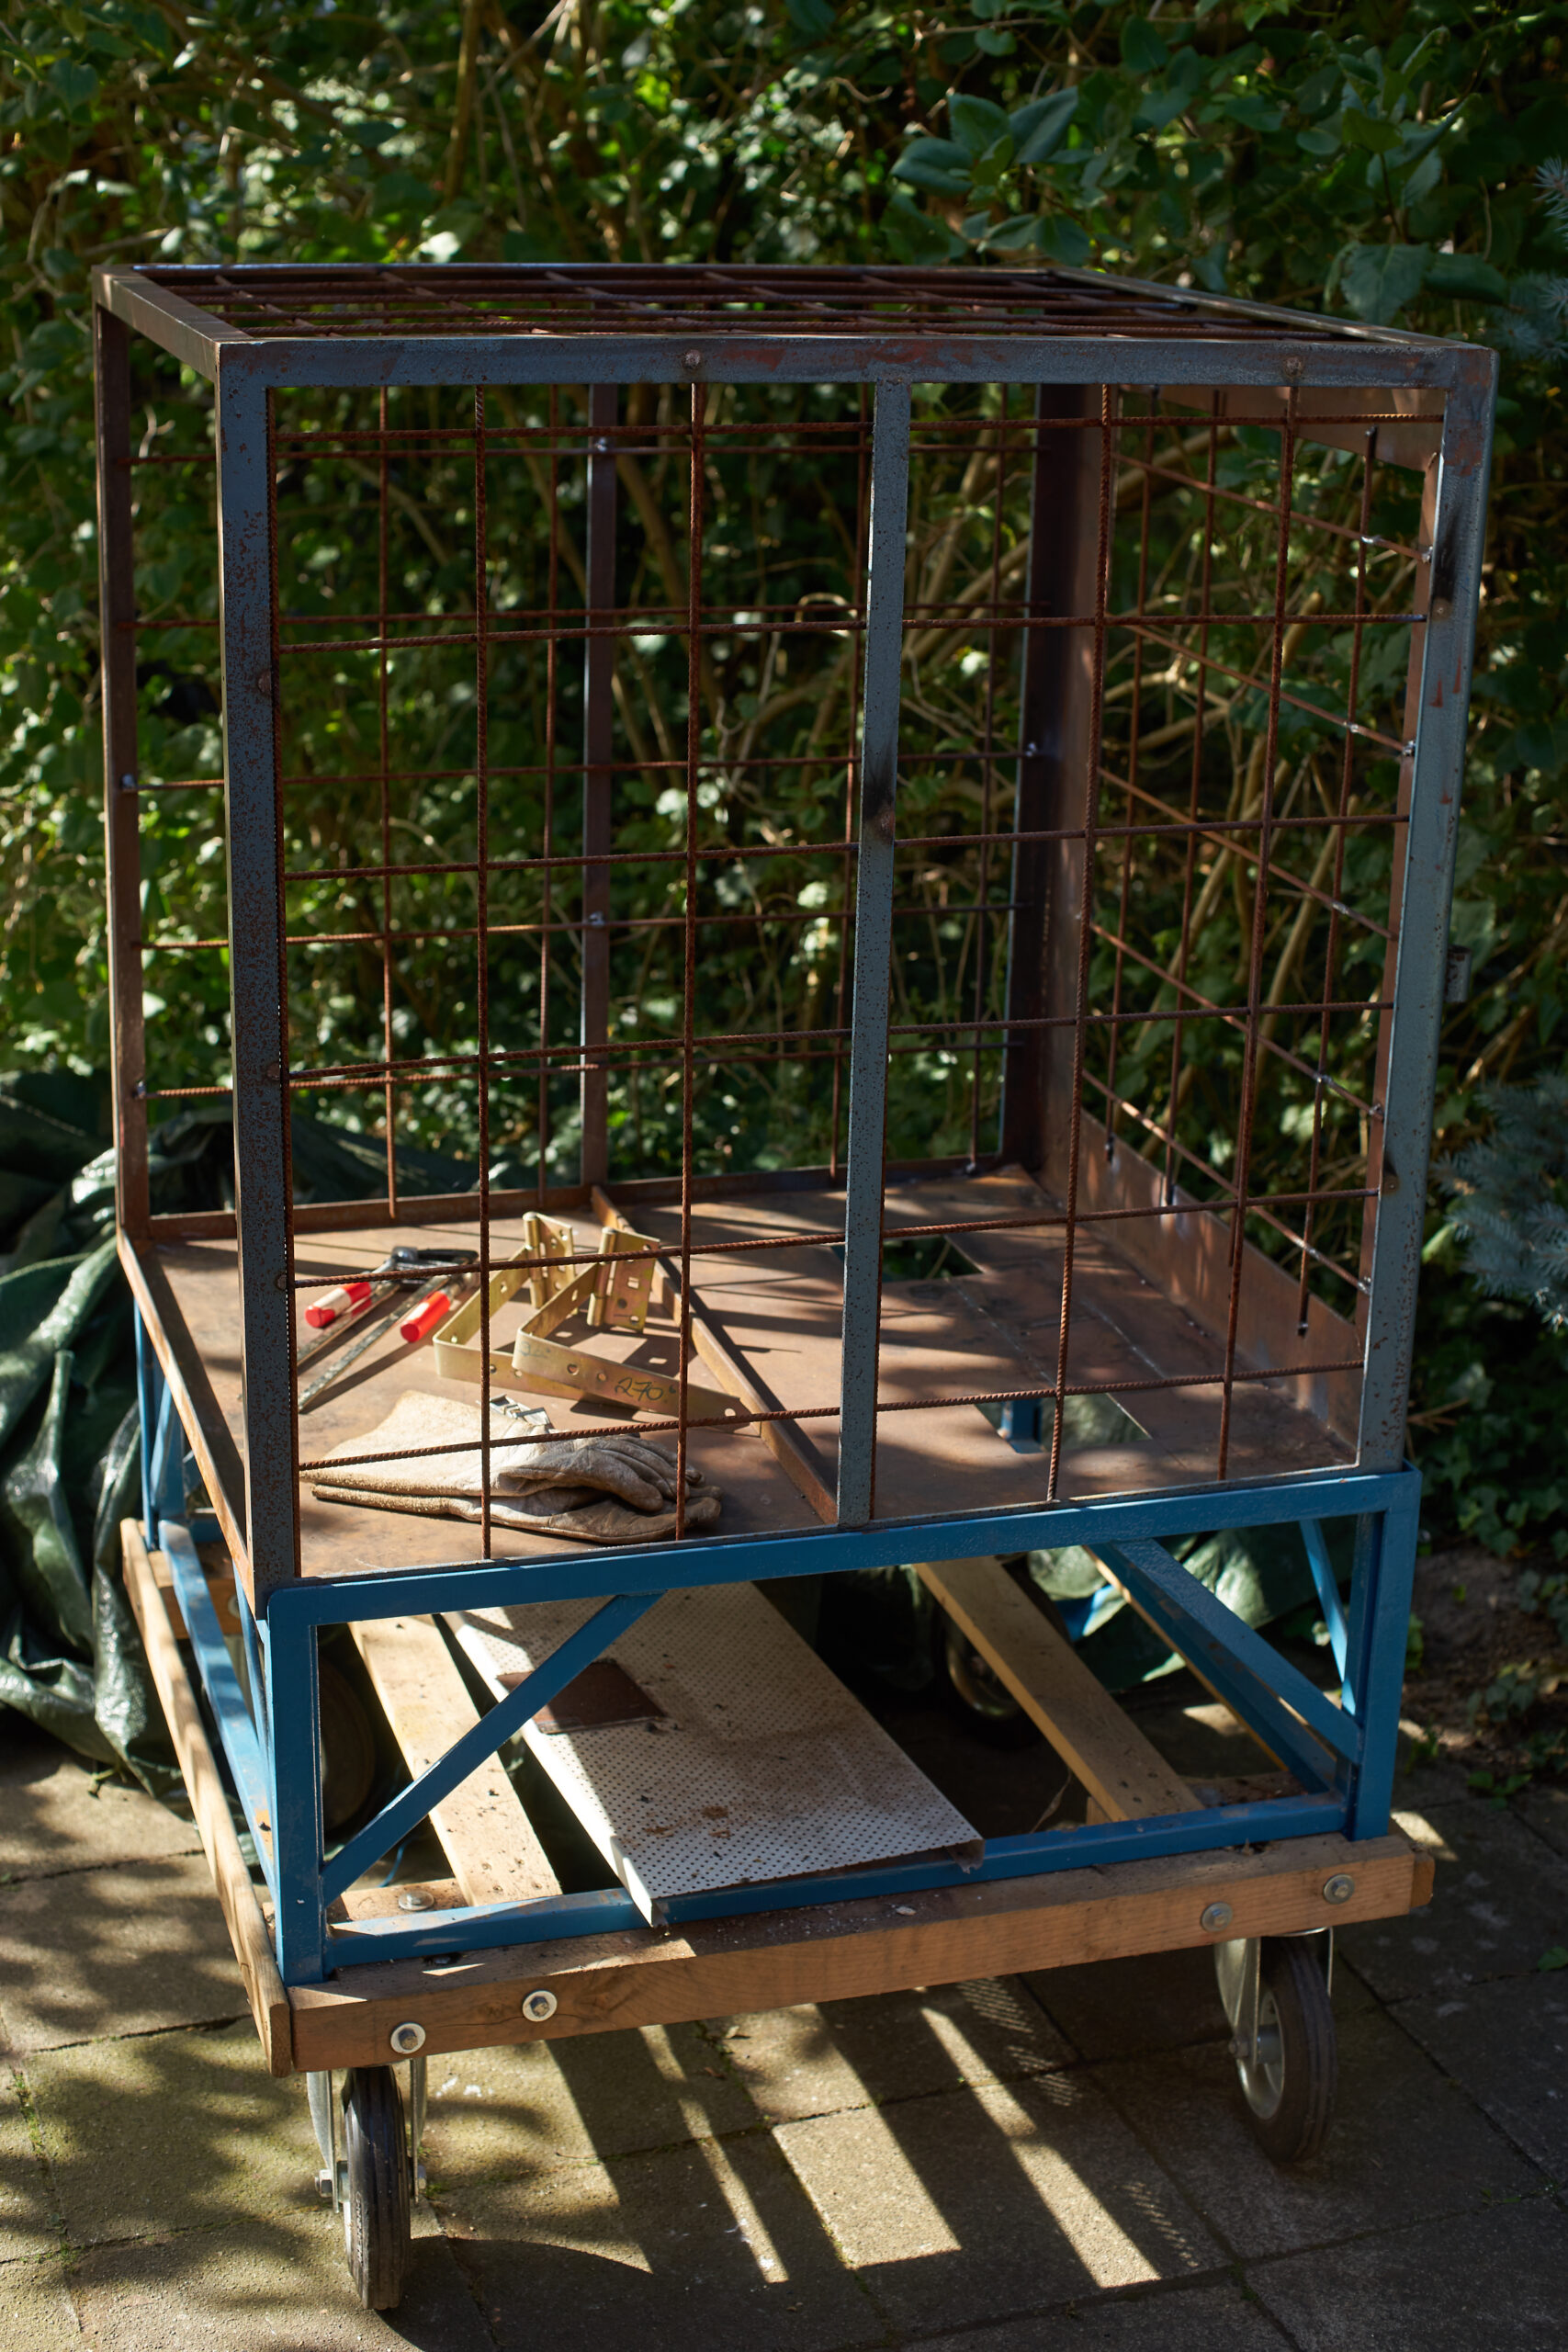
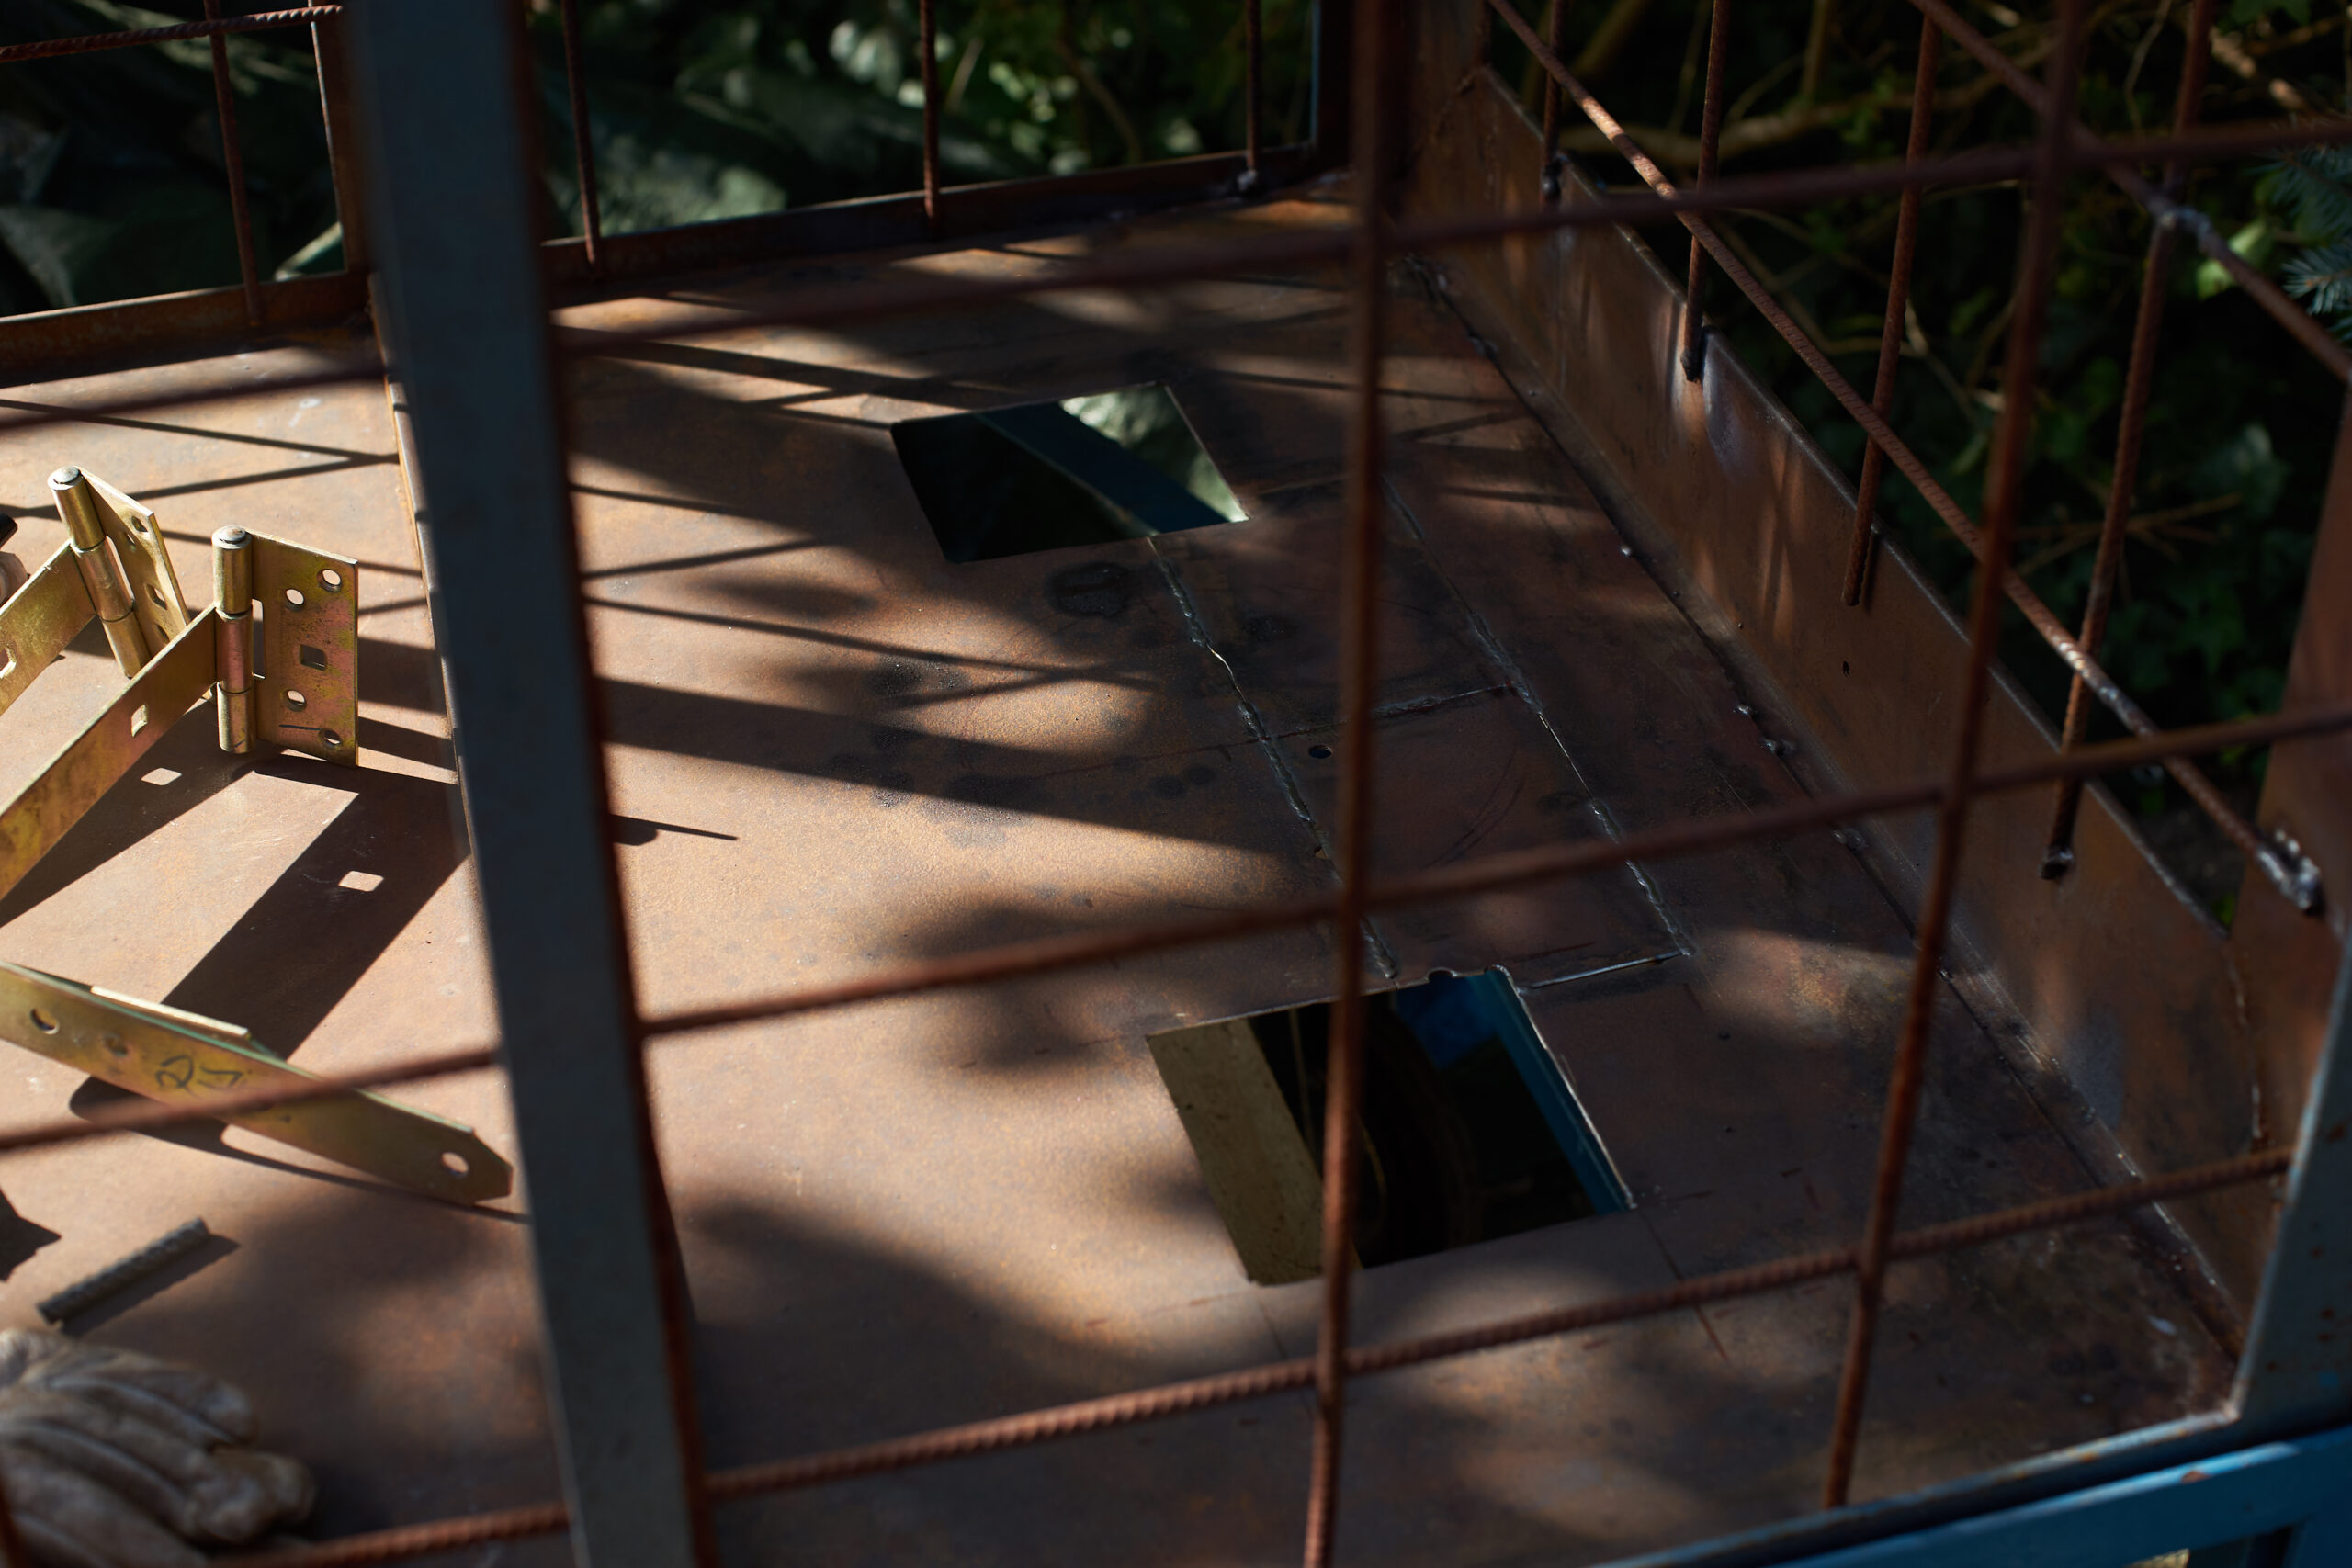
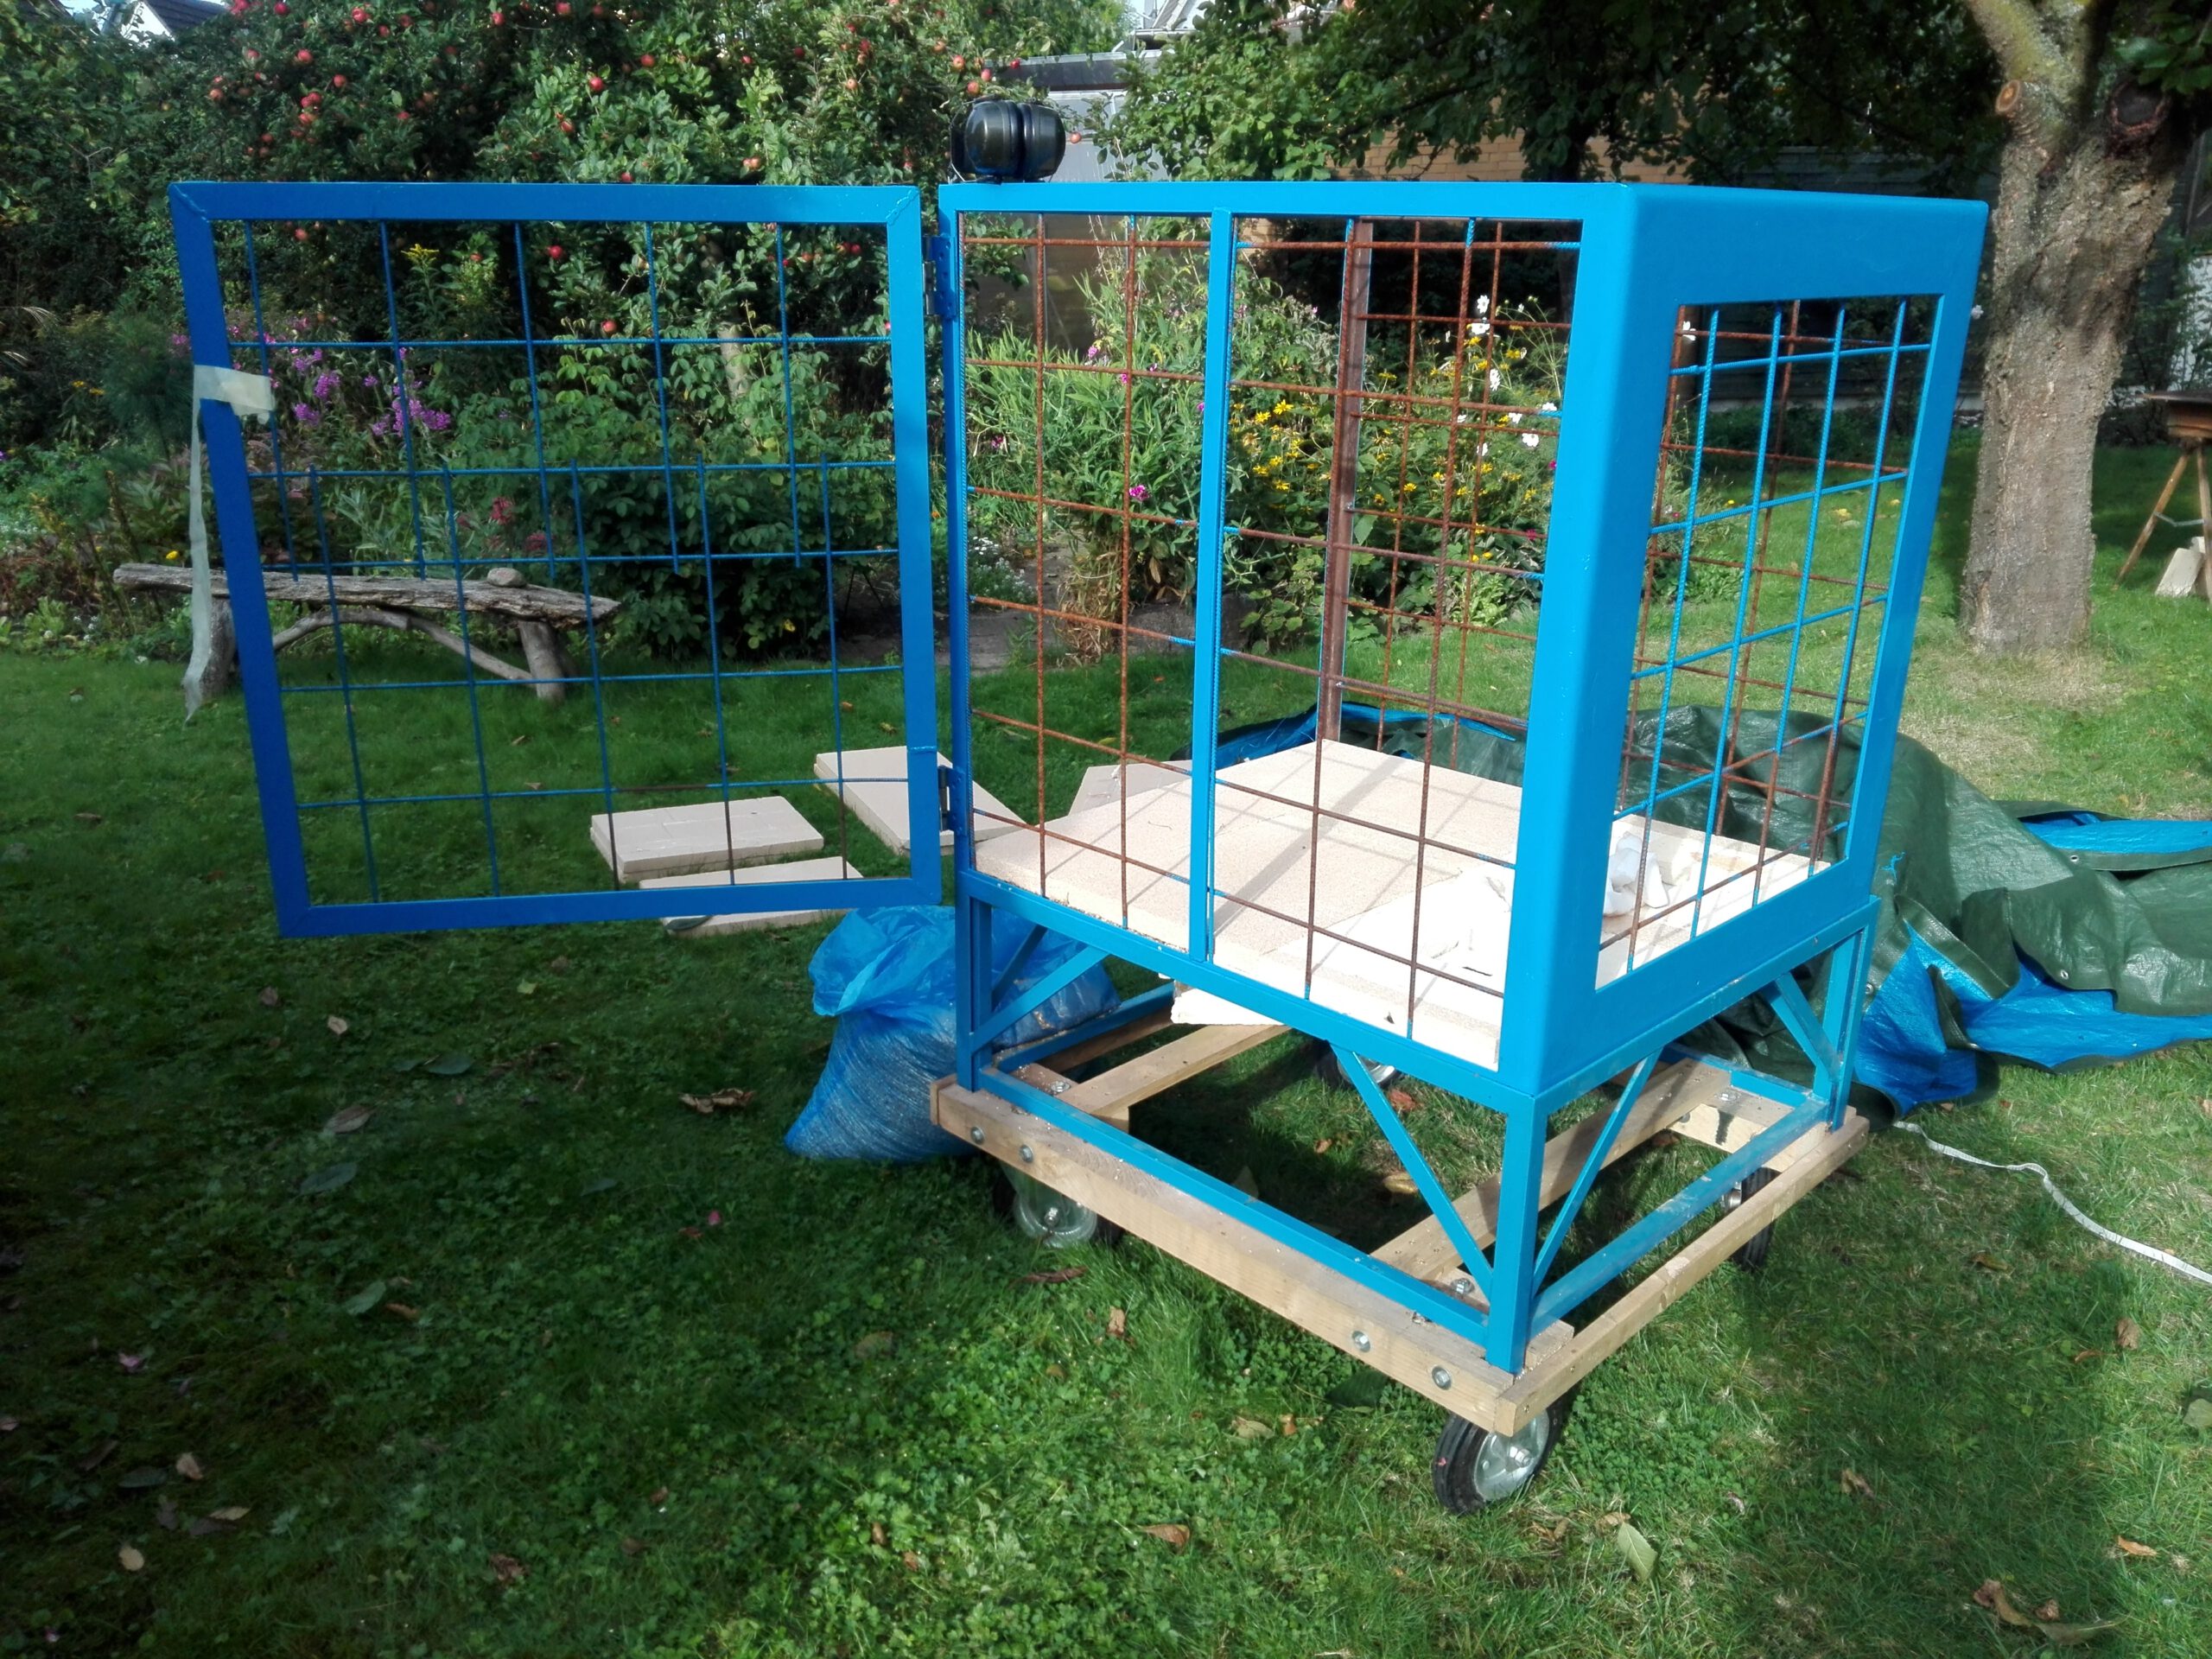
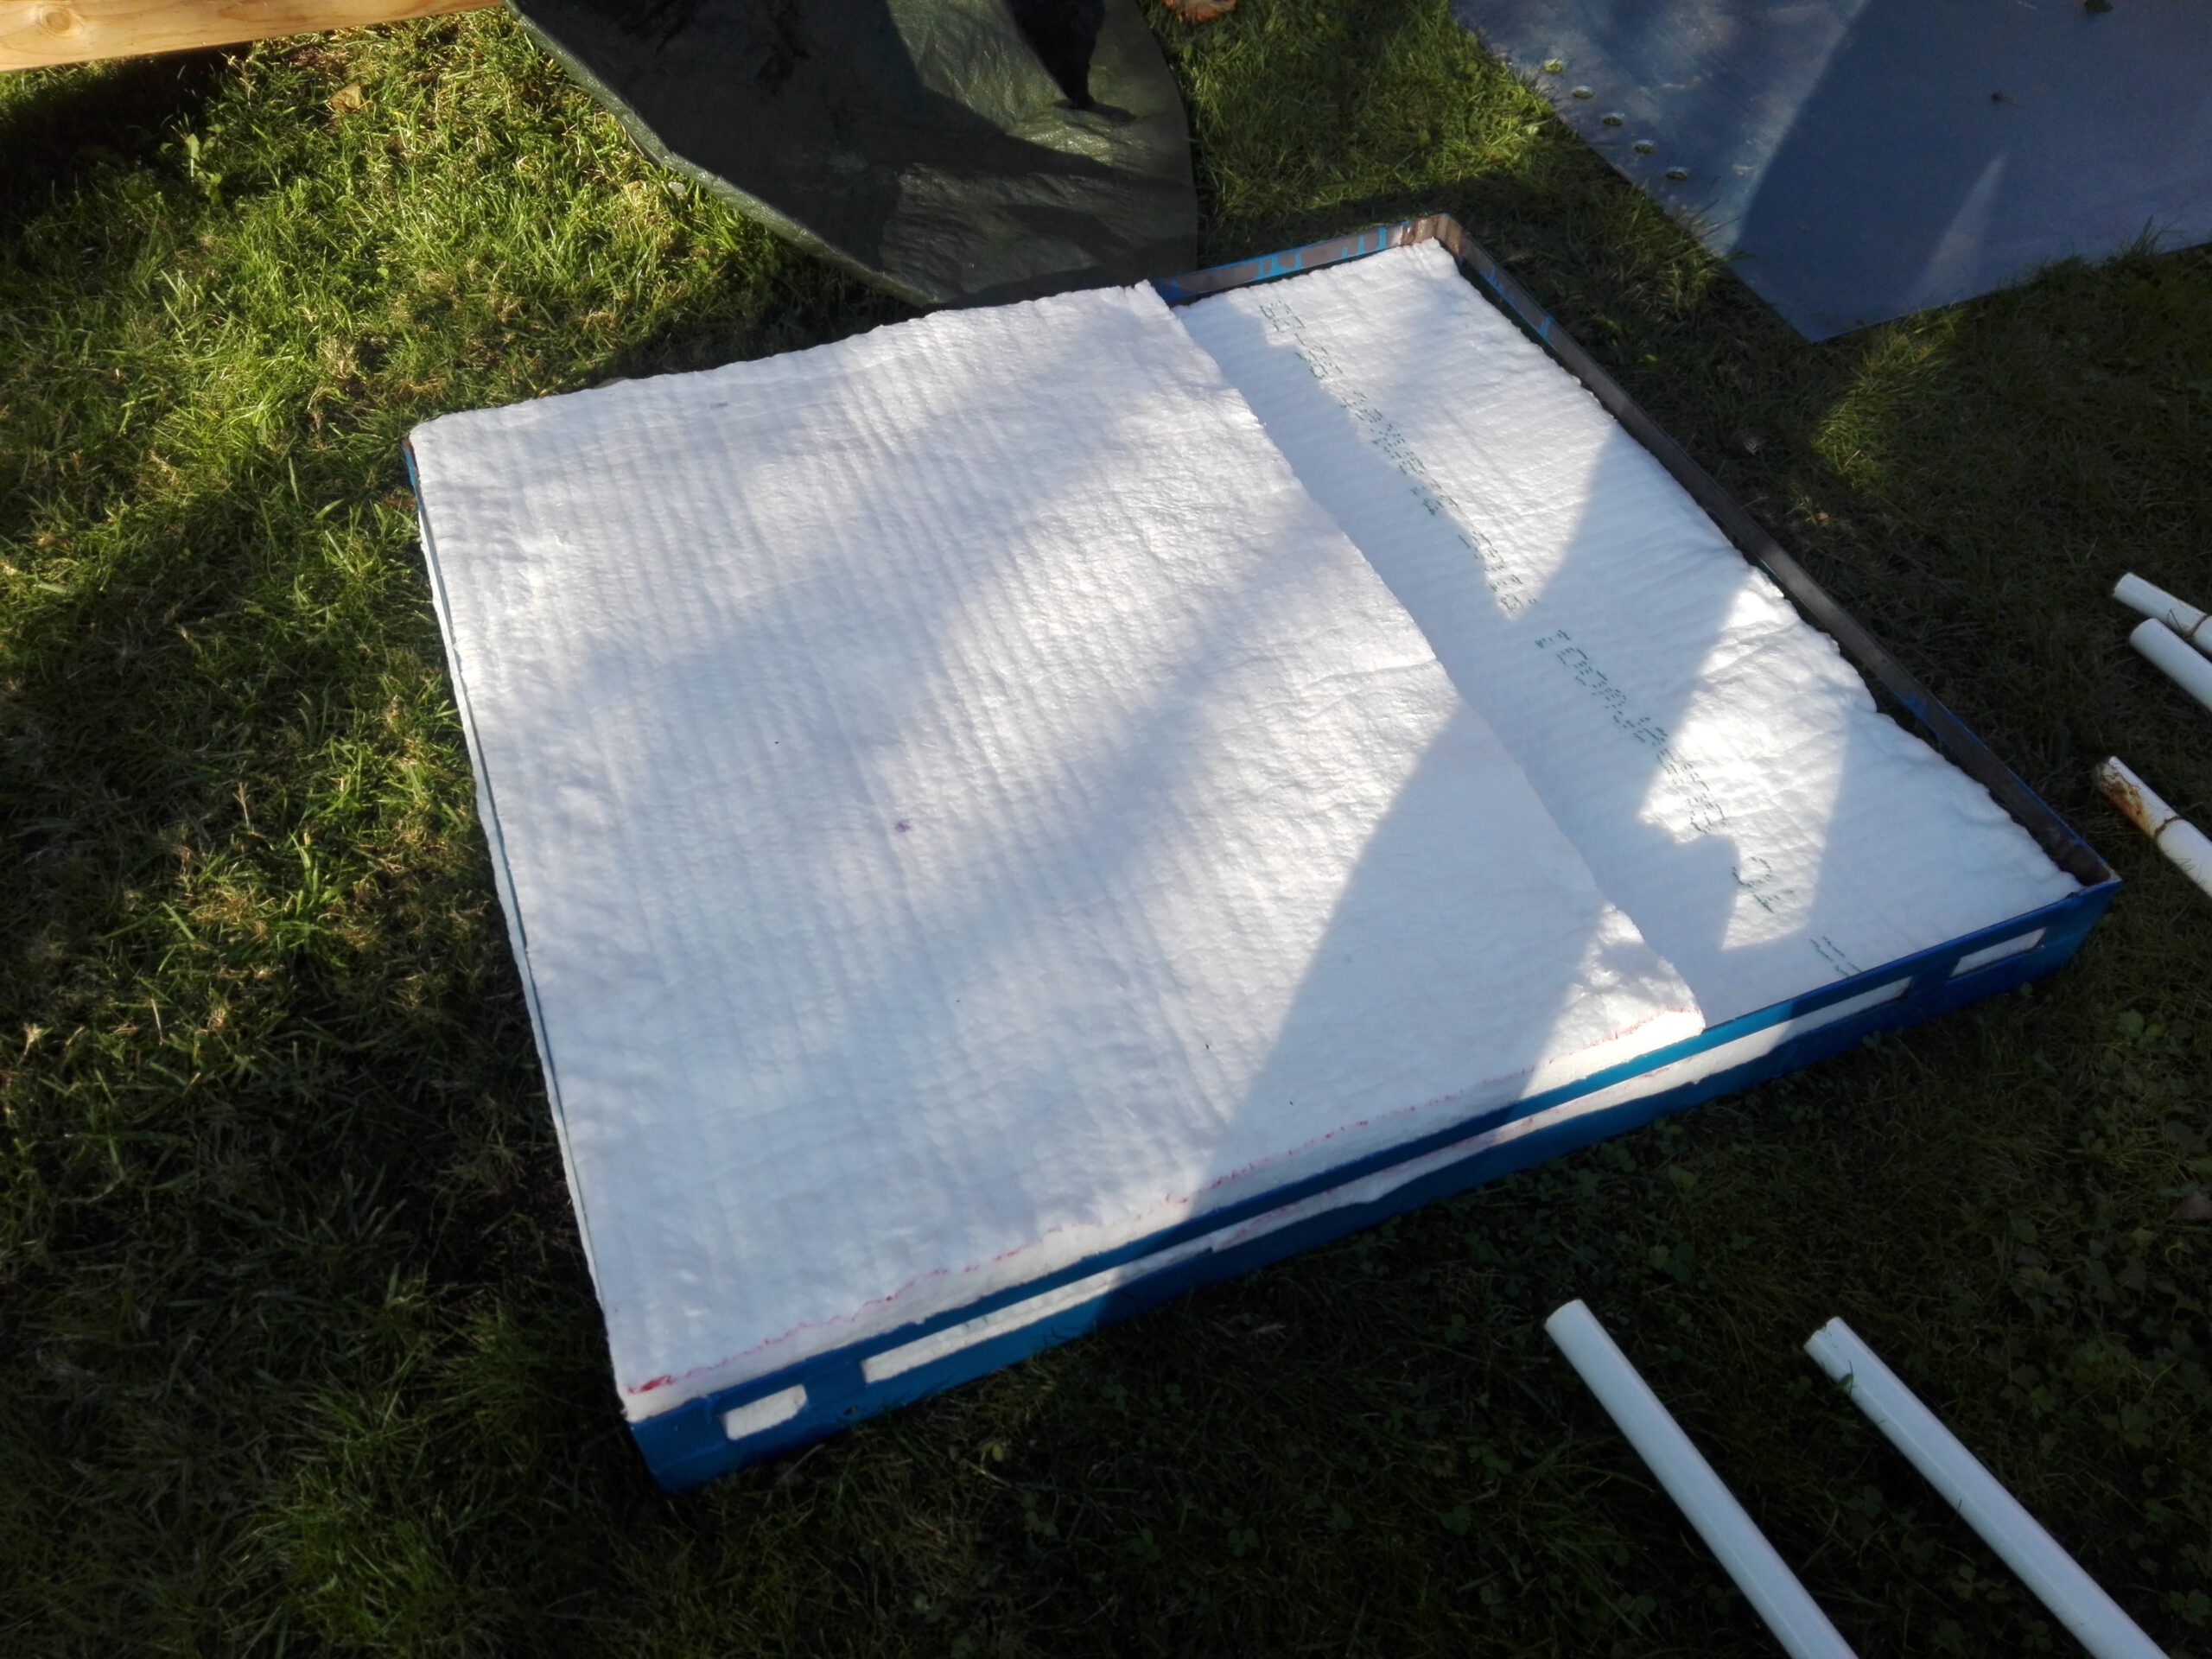
The front of the kiln has a smaller opening. I decided to use the former back of the frame as the new front. Subsequently the old door was too small so I welded up a new door. It’s the same size as the kiln and a little less than 10cm deep. I’m going to use two layers of ceramic fiber each 50mm (2 inches) thick. The door is slightly less deep than 100mm (4 inches) to make sure the ceramic fiber seals the door before the steel frame bottoms out.

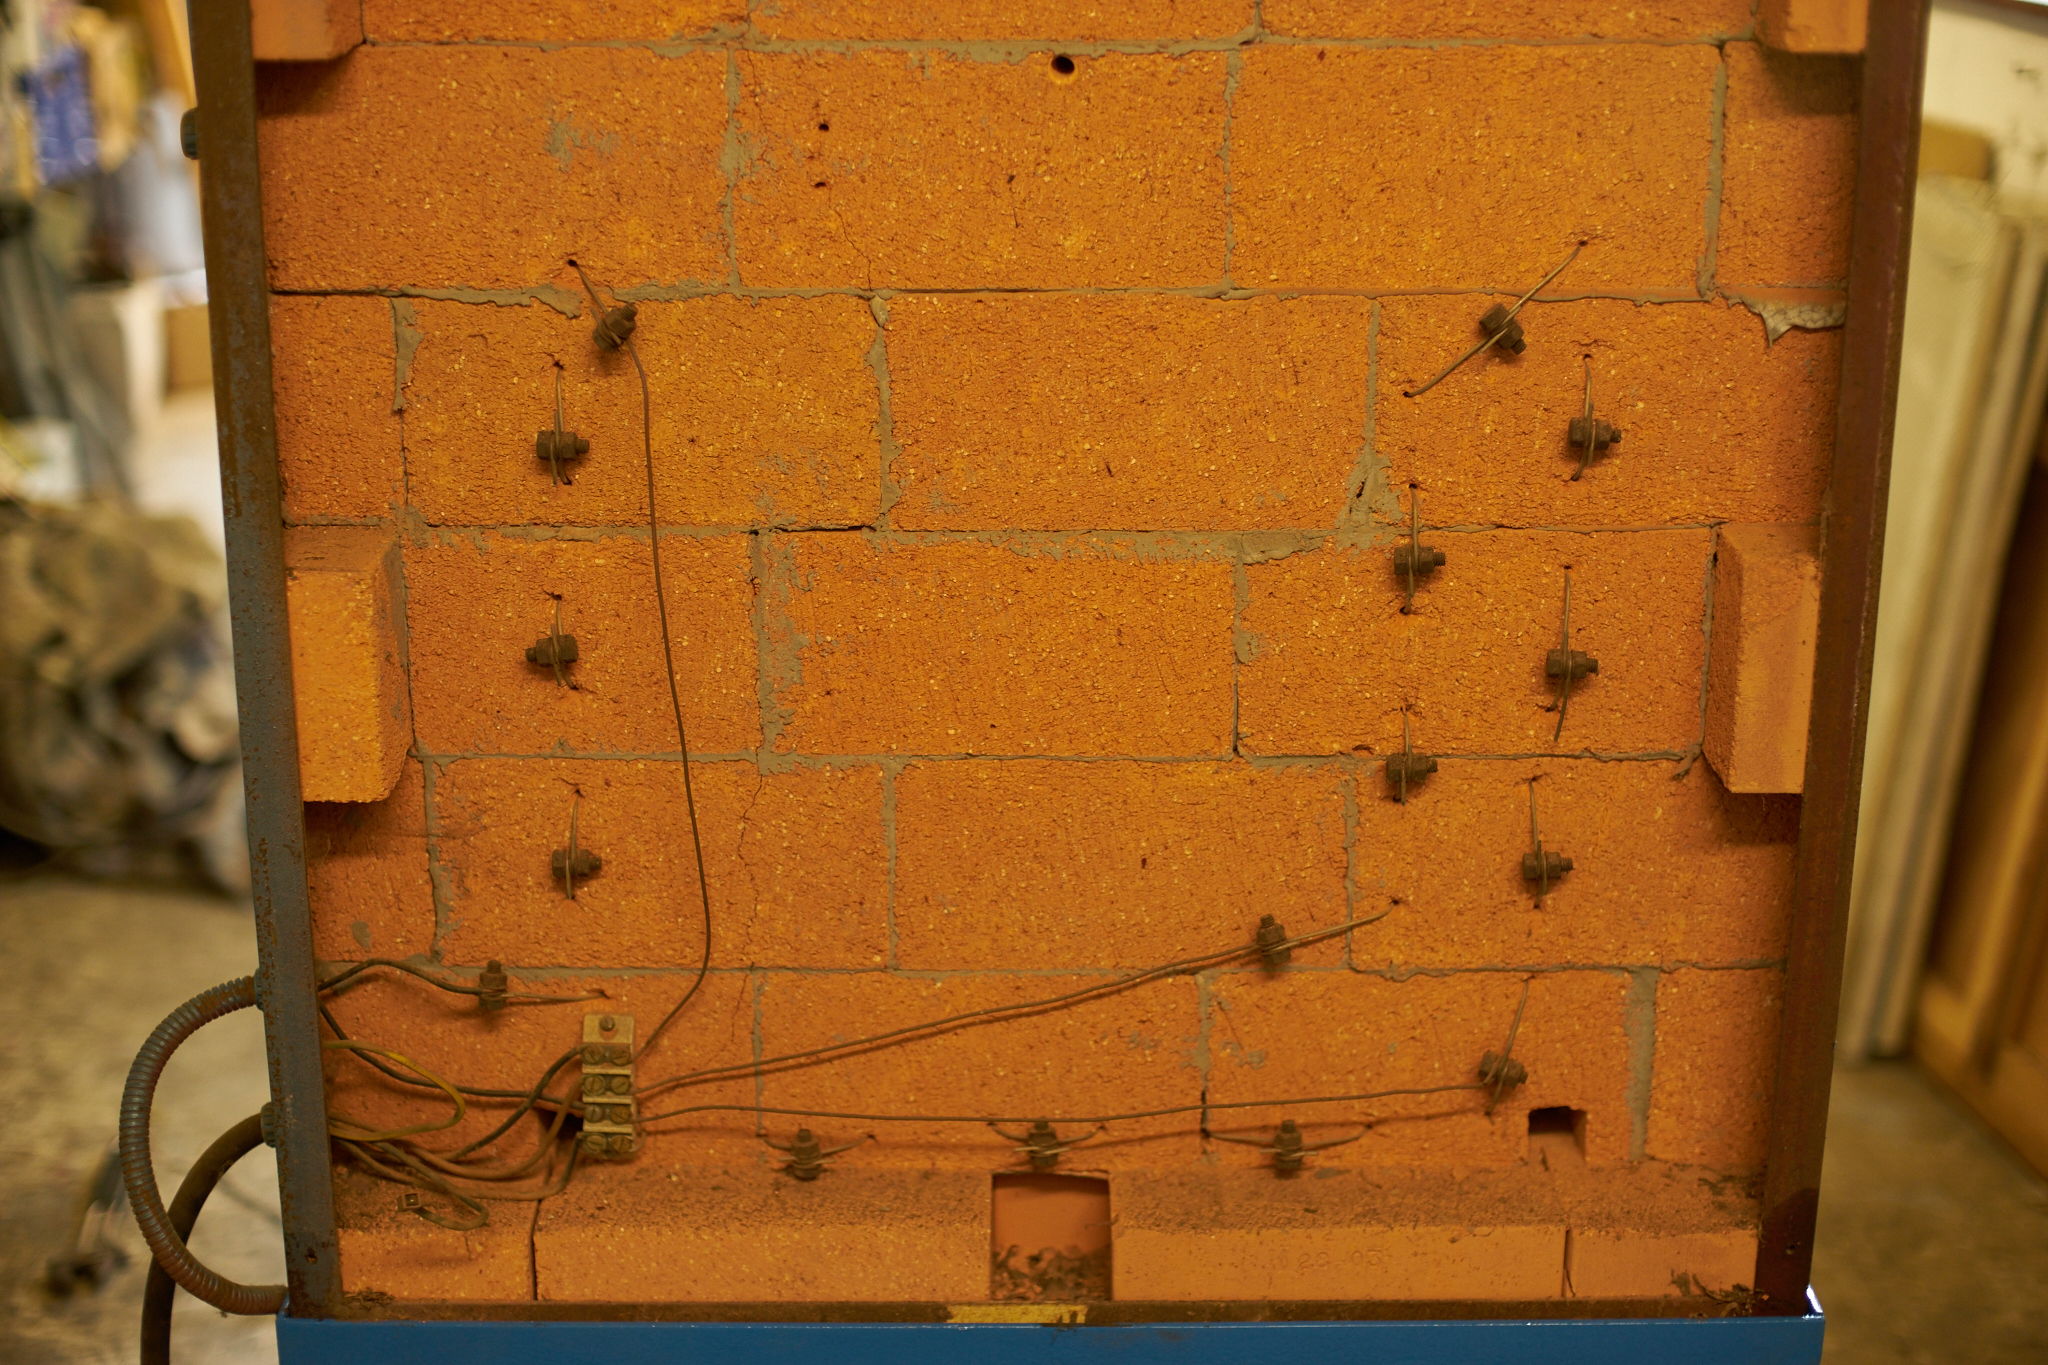
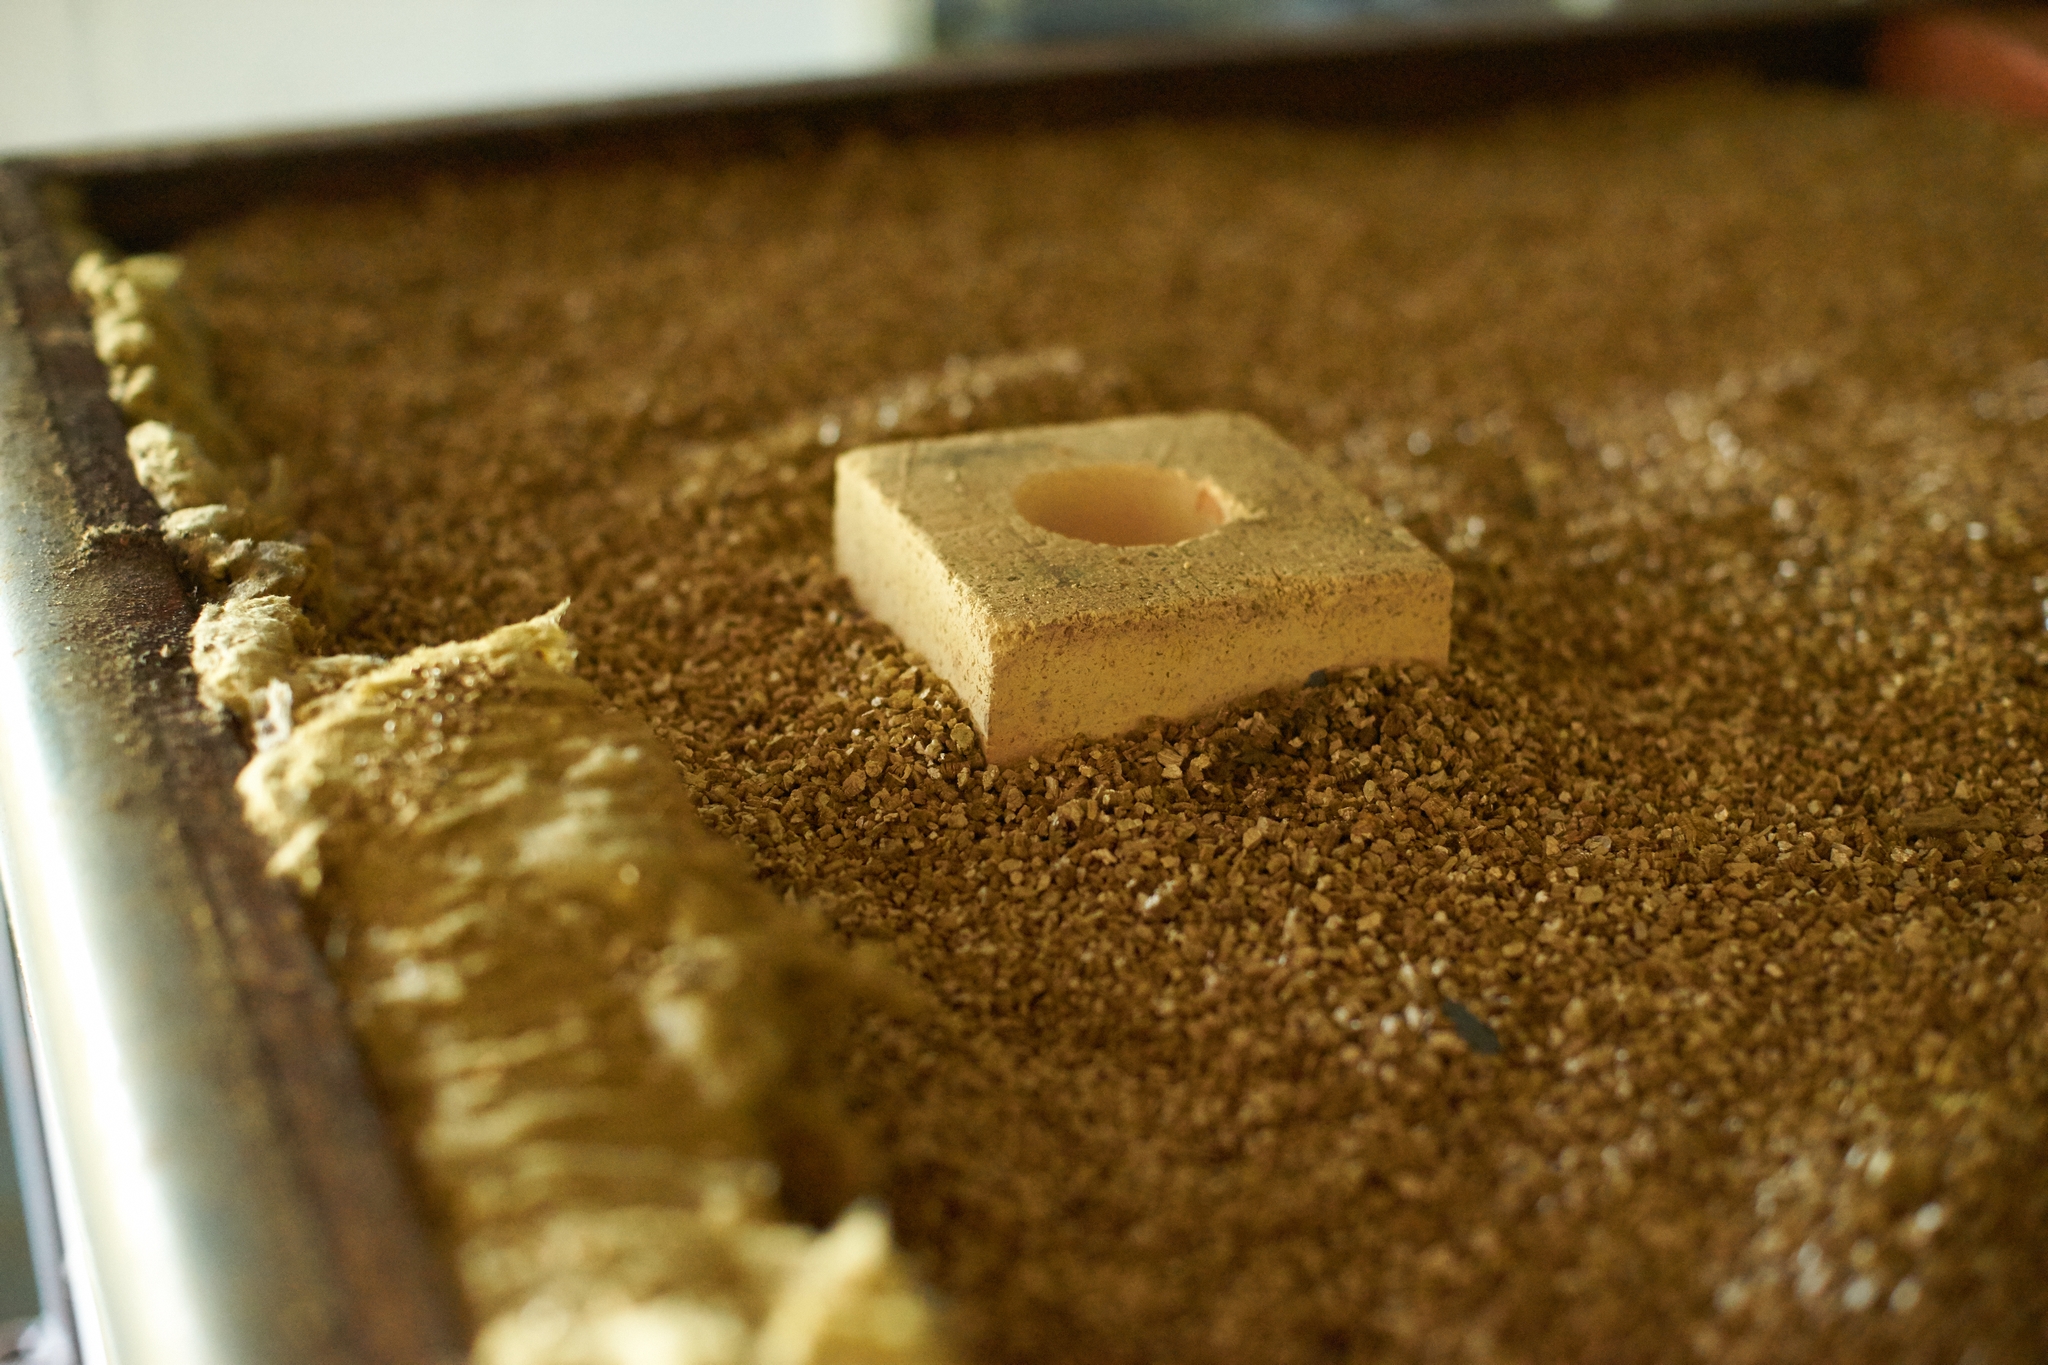
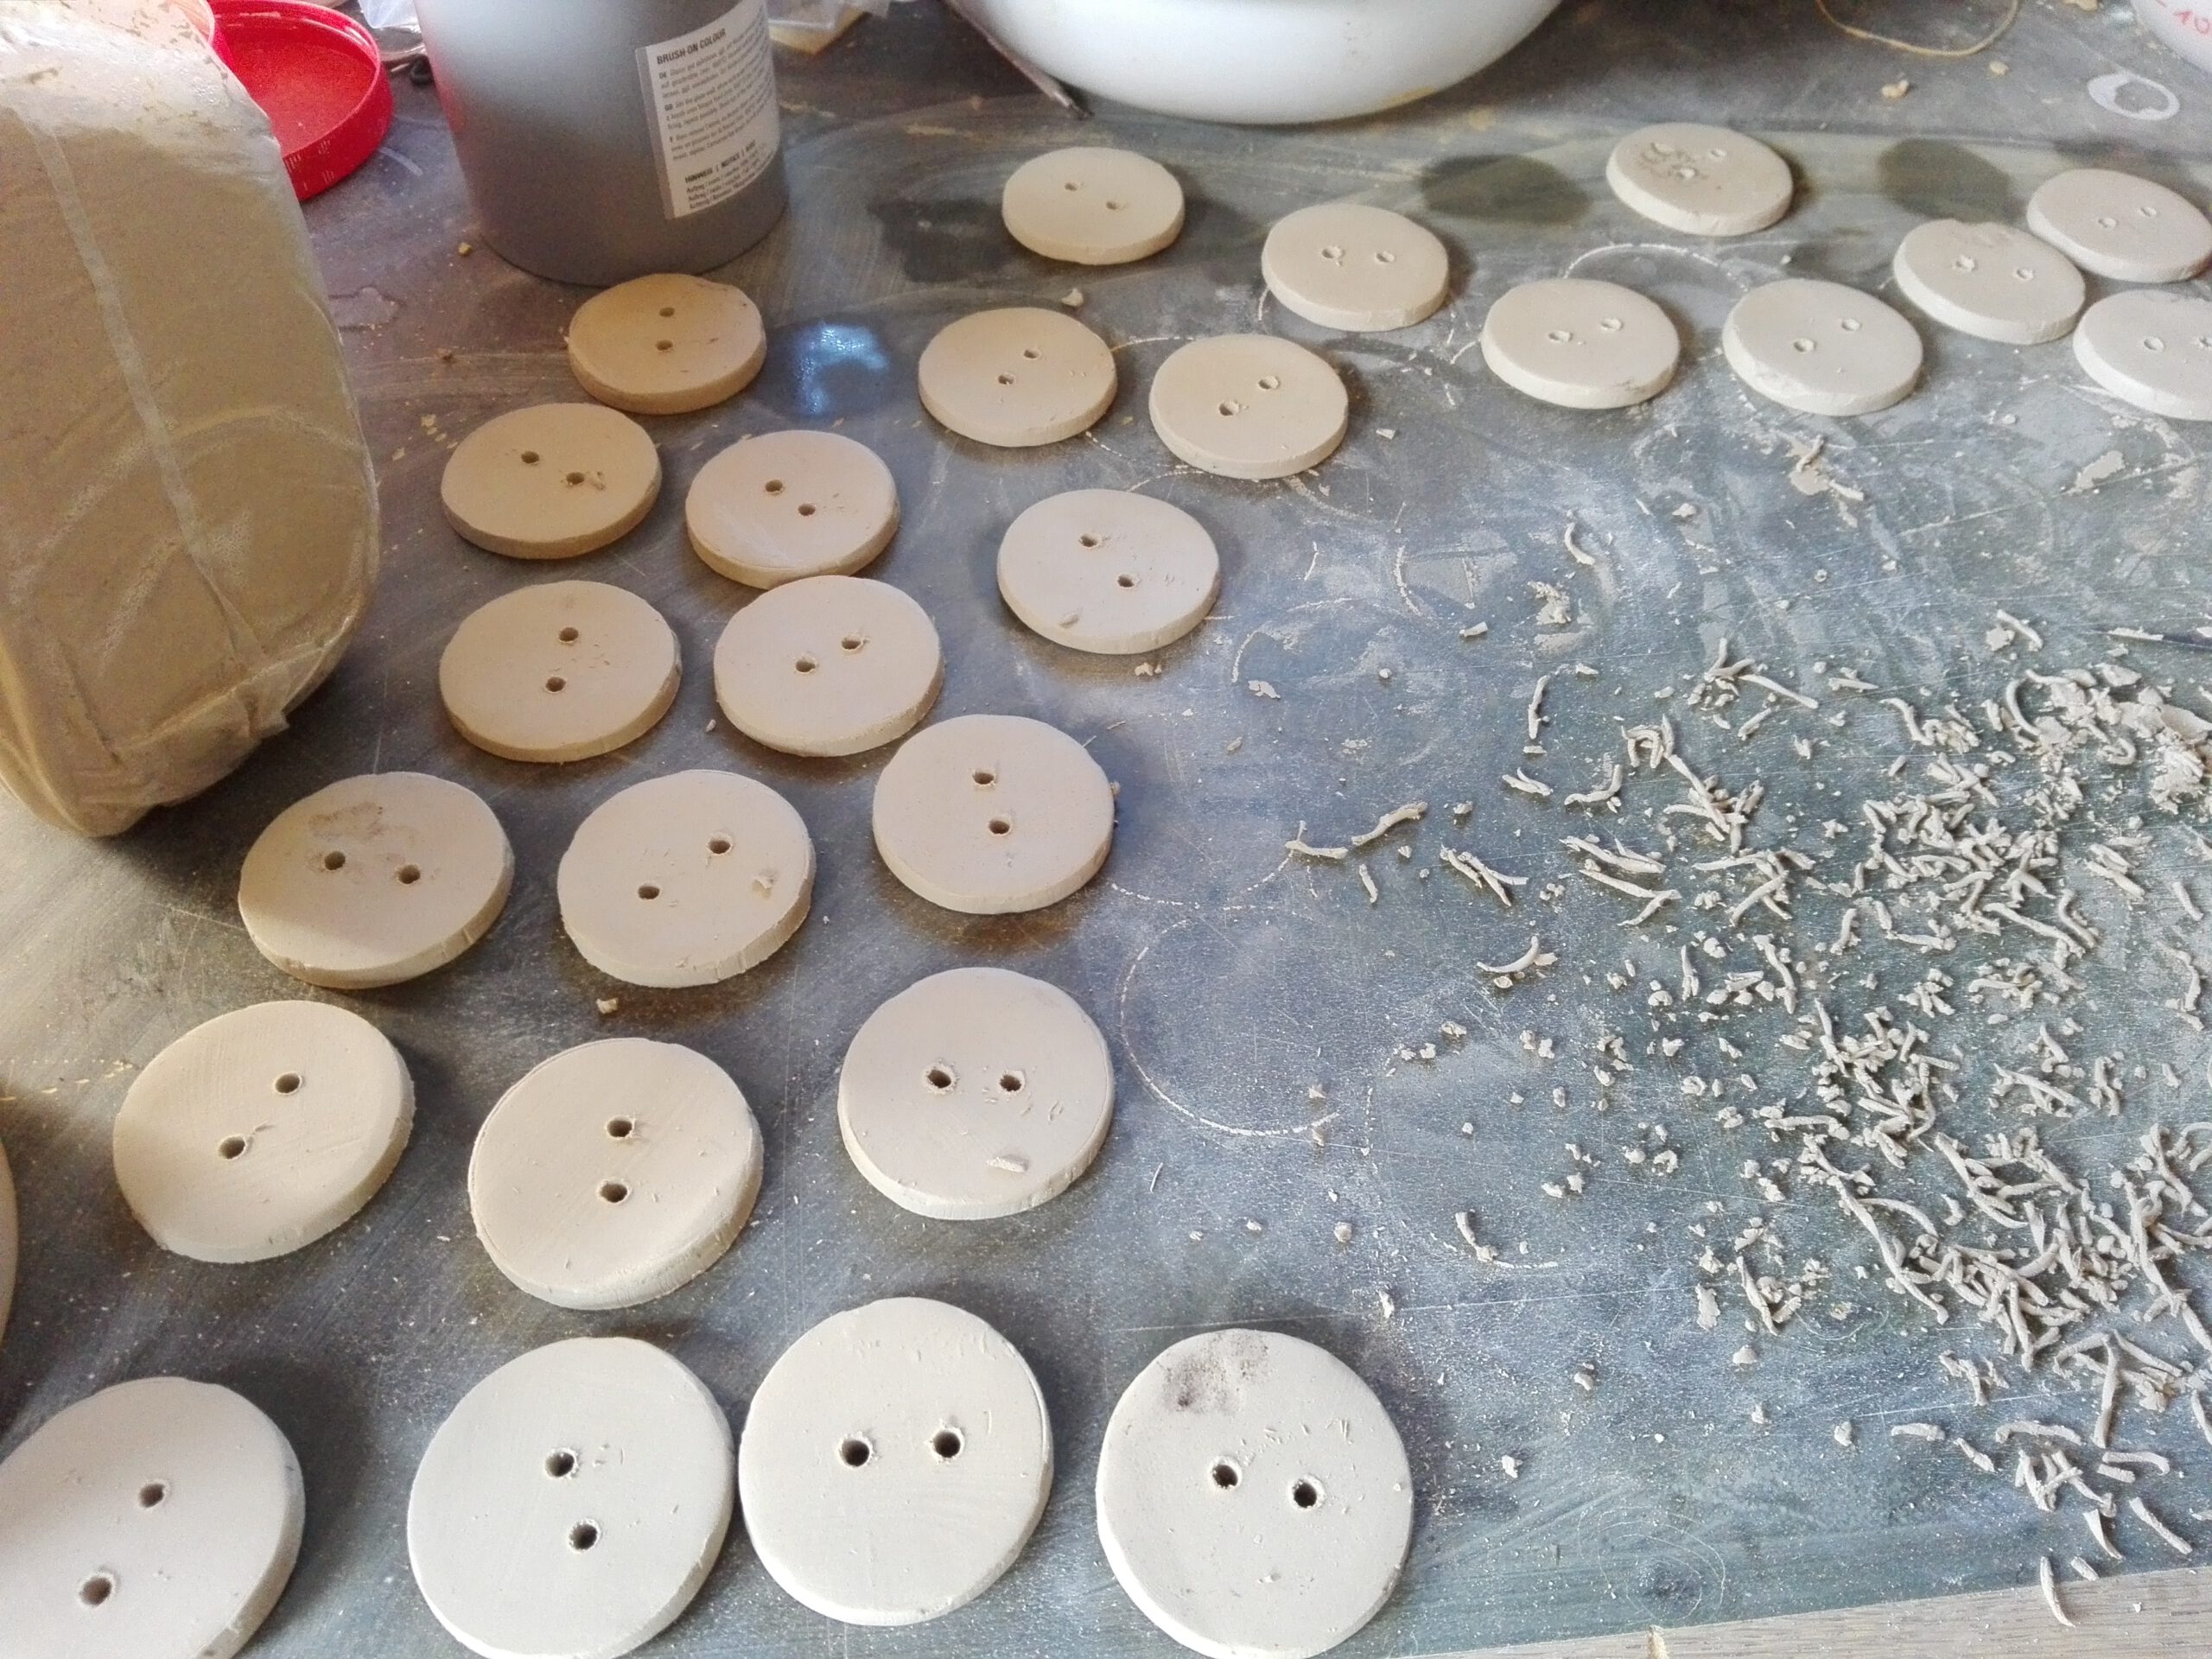
Ceramic buttons and tie wire
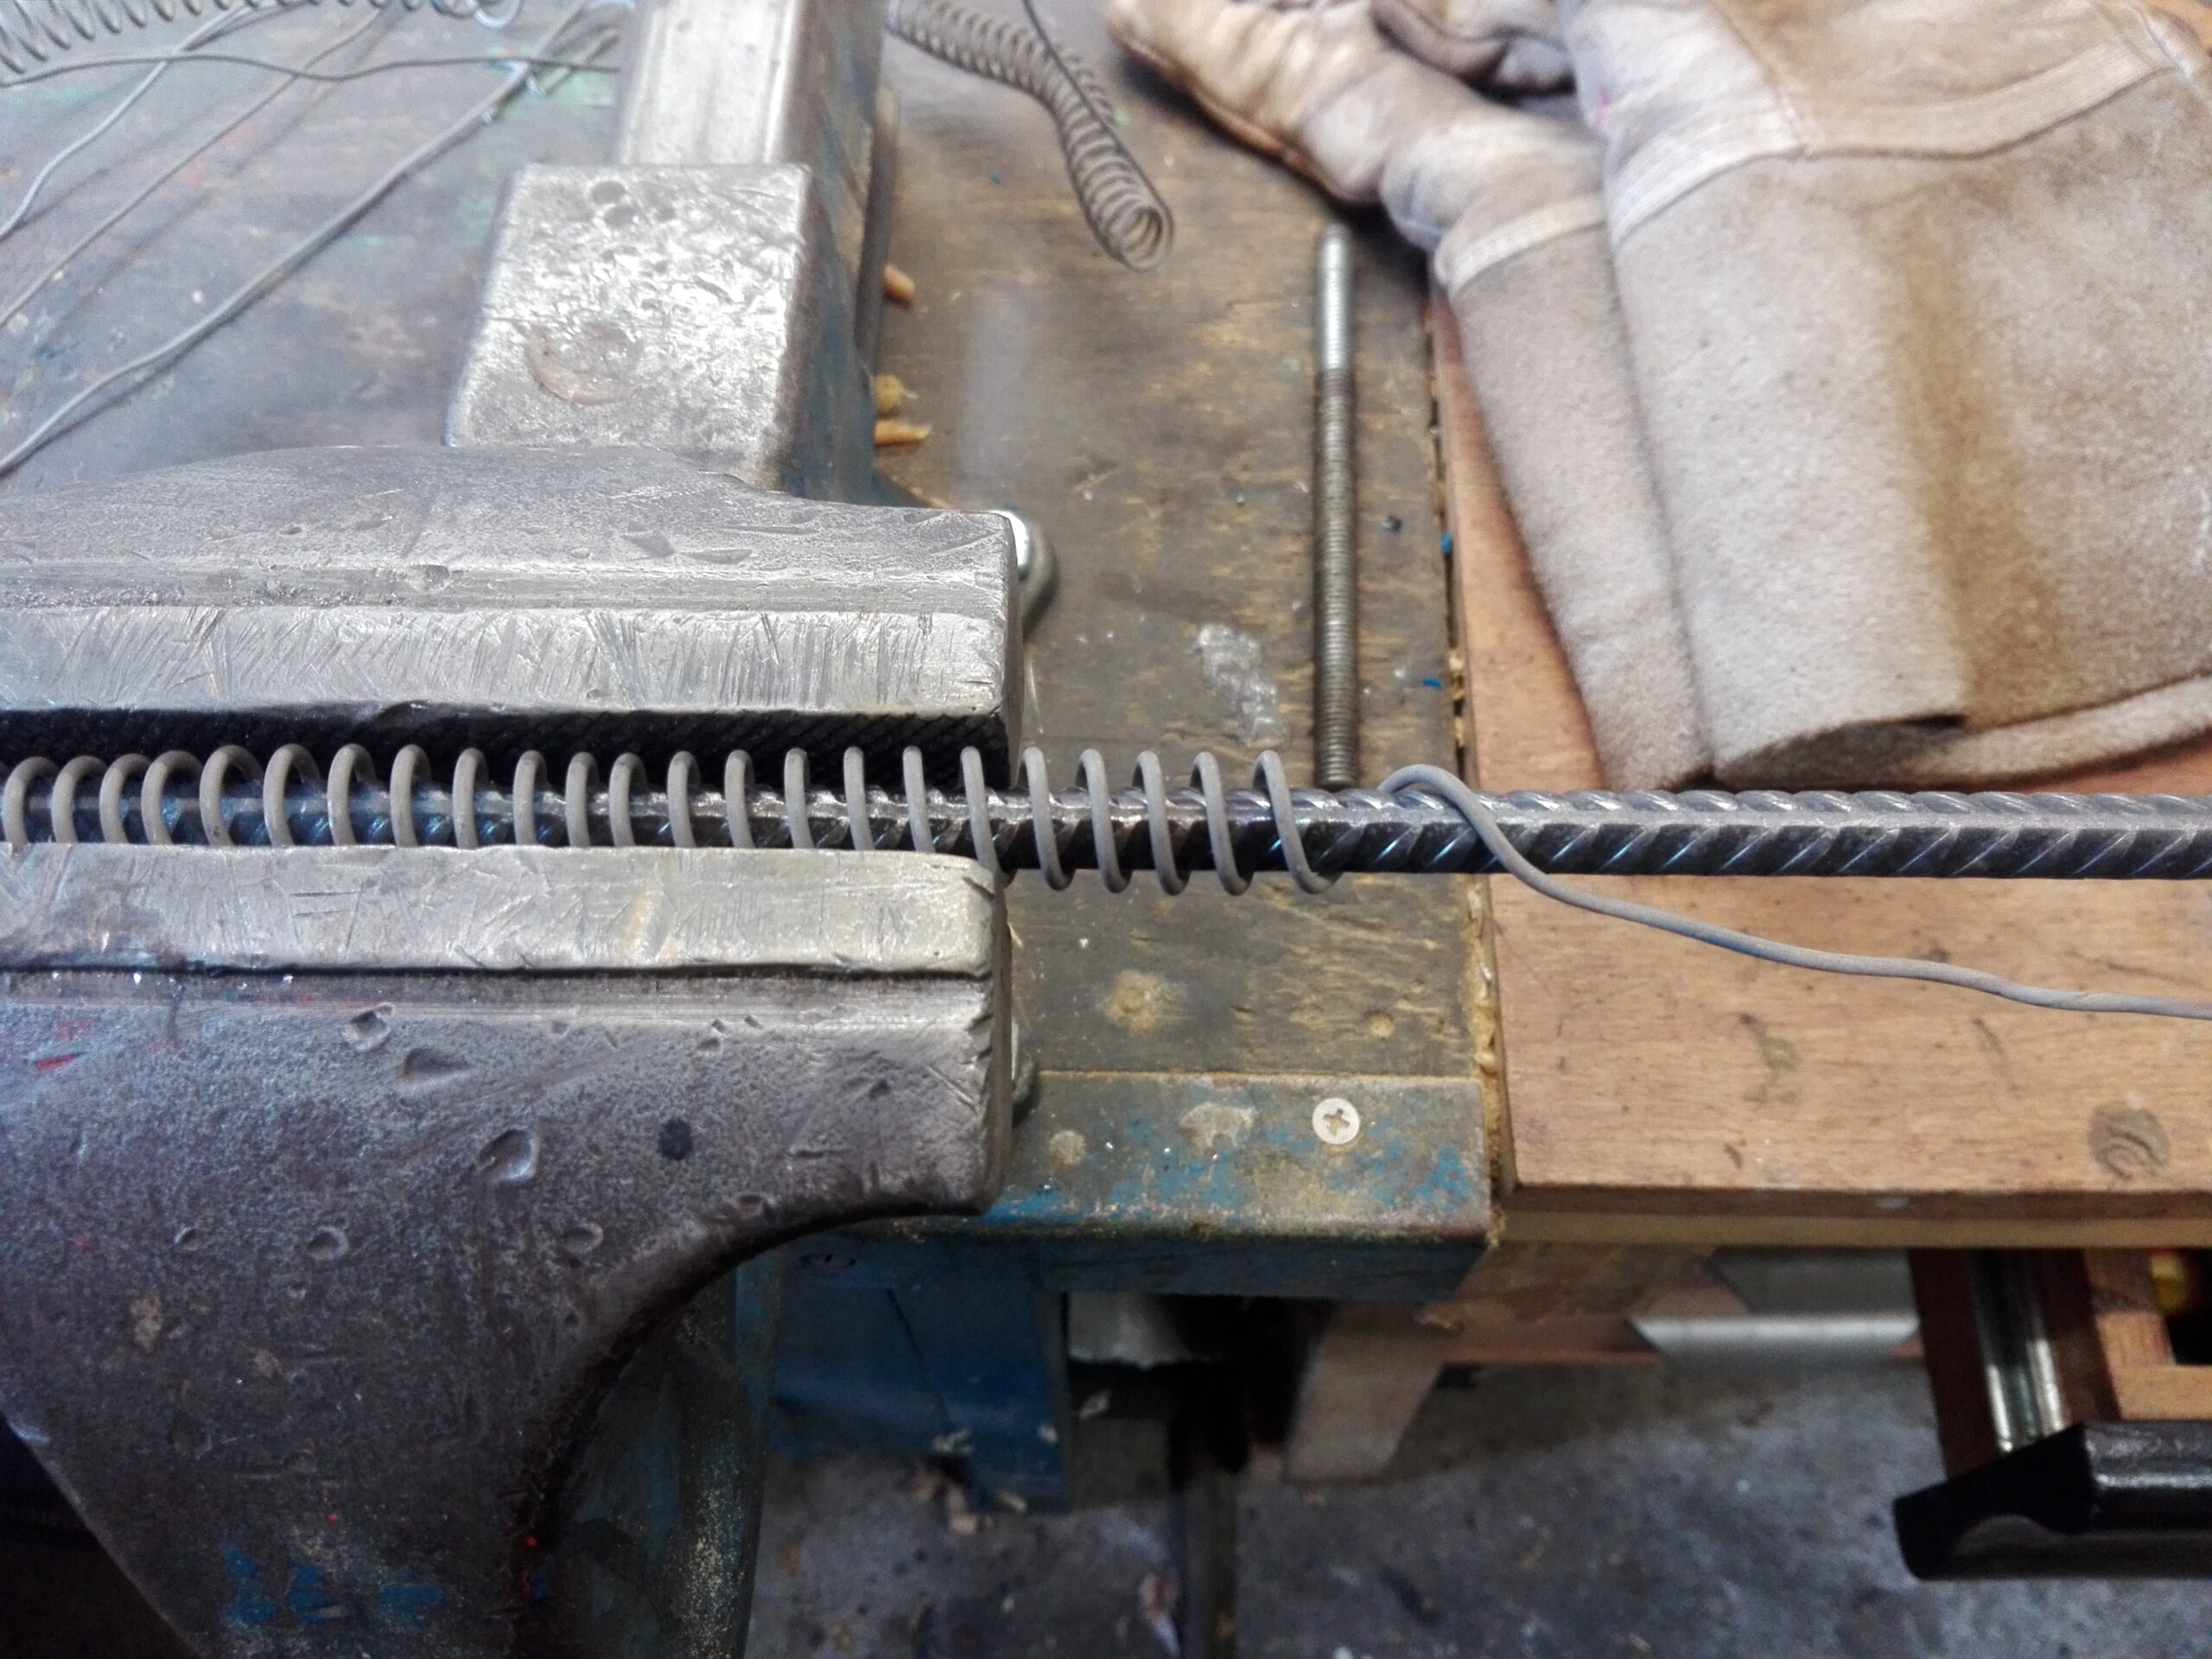
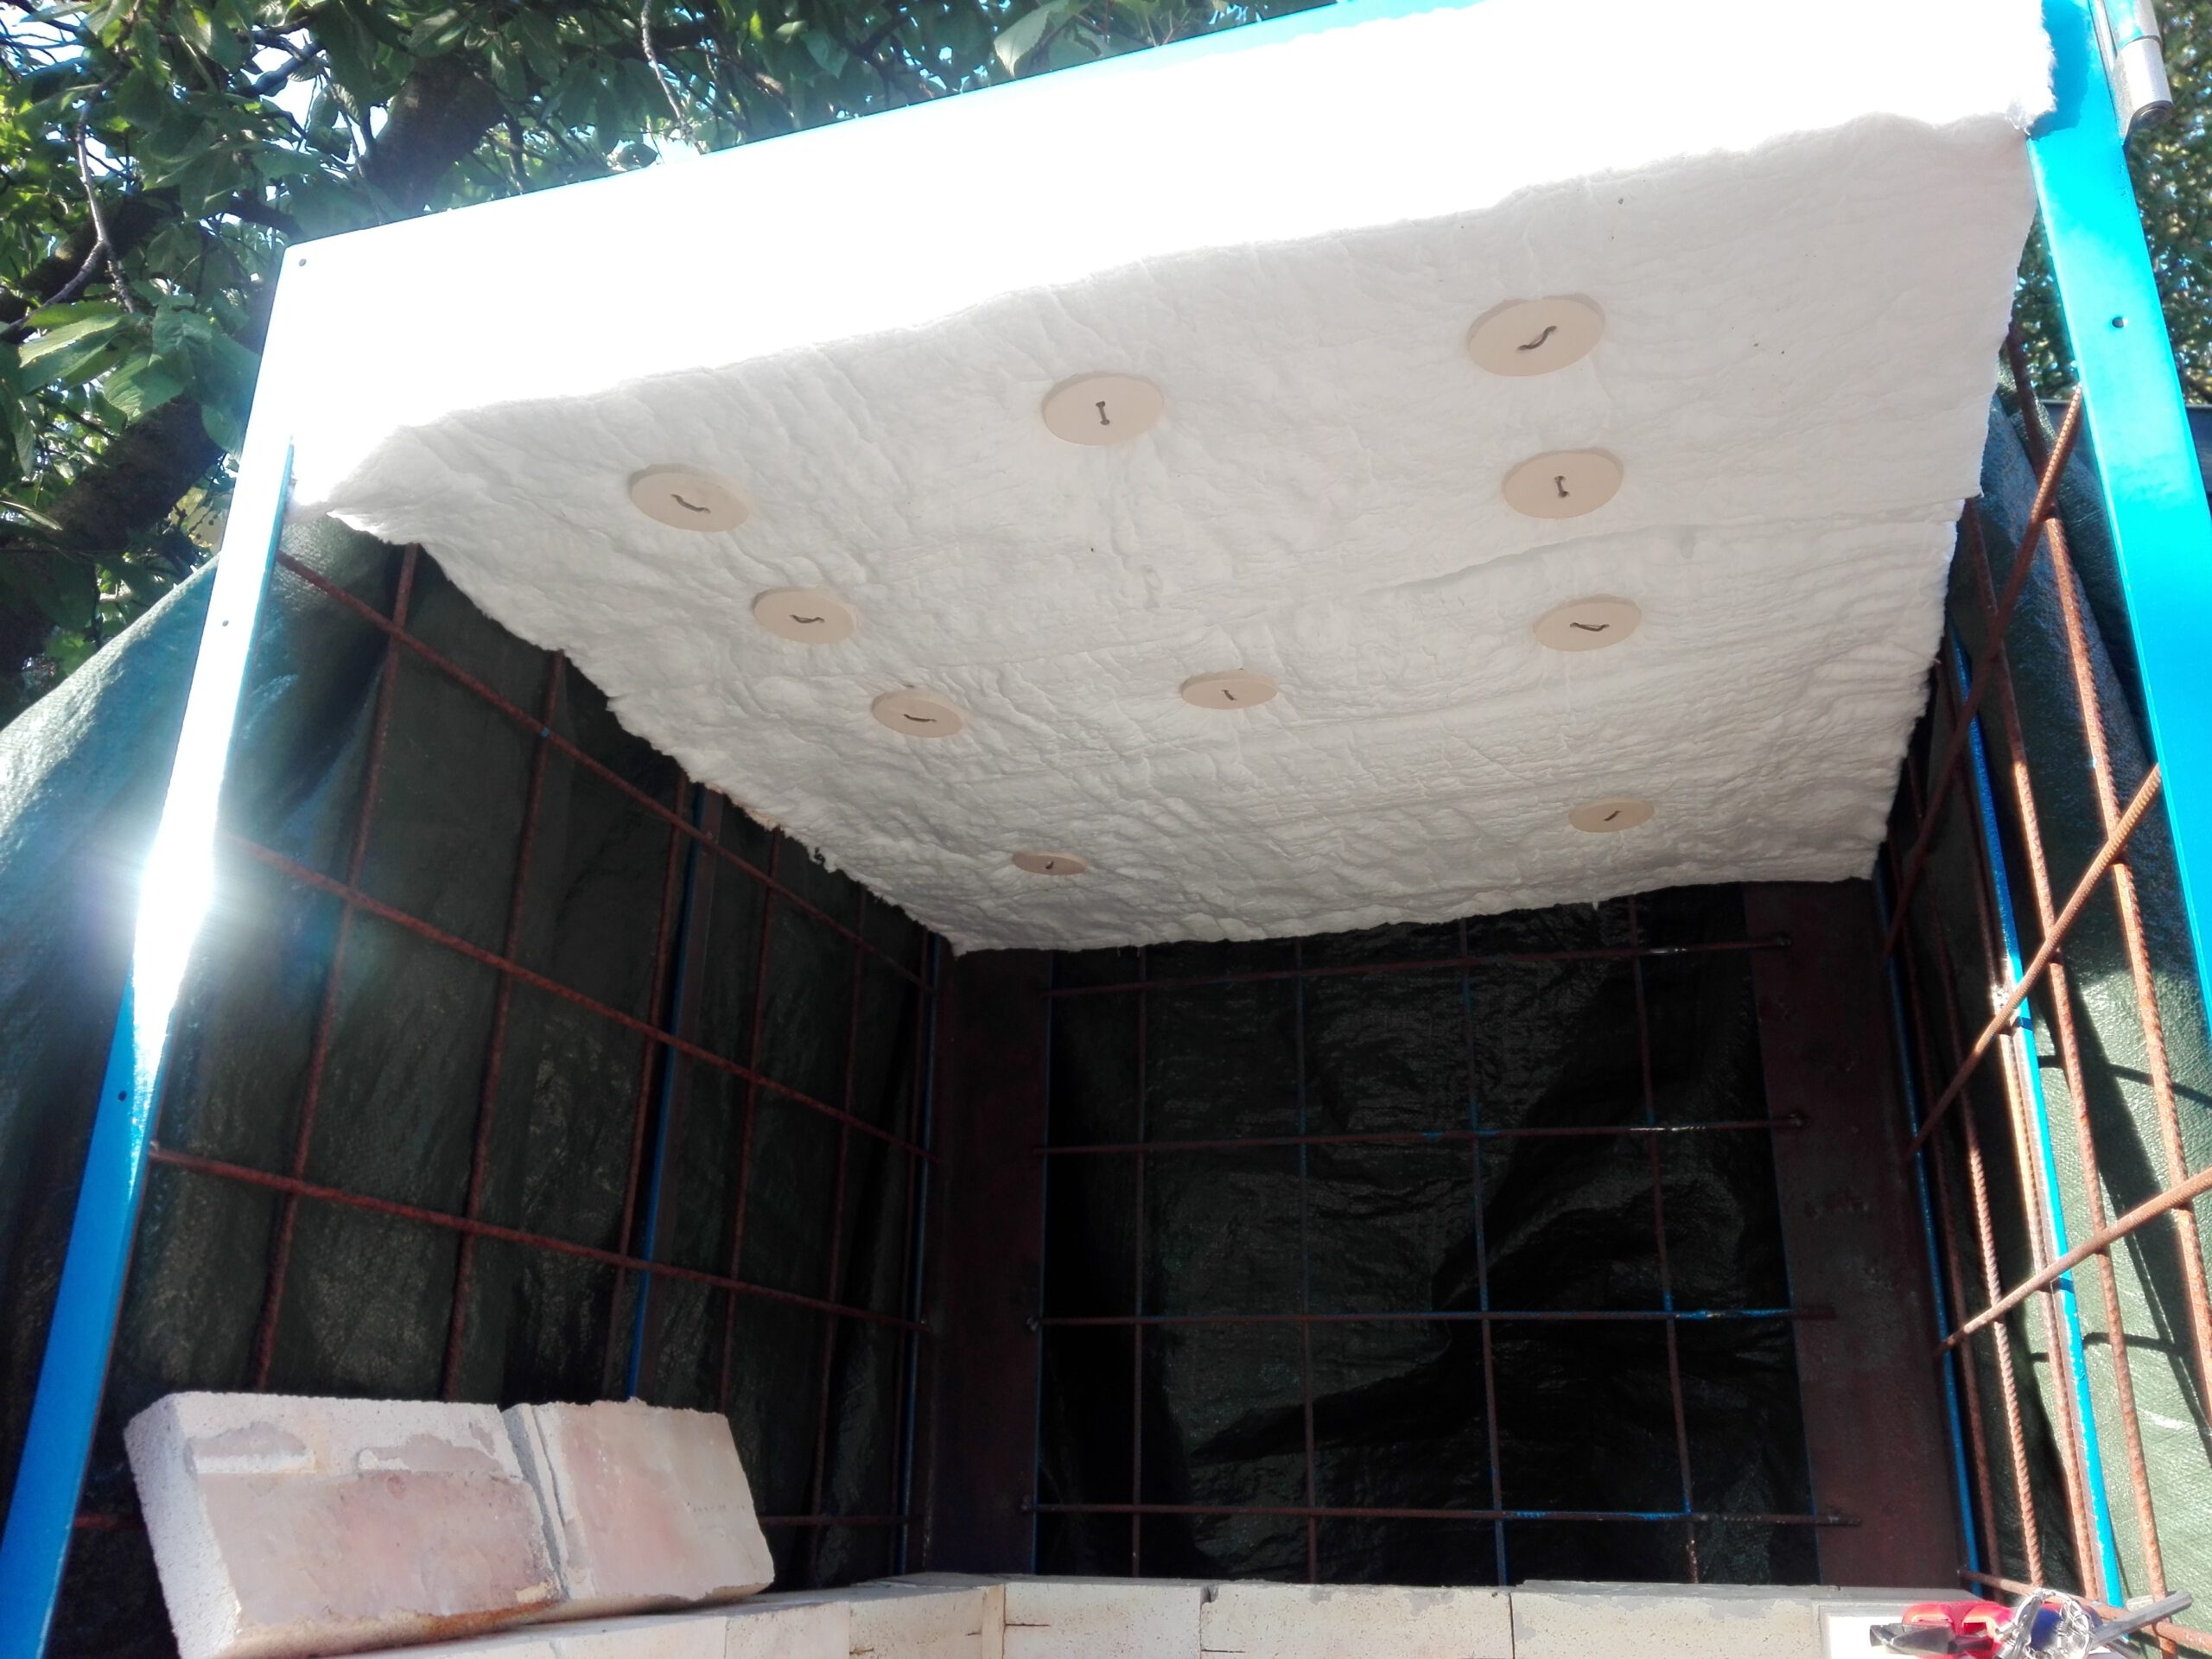
To fix the ceramic fiber in place I made ceramic buttons from high fire clay. To tie the buttons and fiber blankets in place I used wire from old heating elements. The wire is about 2mm in diameter. One problem with old heating wire is that it’s too brittle to unwind it. So I used a propane burner to heat the wire to red heat and unwind it while it’s still hot. This worked fine but I still had a few pieces of wire snap later when I attached the buttons. If you do this make sure you don’t miss a spot when heating the wire.

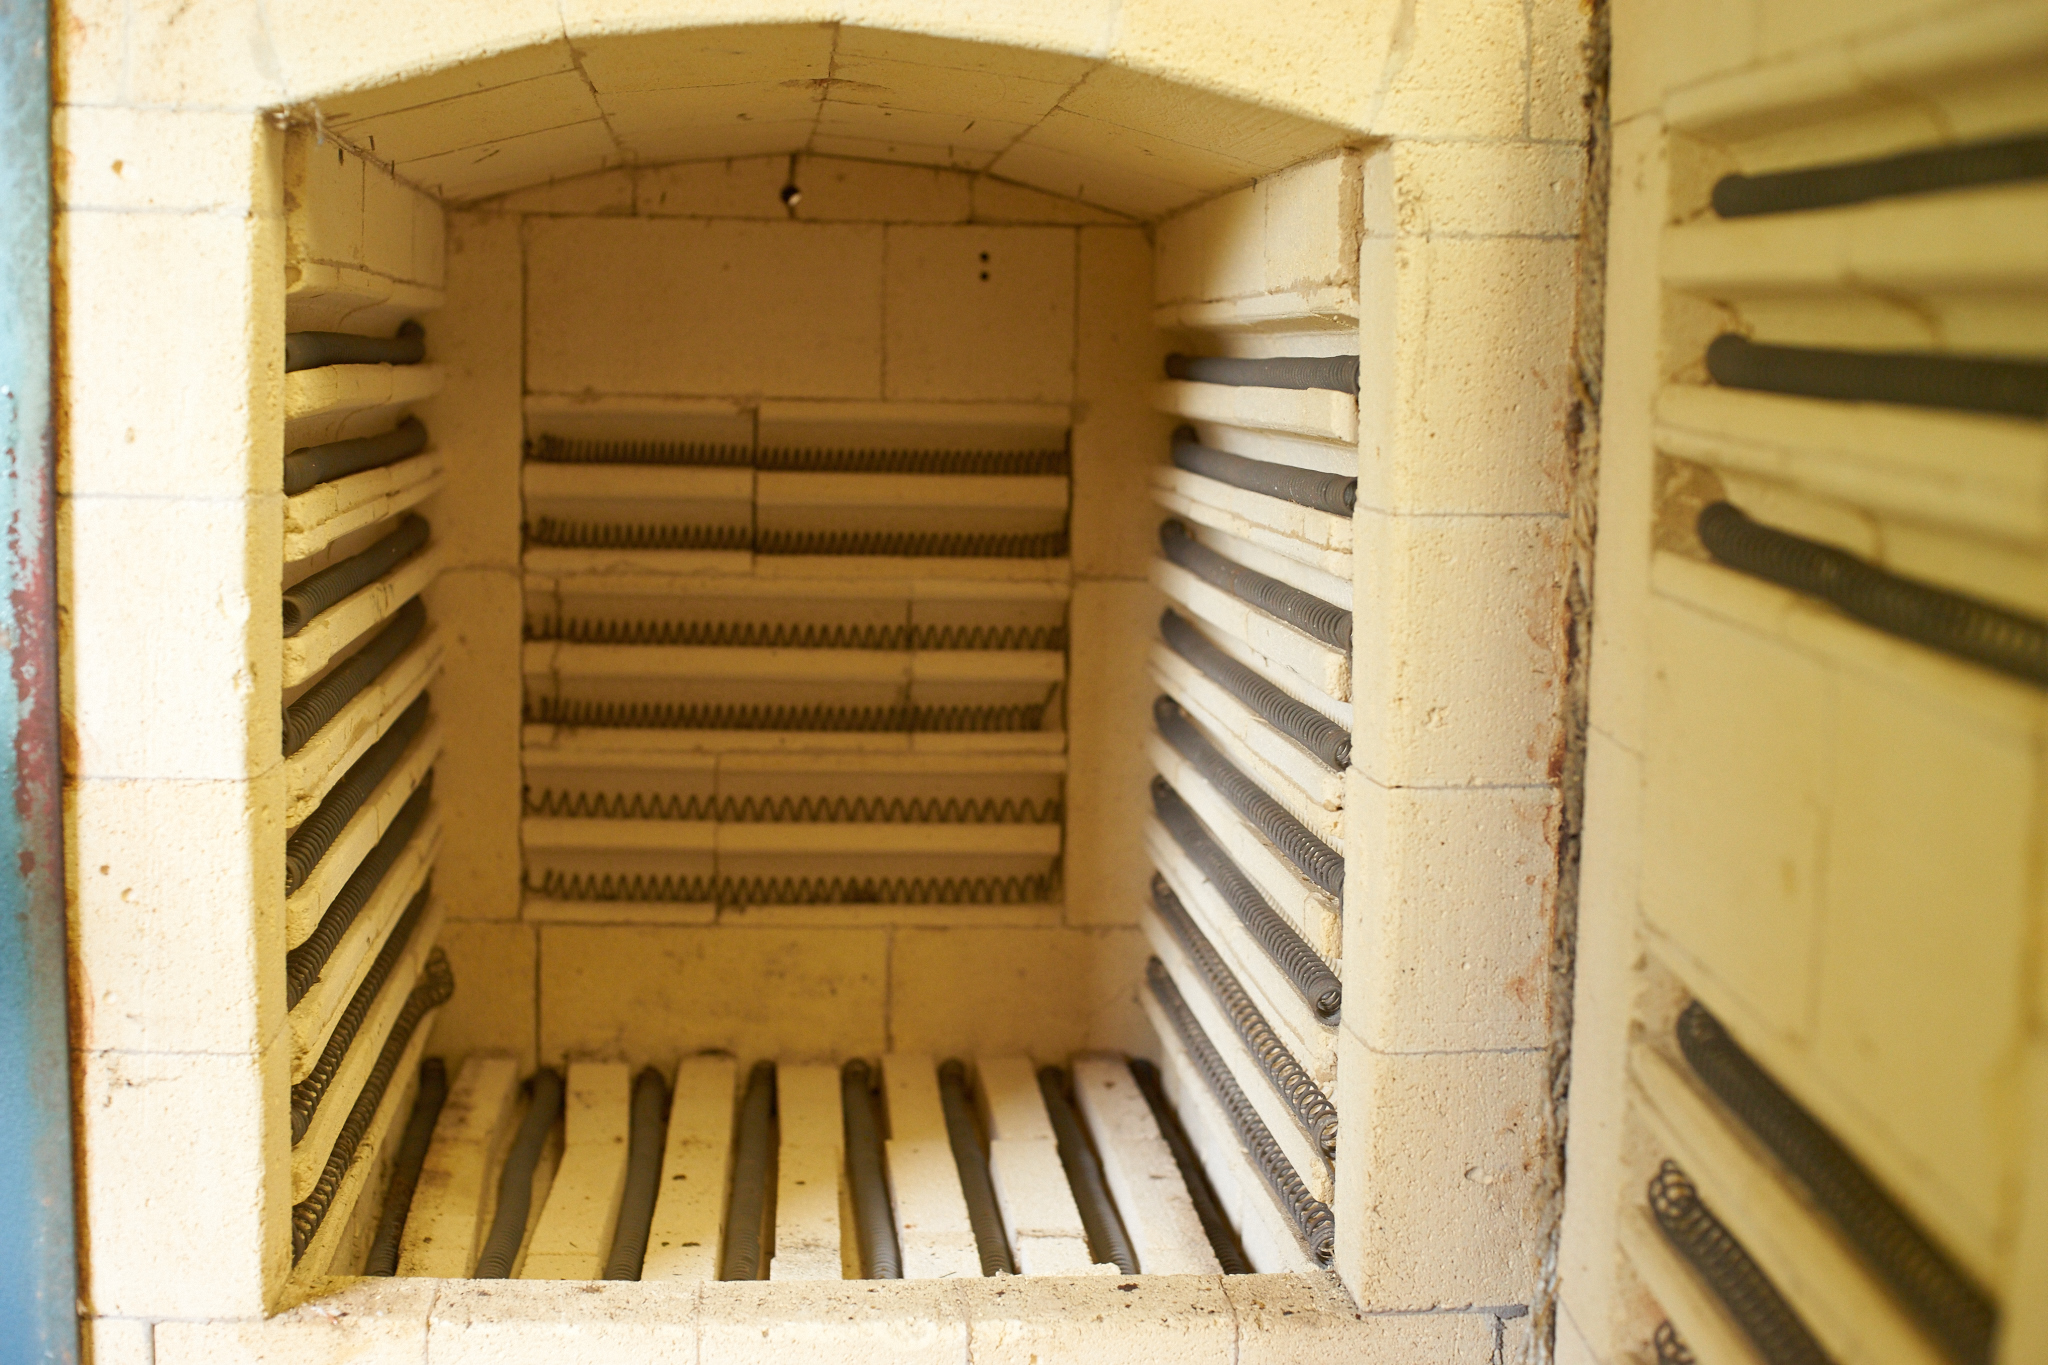
Installing the insulation
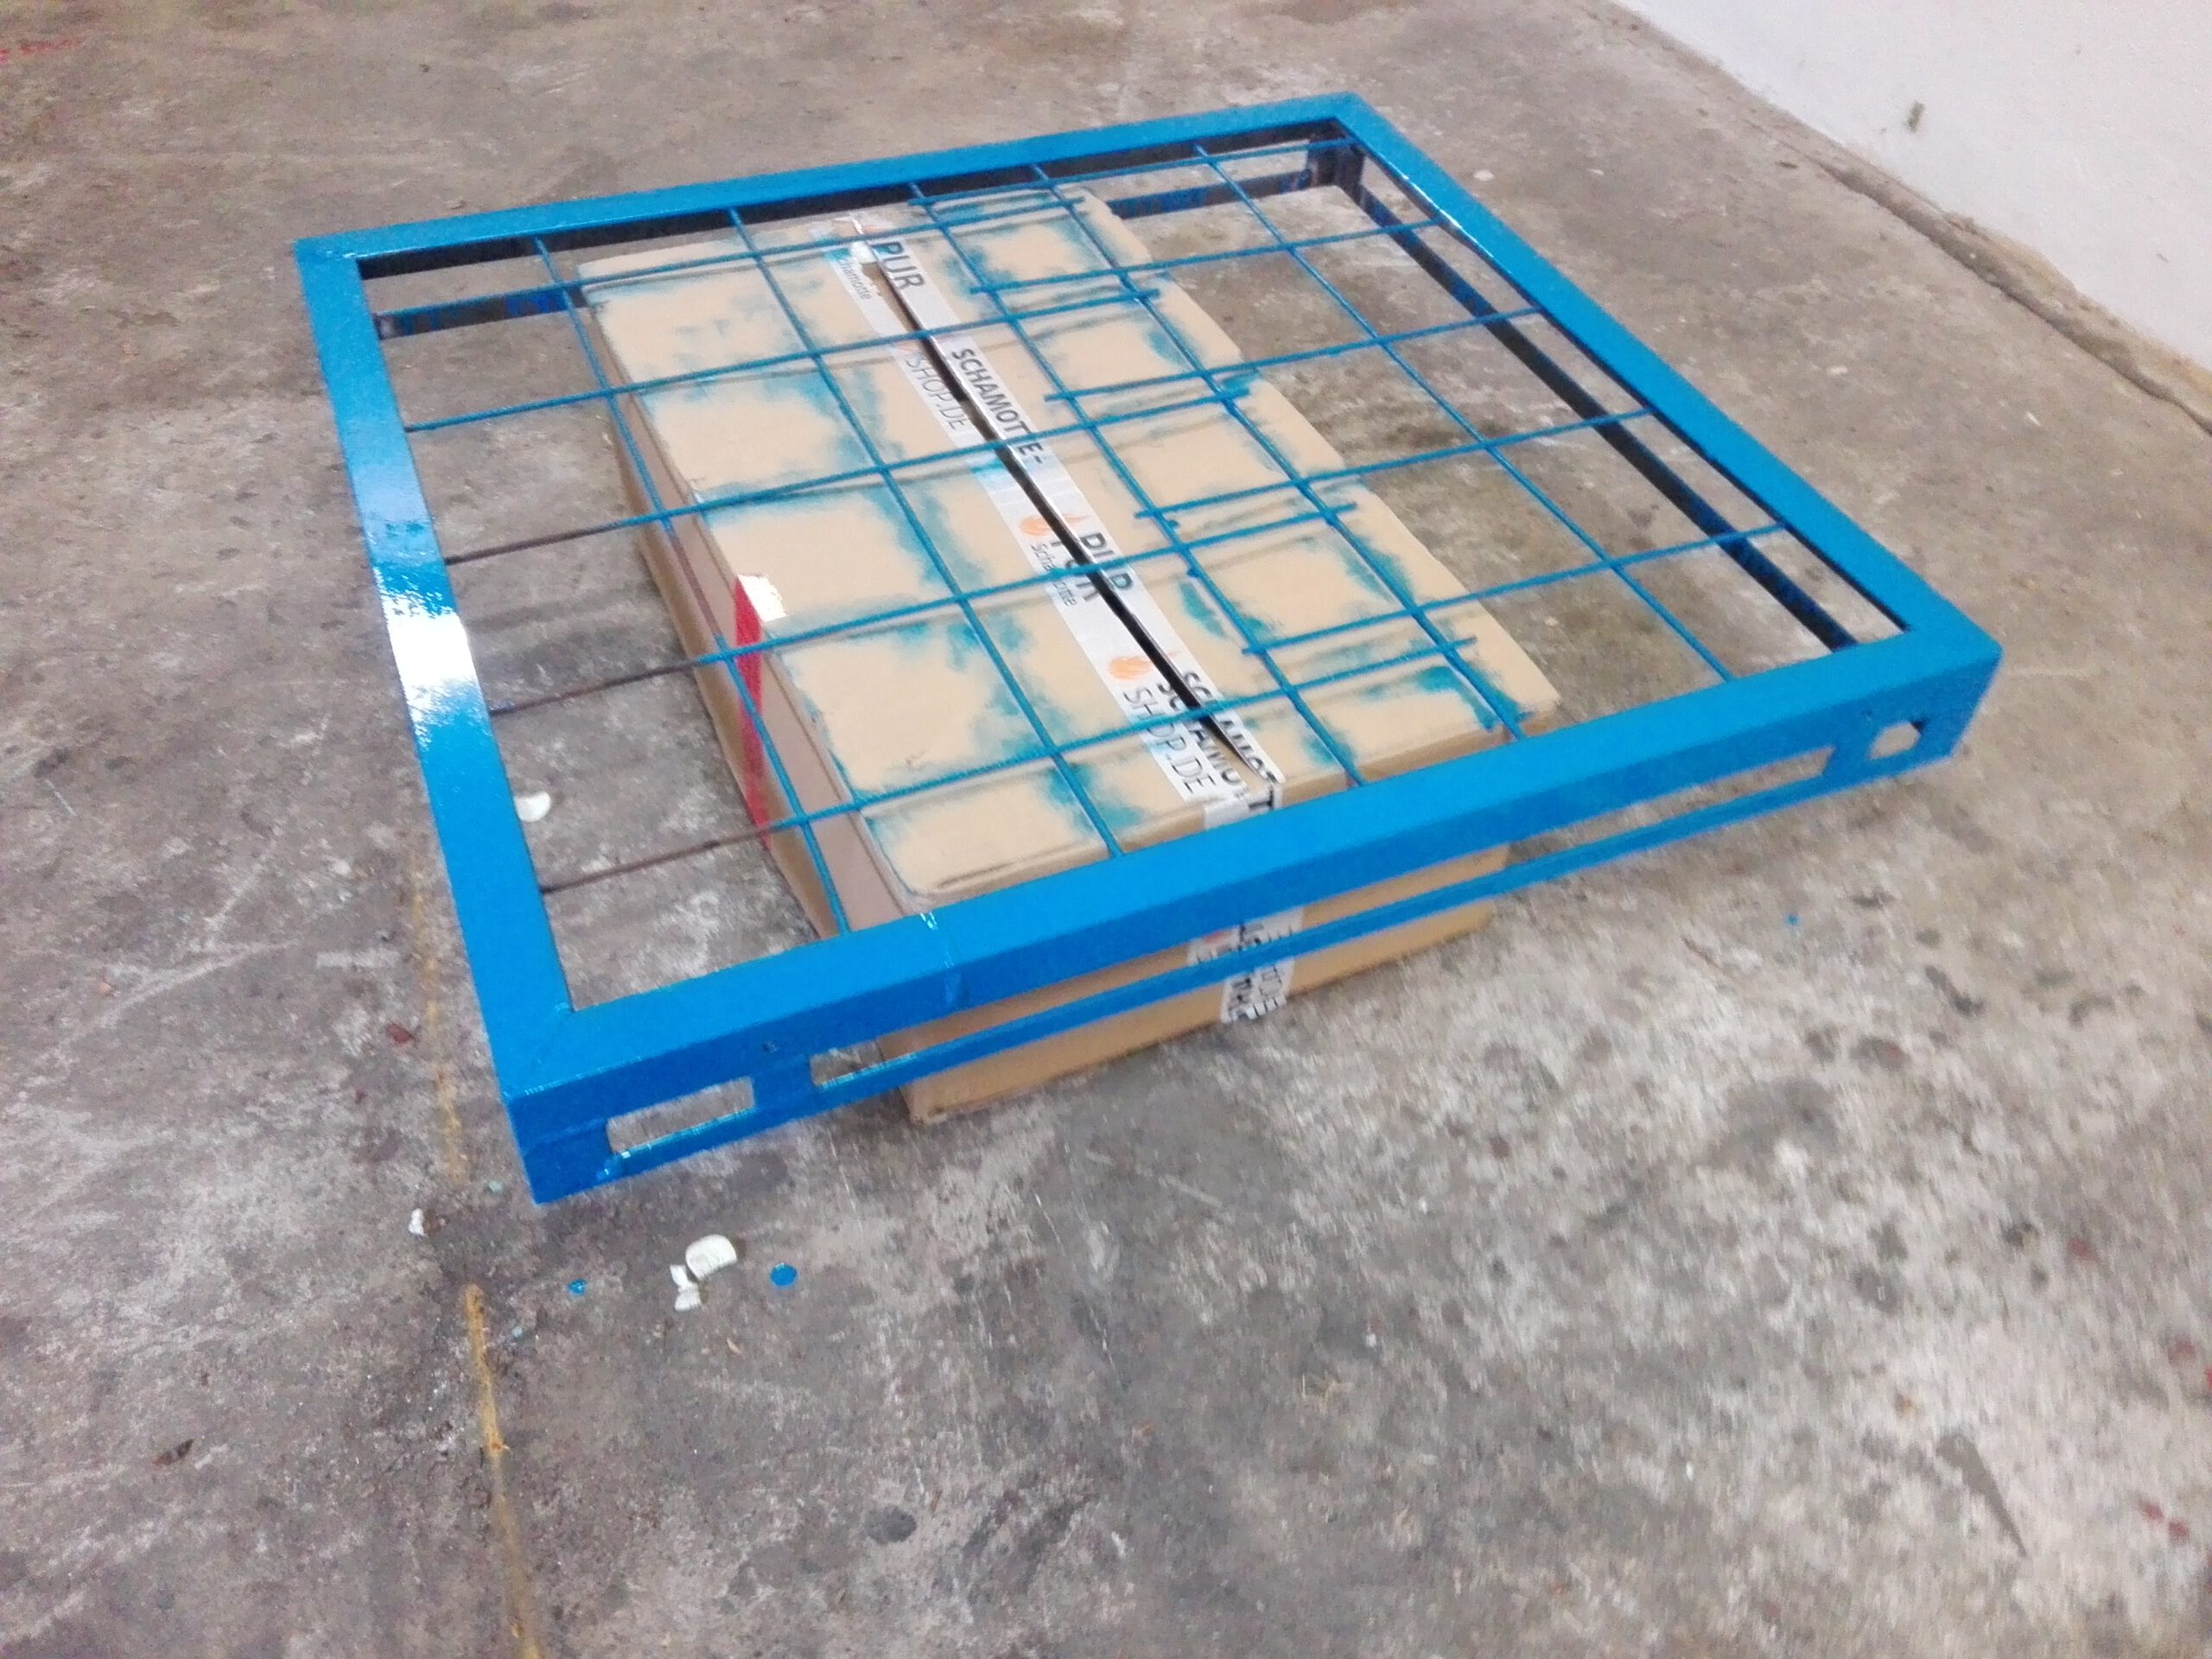
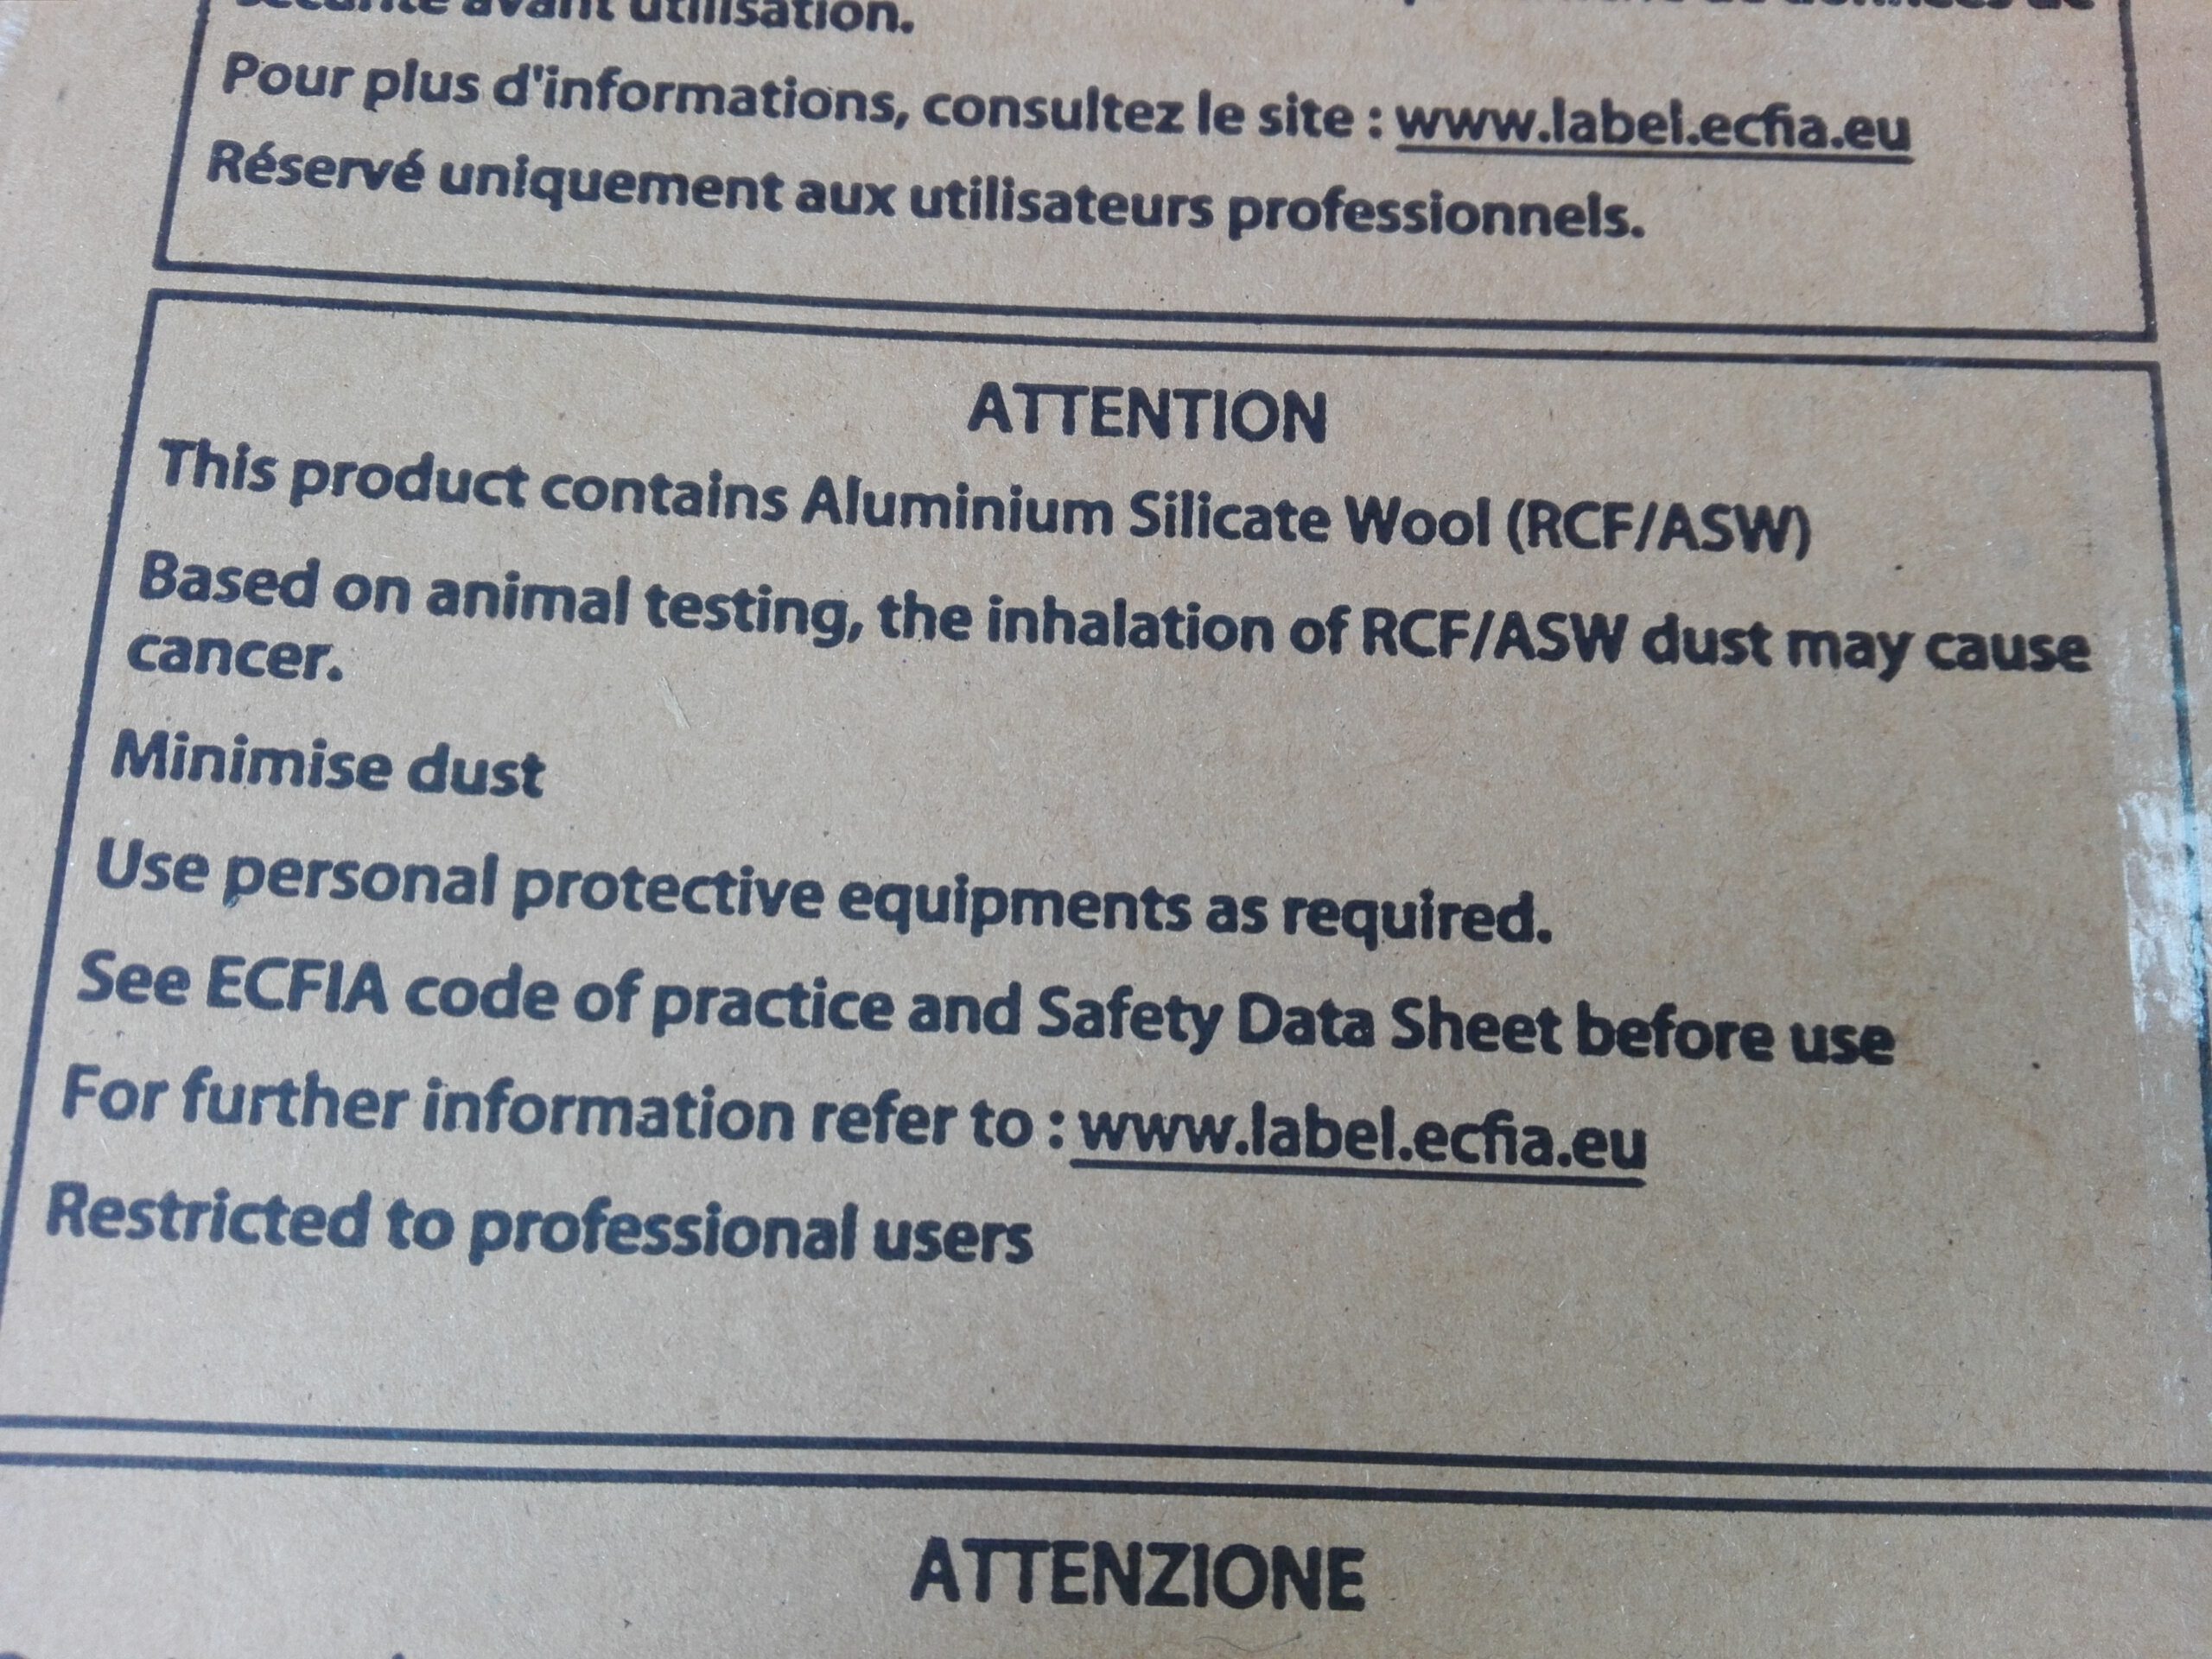
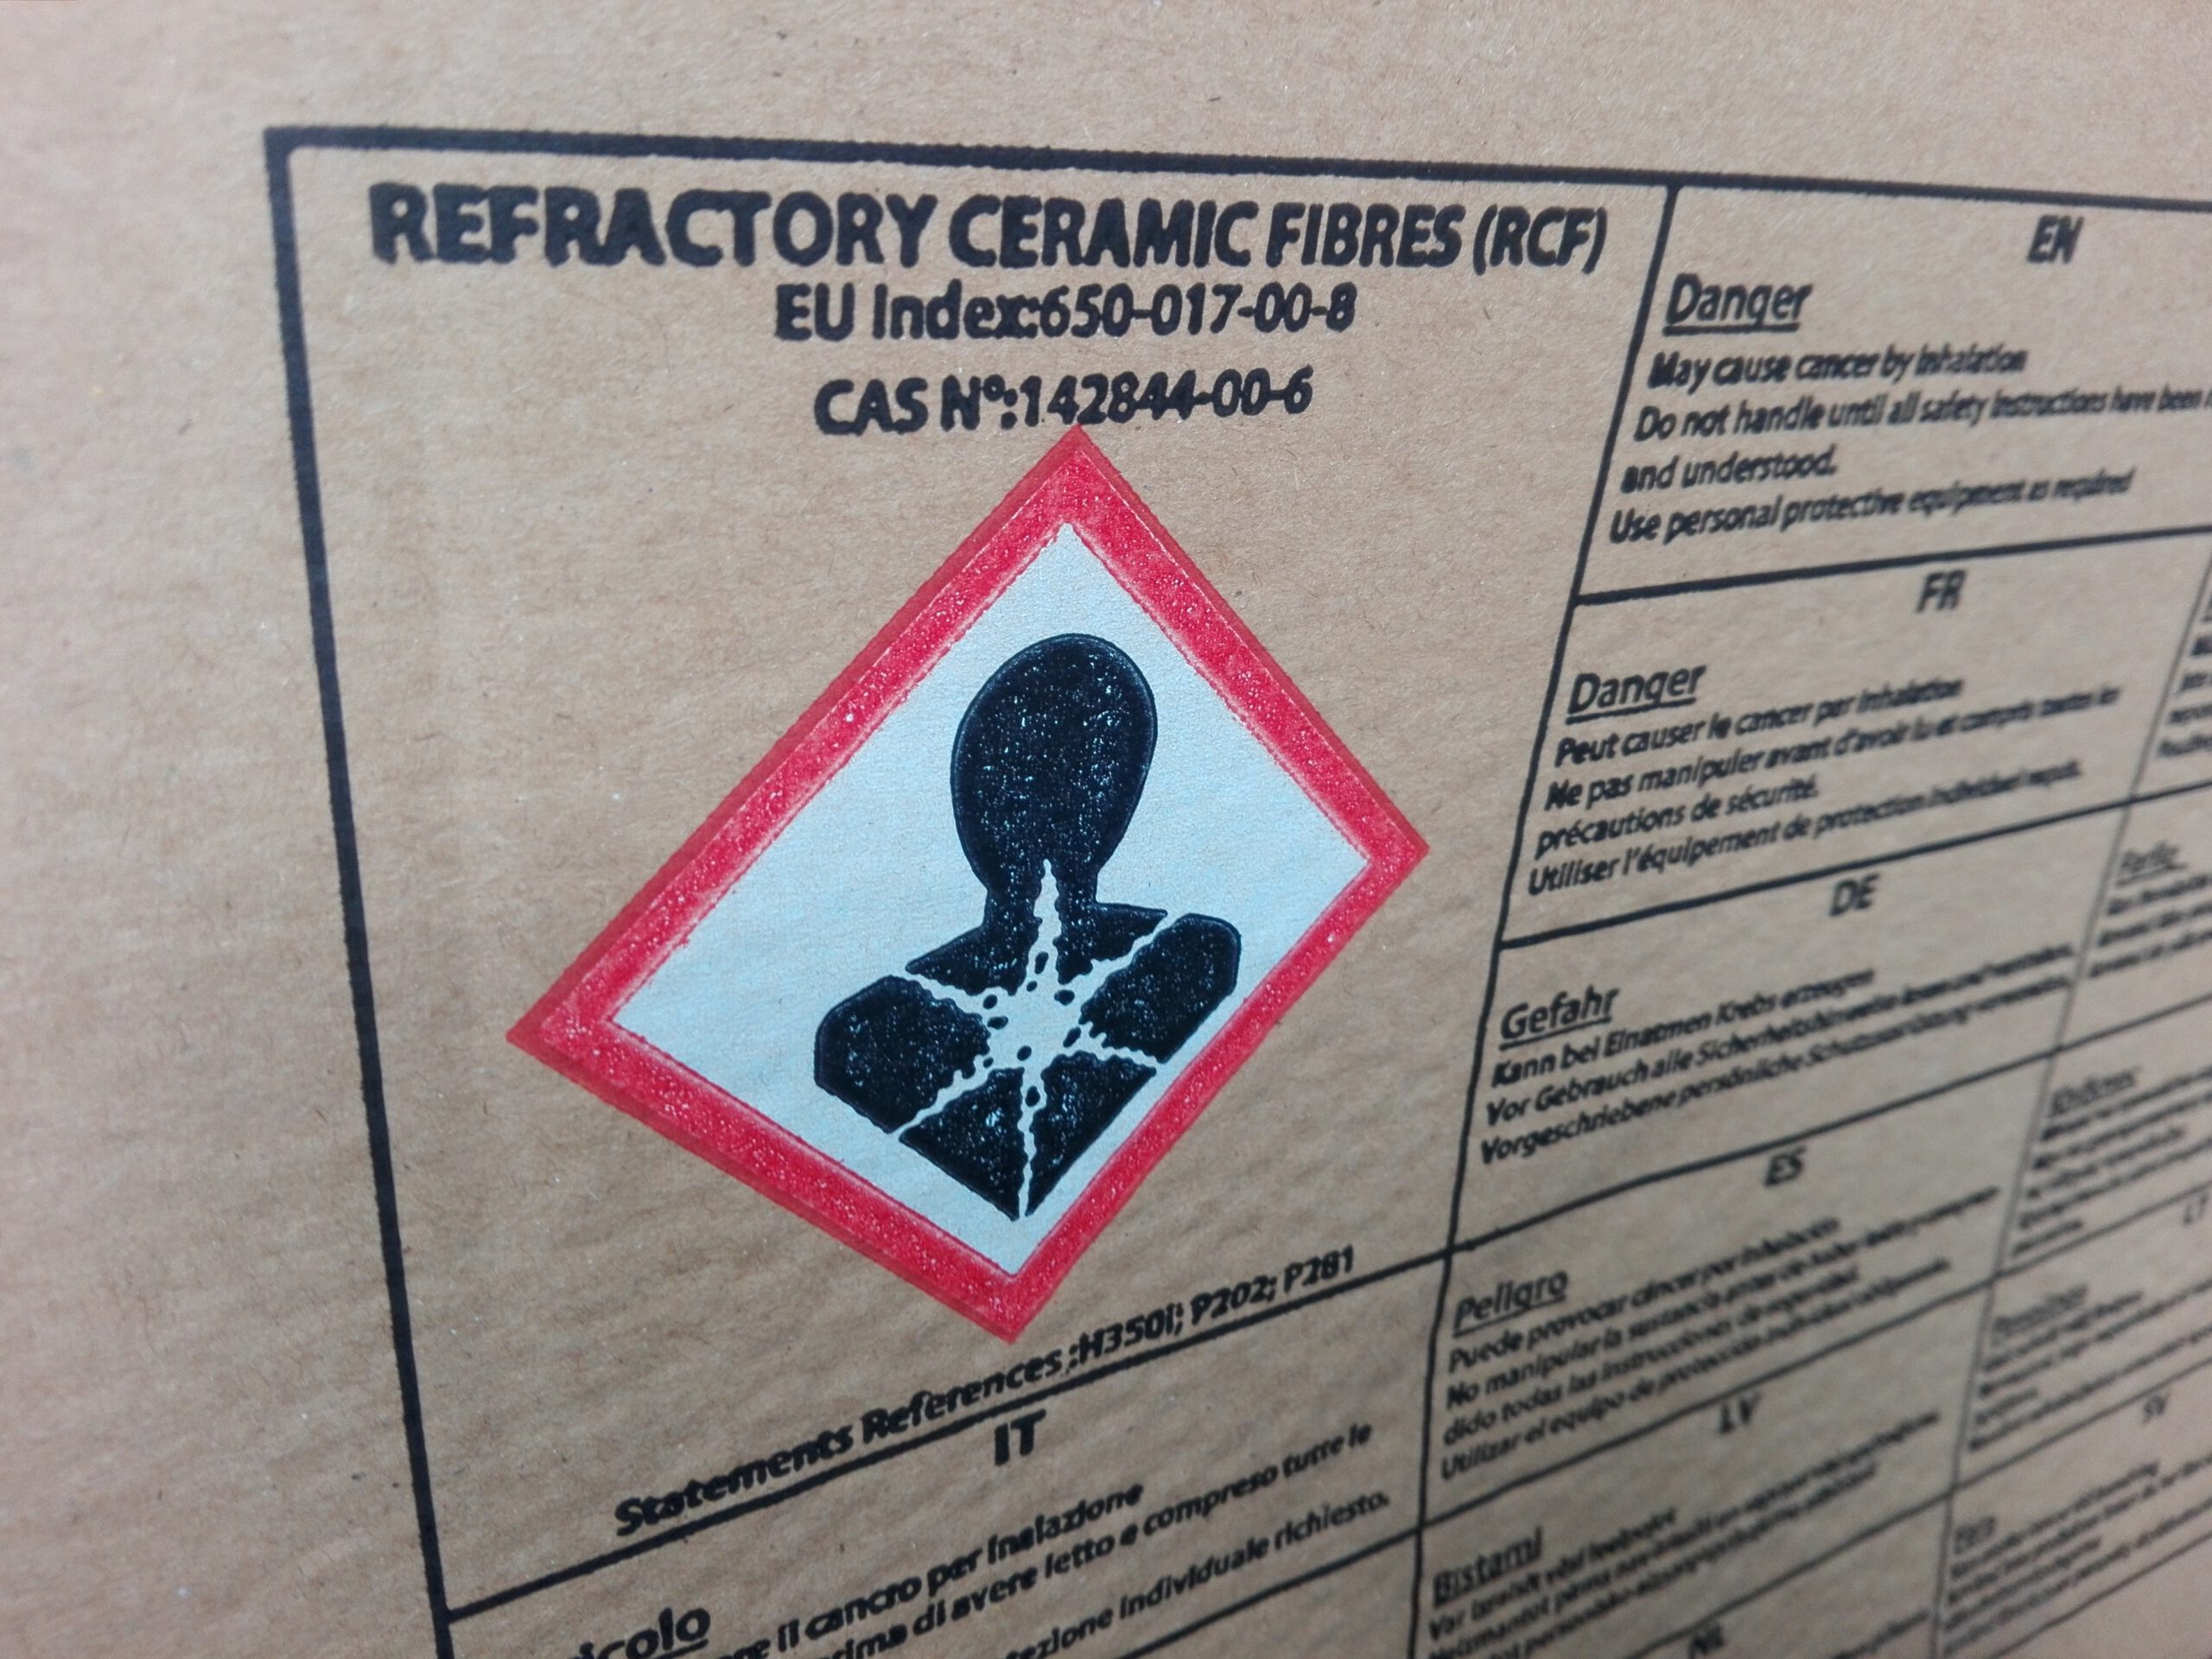
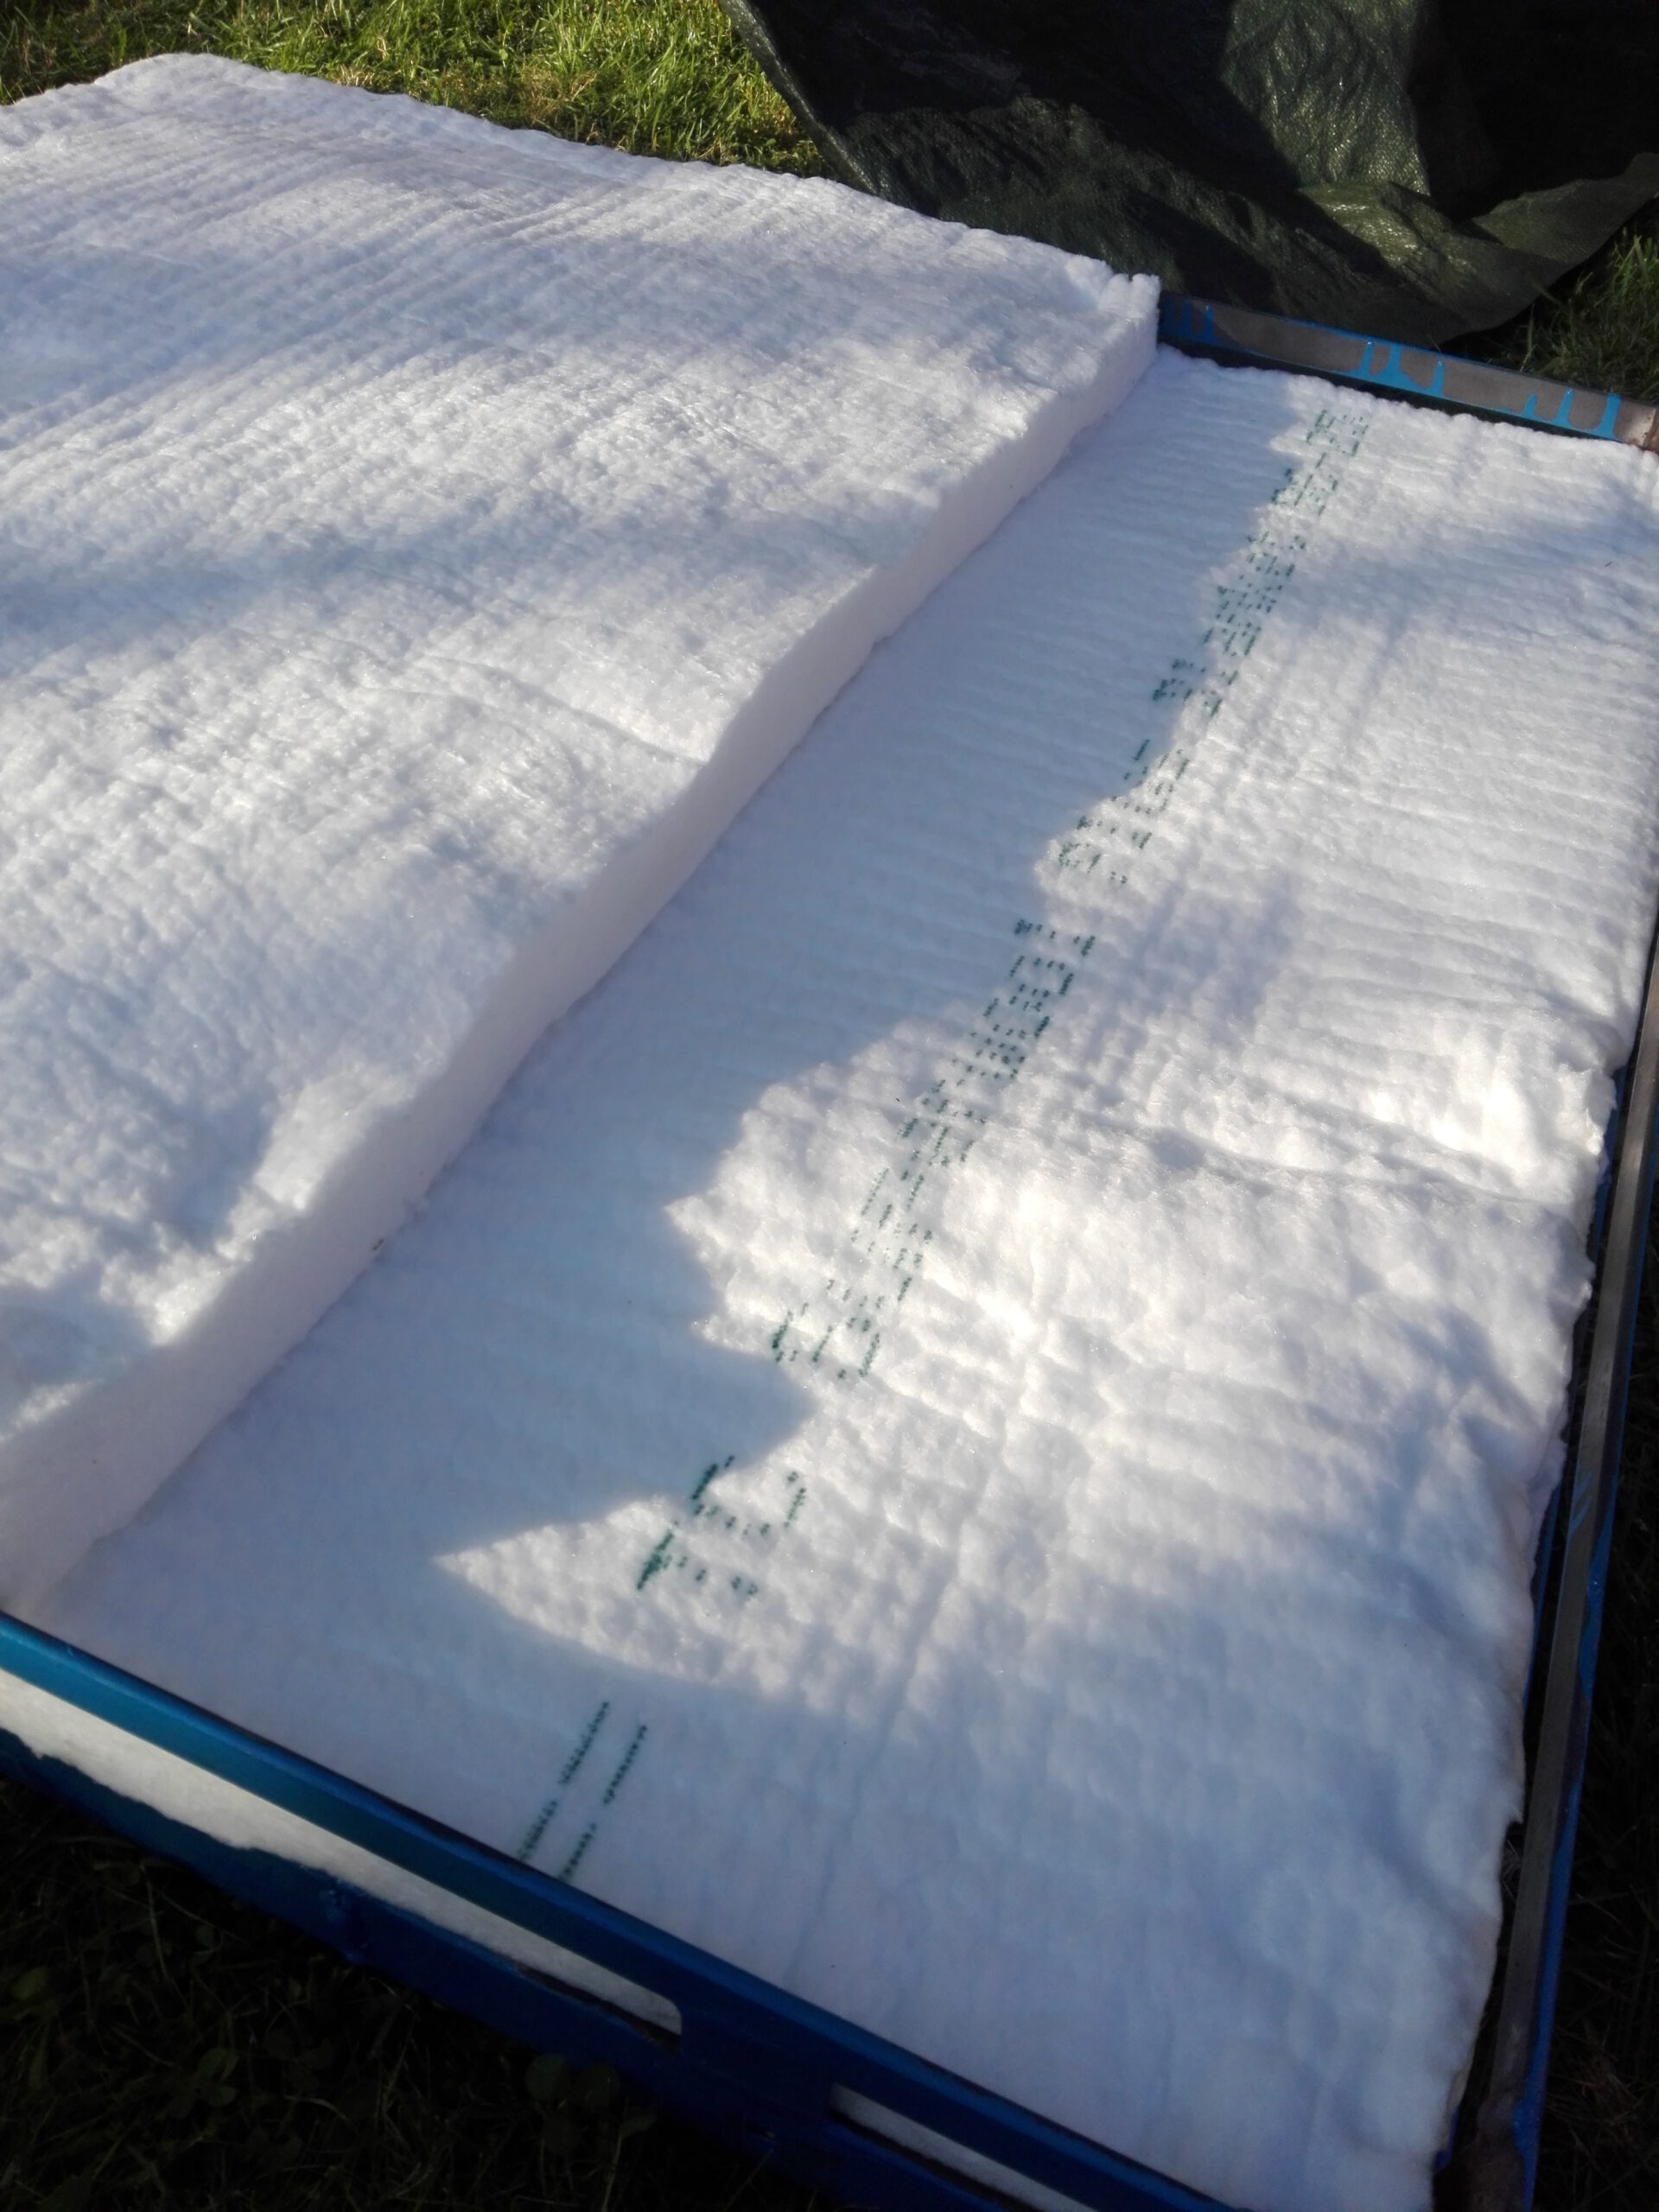
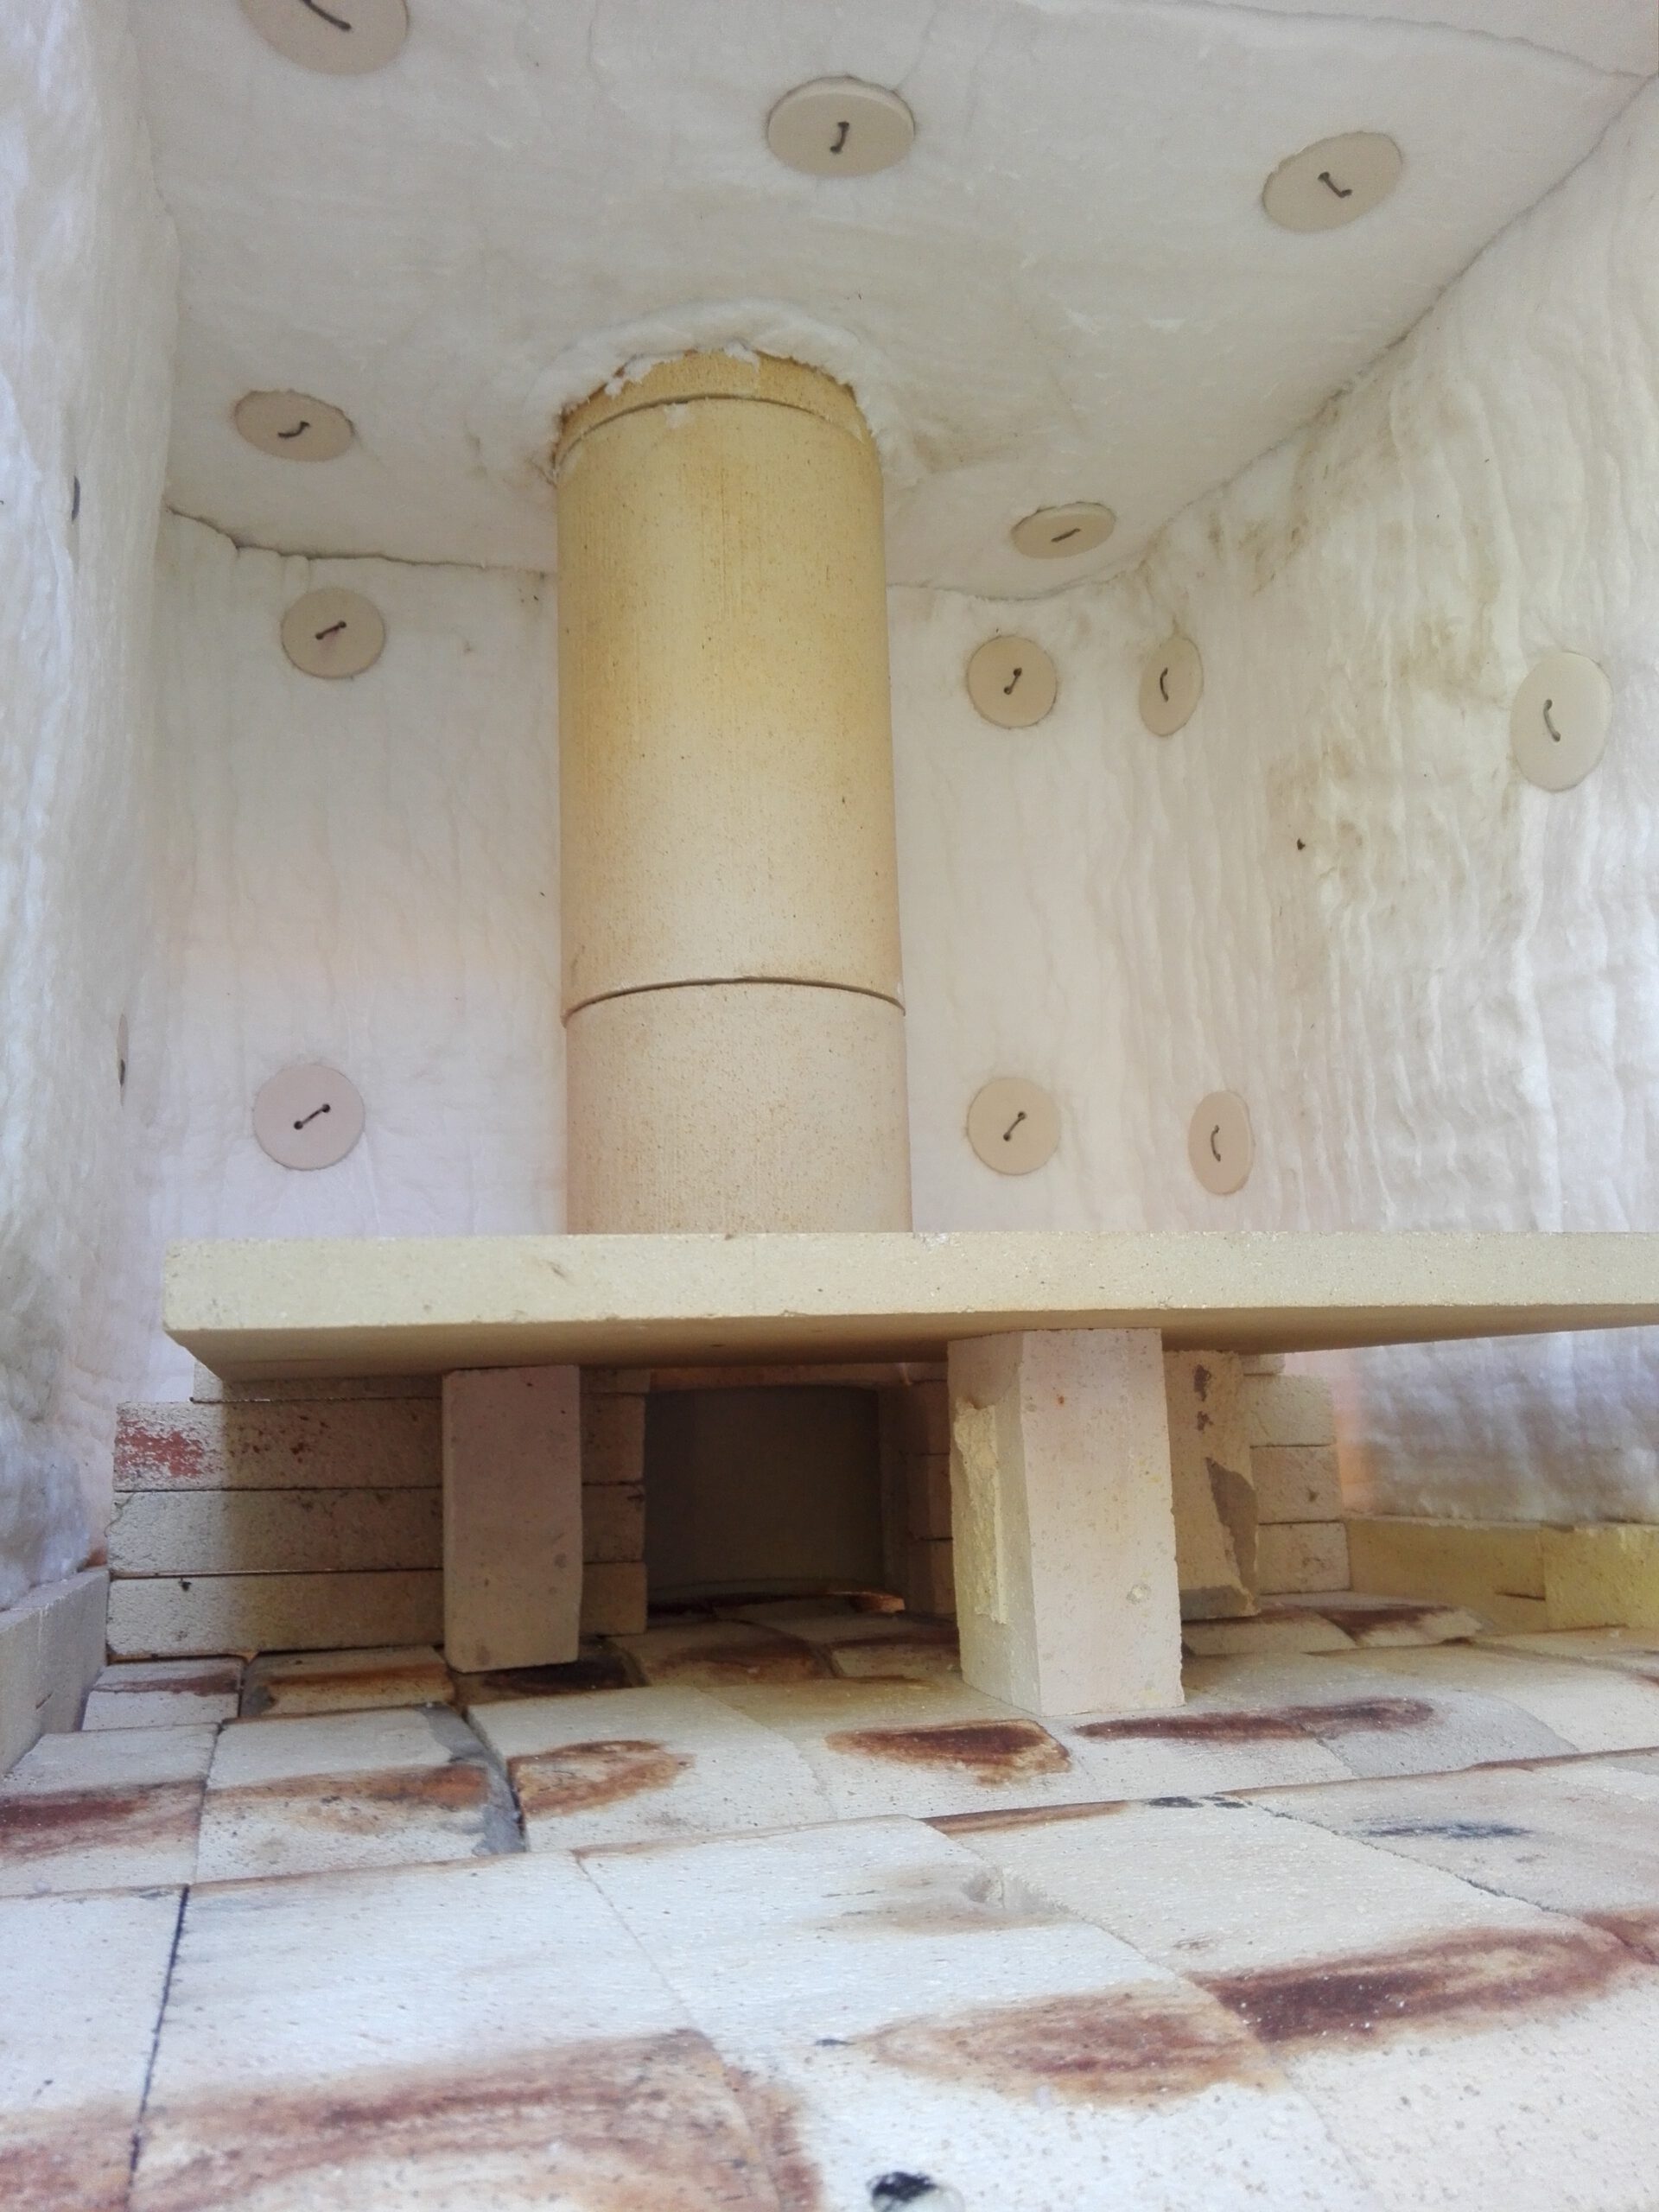
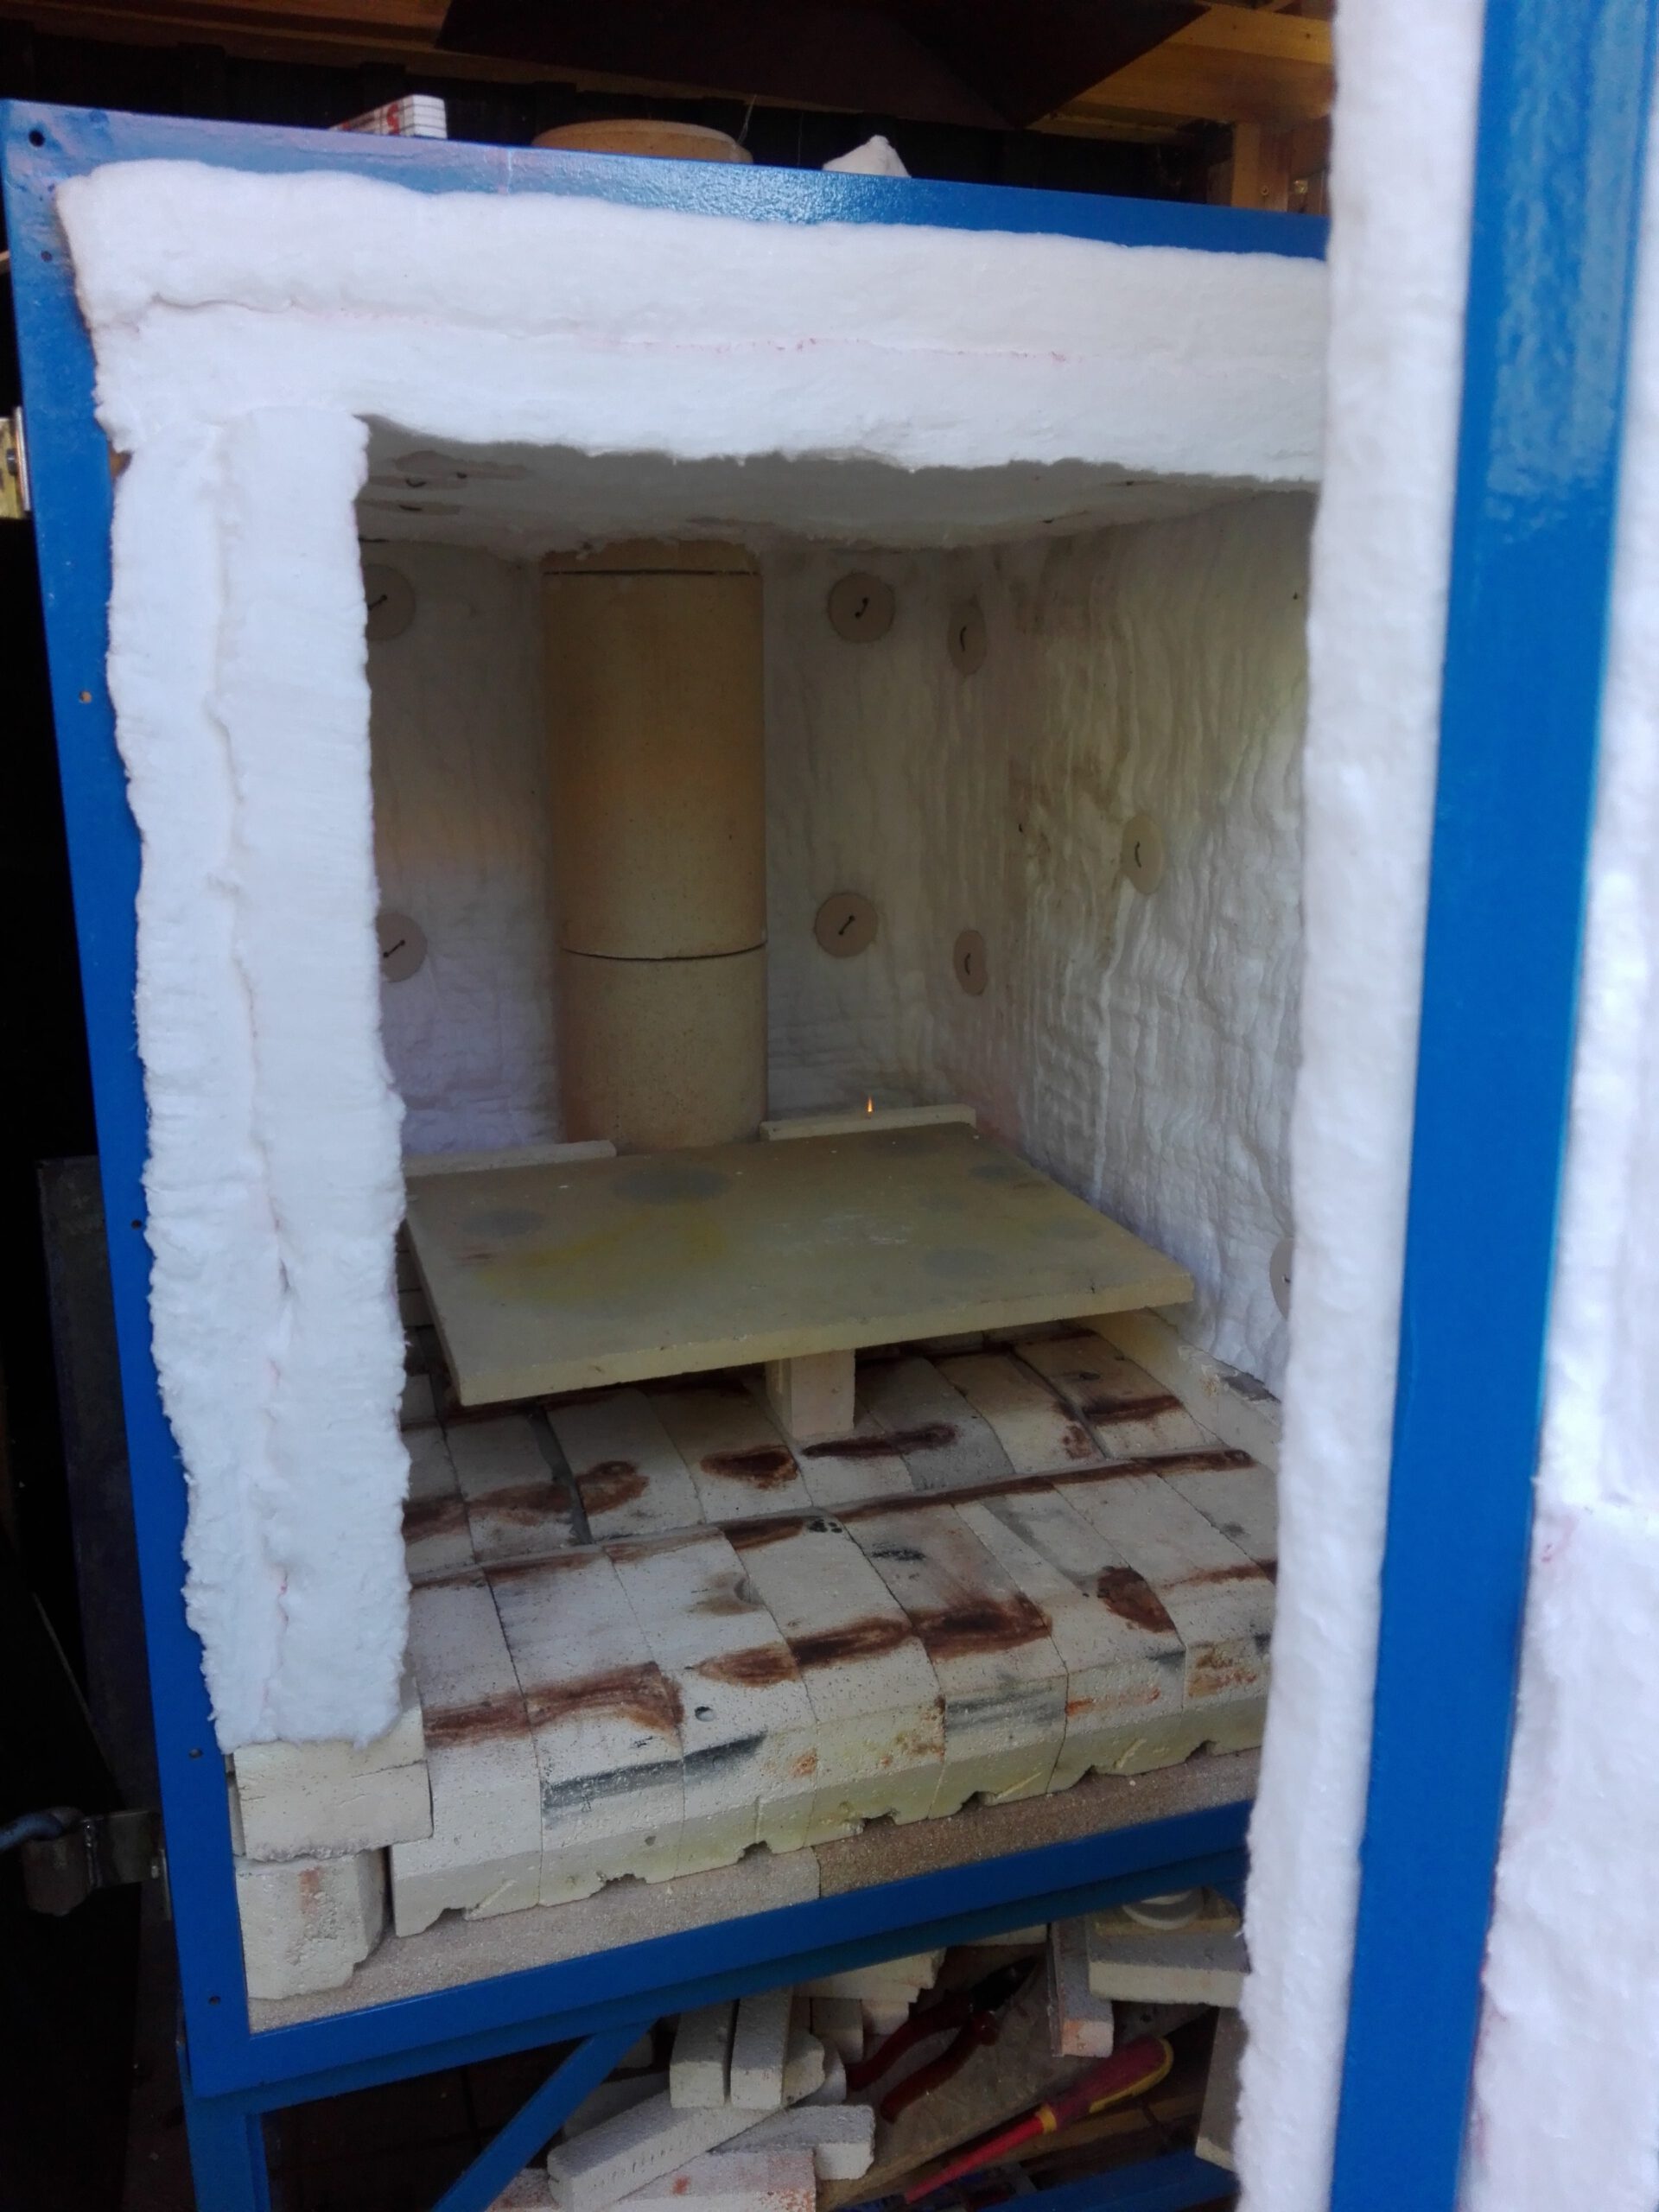
The floor consists of a thin layer of loose vermiculite to help distribute the load. Around the burner ports I used 25mm (1 inch) ceramic fiber instead. On top of that follows a layer of pressed vermiculite boards. The actual floor of the kiln is made of recycled soft fire bricks from another kiln. The floor isn’t even because the bricks came from a round kiln and I didn’t bother to cut the bricks flat. It doesn’t really matter because the pots will be on shelves. I had to put one line of bricks along the side walls and back of the kiln. This is due to the ceramic fiber blankets being only 610mm wide and the inside height of the kiln is about 700mm. For the walls and ceiling I used two different grades of ceramic fiber. The outer layer is rated to 1280°C and the inner layer is rated to 1400°C. The blankets are cut with a knife and fixed in place with buttons and wire. Make sure to wear a dust mask or respirator when handling ceramic fiber. There is a health risk involved.

Chimney flue
For the chimney I used hard fire-brick tubes. I cut an opening in one of the chimney elements to act as an intake for the exhaust gases. The idea is that the flames come up through the floor of the kiln, go to the ceiling and then come down below the lowest shelf to enter the chimney and exist the kiln. There are small bagwalls to hopefully keep the flames from taking a shortcut from the burner ports directly into the flue.
Burners
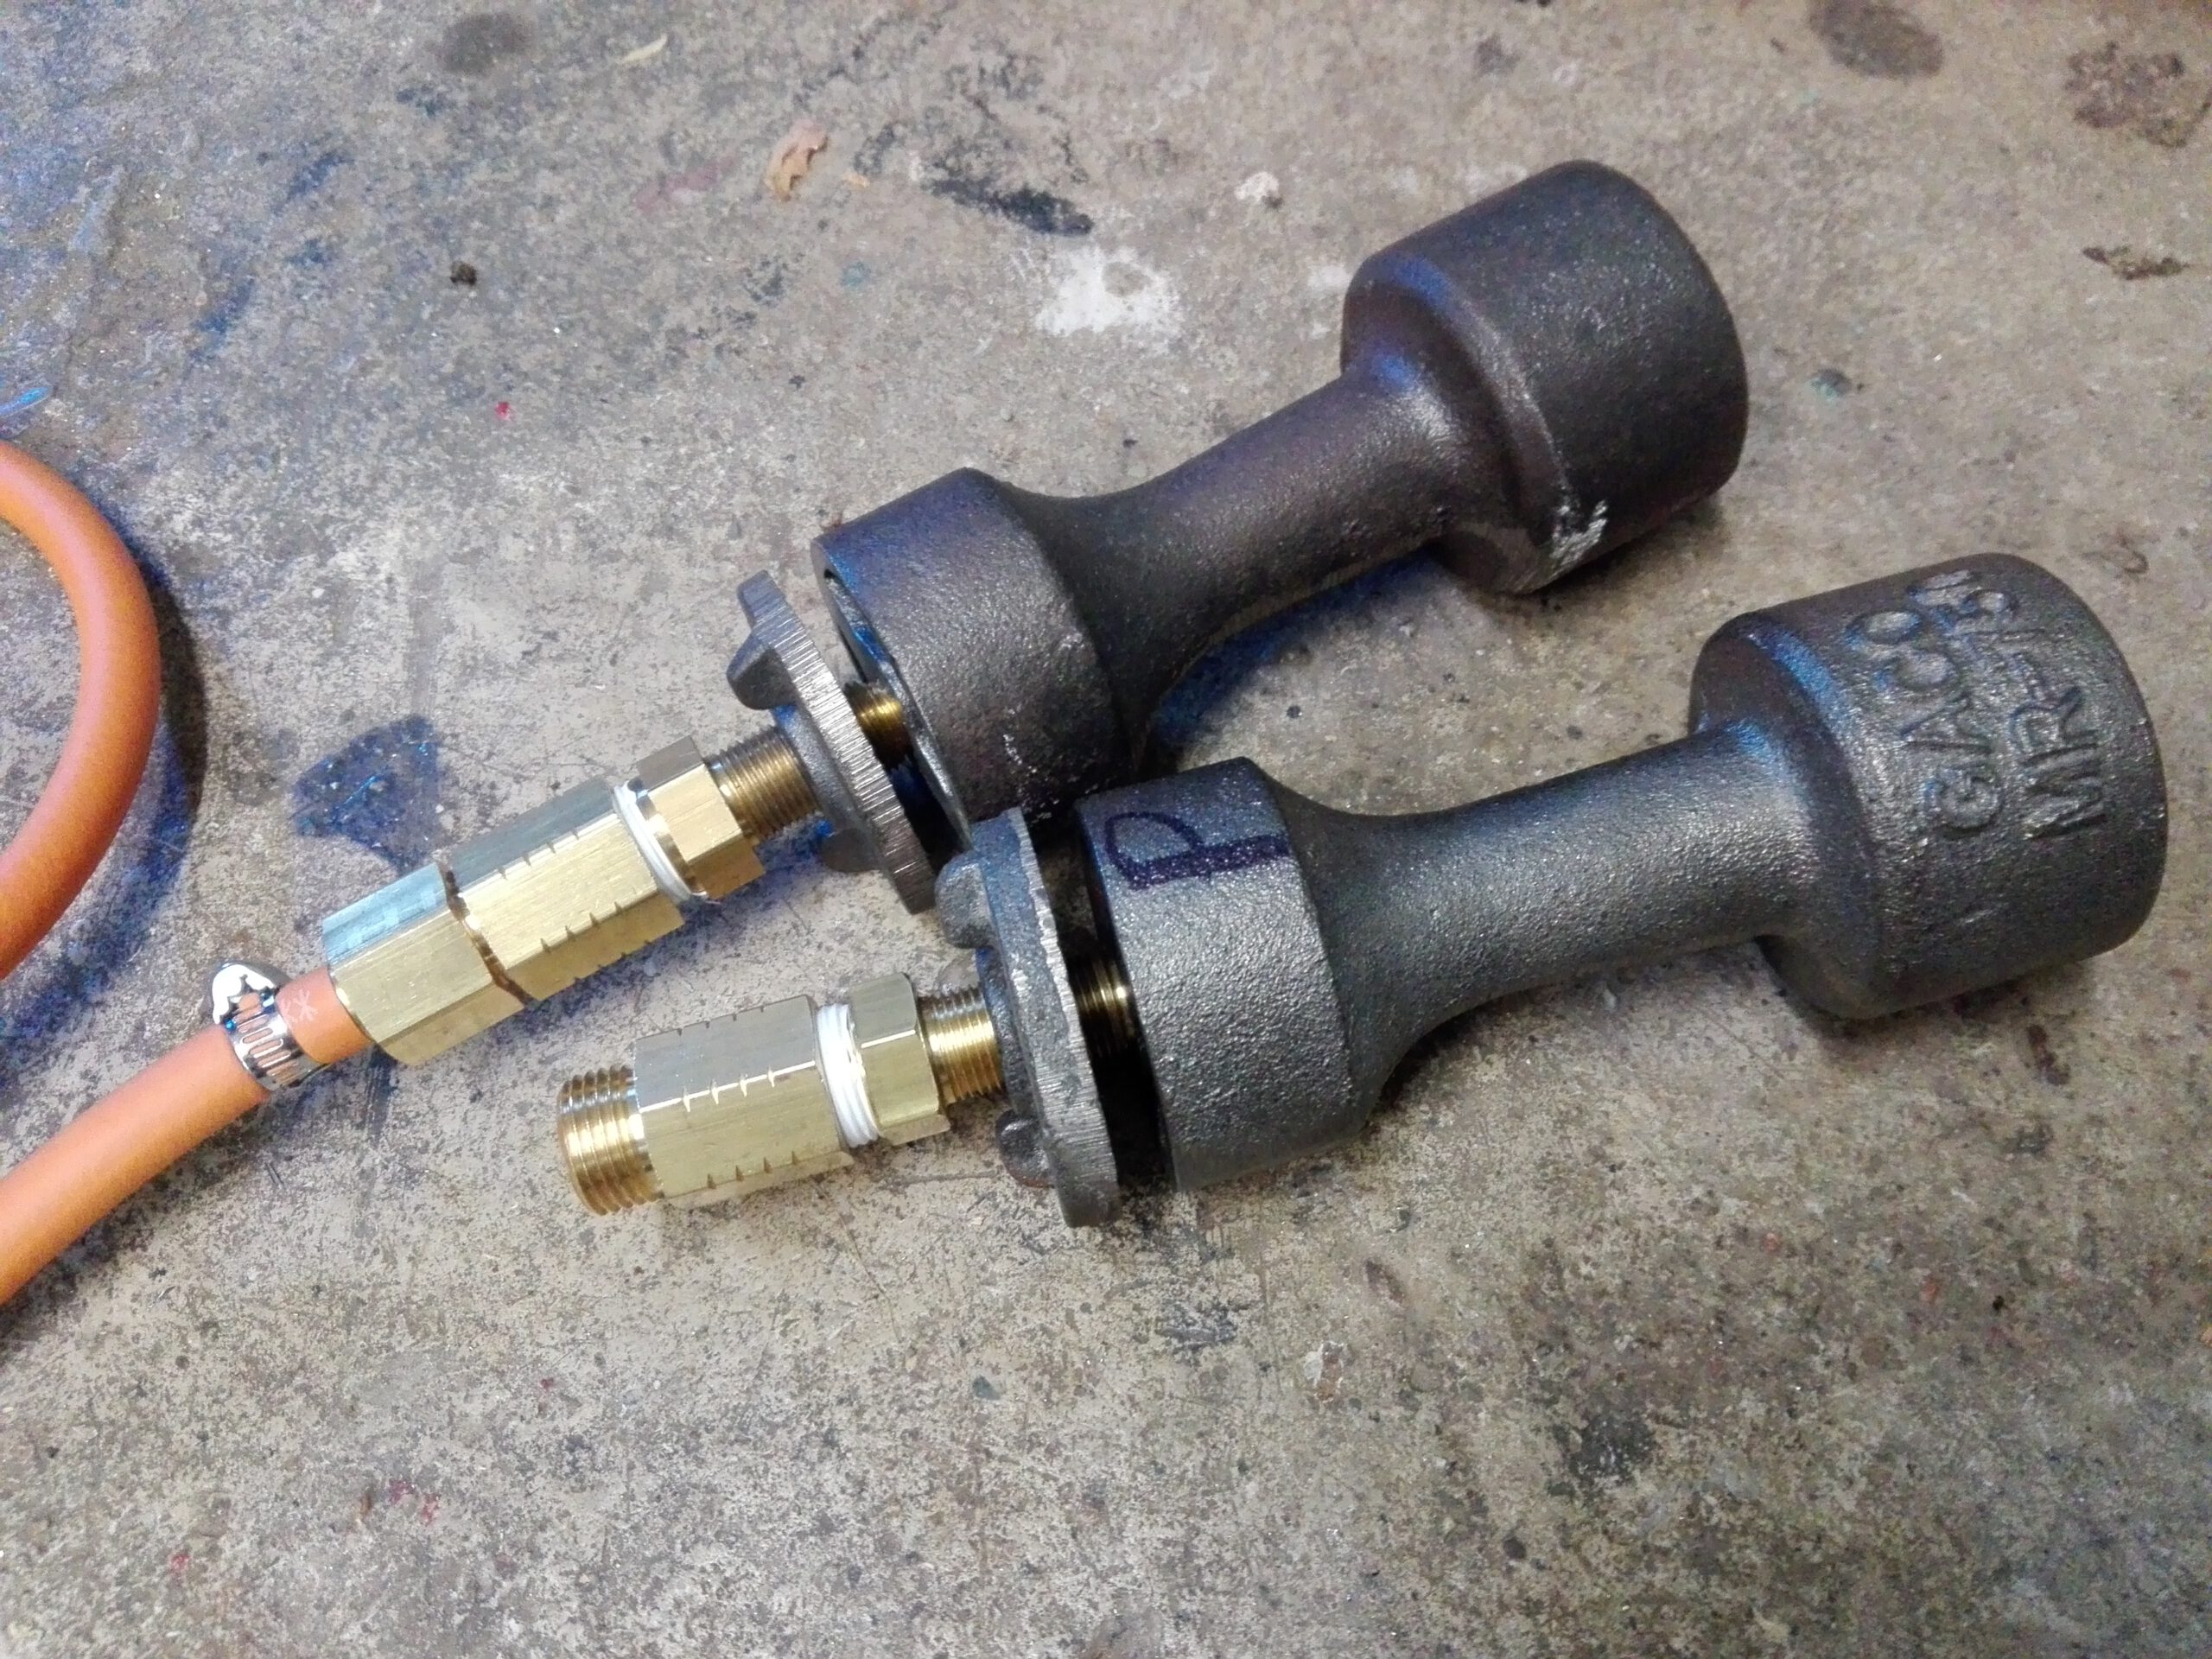
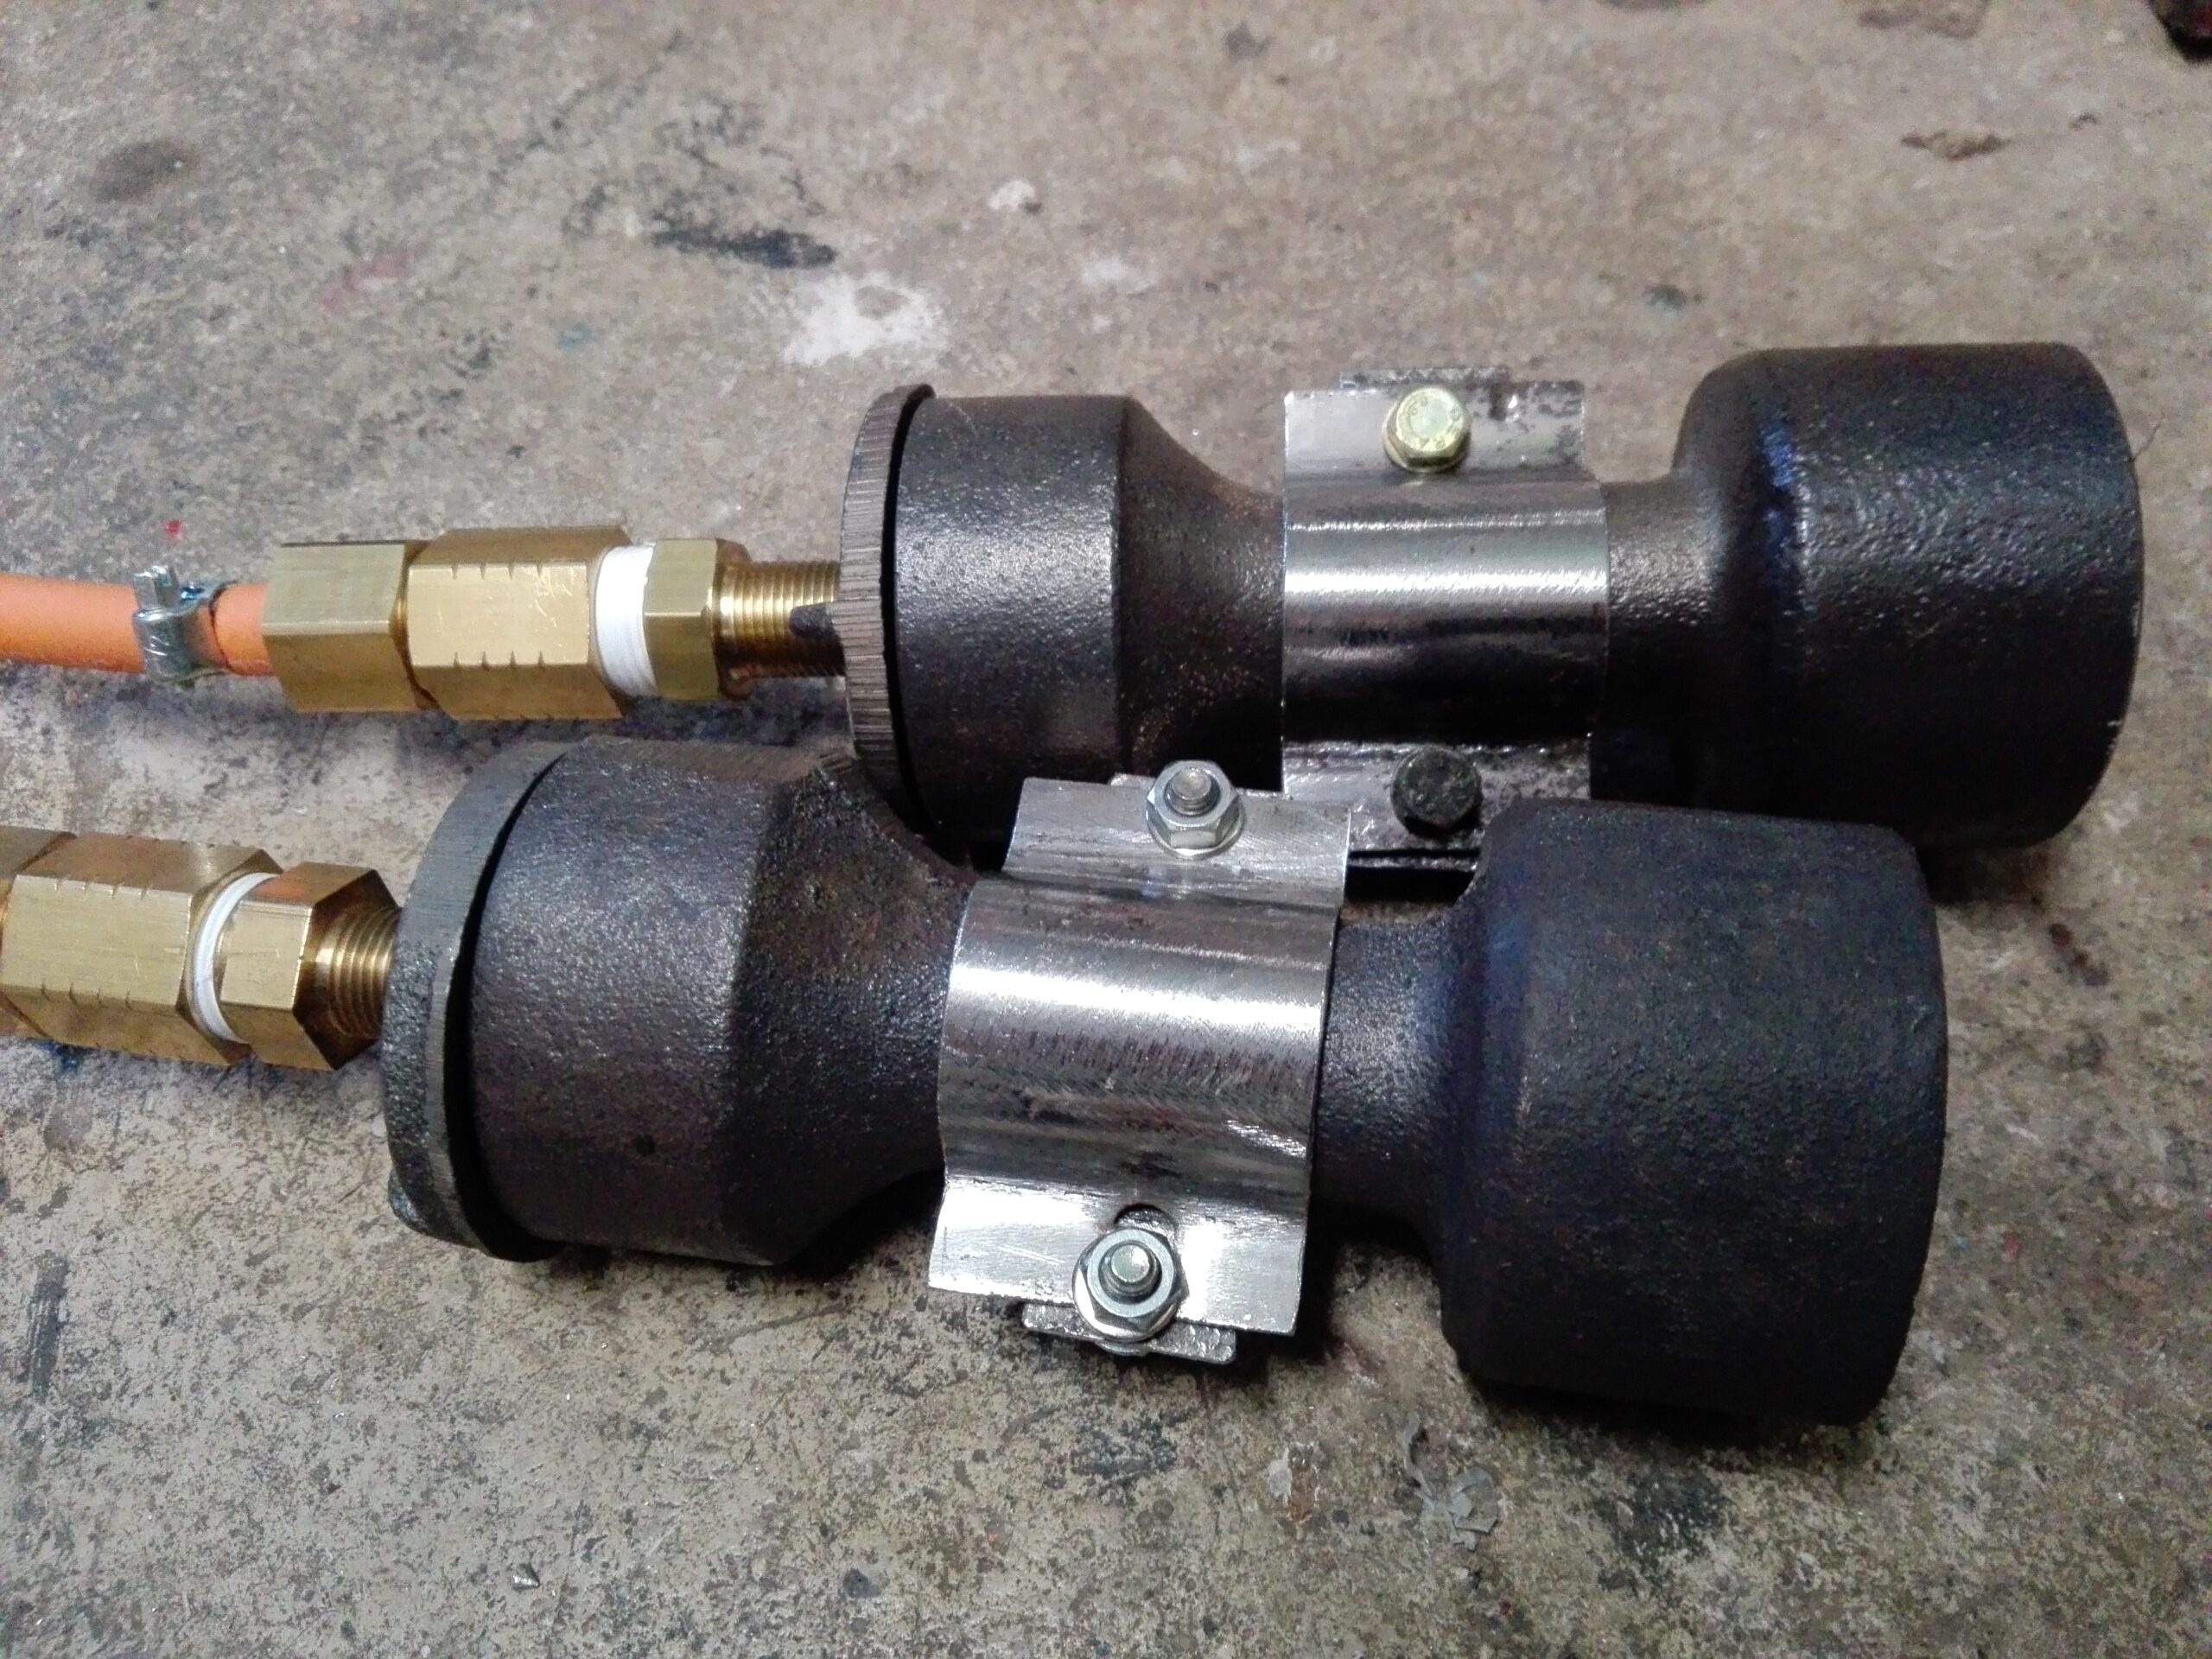
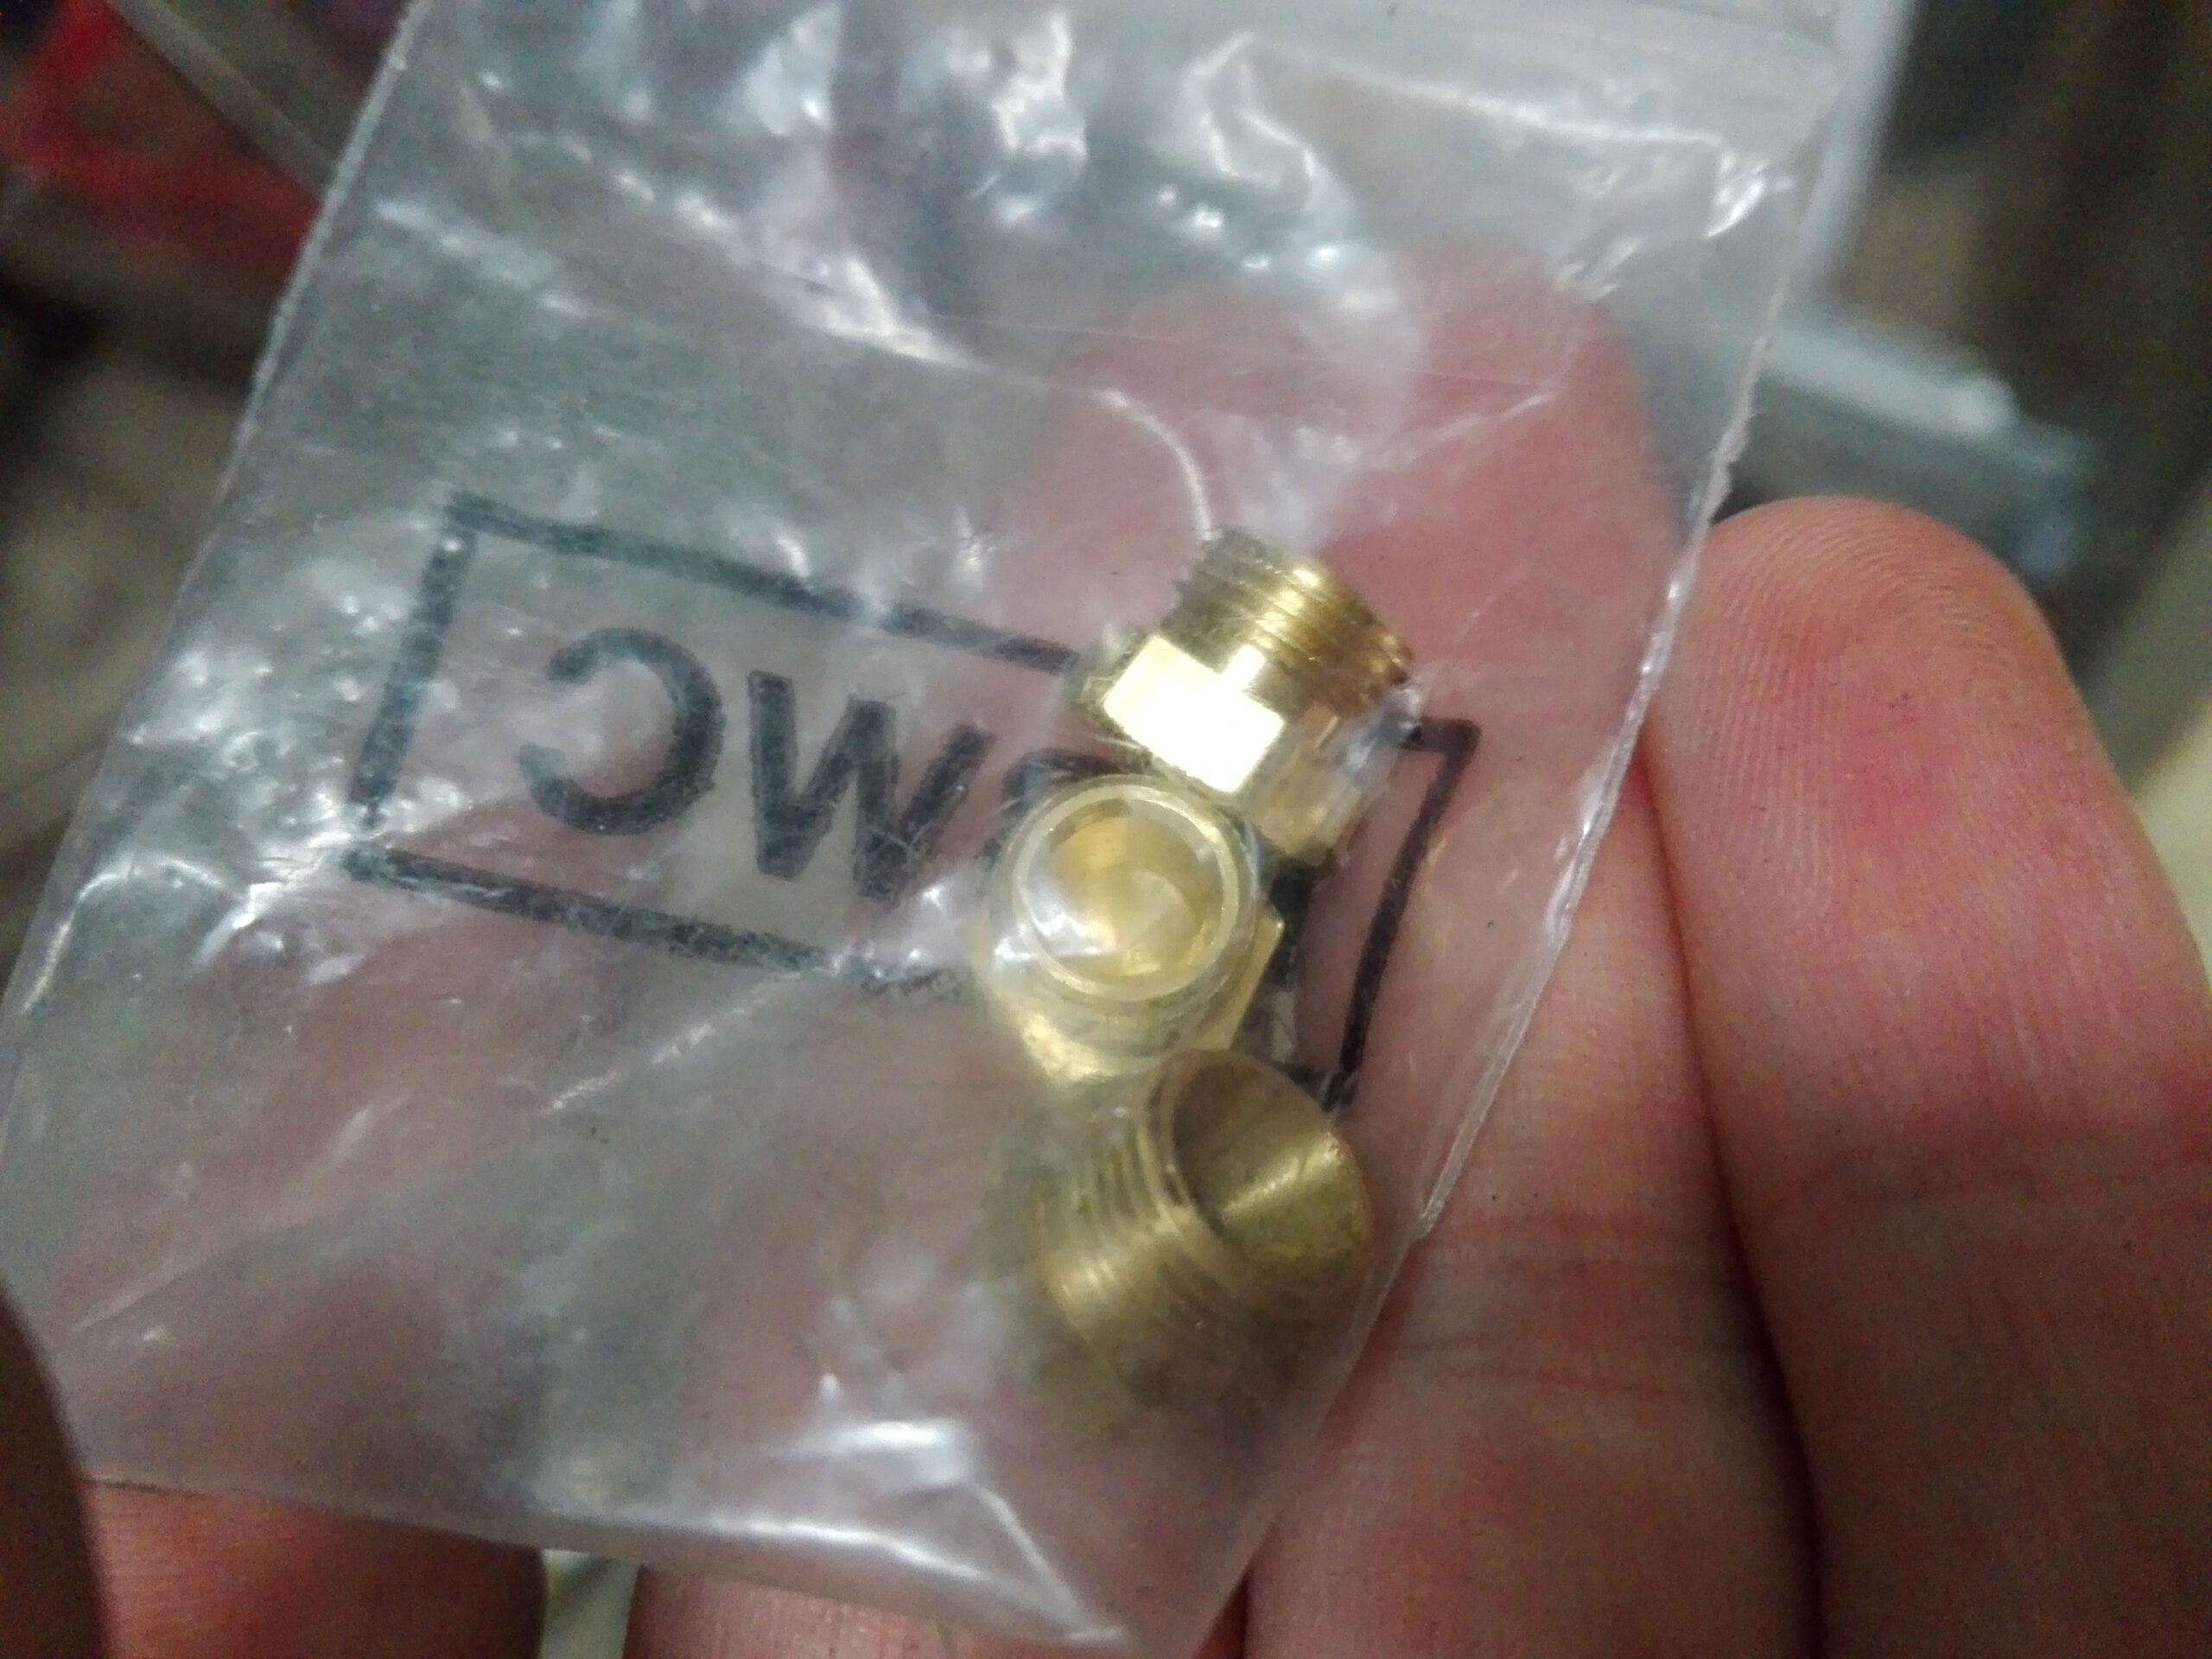
For the gas burners I use two MR-750 by Ward burner. I did some rough calculations based on orifice charts I found online. If you can find a chart with orifice diameter, gas pressure and power (BTU/h or kW) you can calculate the pressure and orifice size for any amount of power you need. The power depends on gas pressure in a pretty much linear way (for our purposes anyway). Double the gas pressure and you get double the power. Power also depends on the orifice area. Because orifice size is quoted in diameter you need to keep in mind there’s a square involved. To double the power you need to double the orifice opening which means you need to multiply the diameter with sqrt(2) or 1,414. I had to fabricate a mount to hold the burners in place. At first I welded together an arm with joints that could be locked with bolts to allow for some adjustment. I found that with heating and cooling the bolted connections became lose and the burners drooped. So I welded them into a fixed position. Connection the burners was a bit of a challenge because I didn’t know where to get NPT fittings. In the end I found an adapter from NPT to BSP (G) thread. It’s not perfect because that part is right hand thread while all other gas connections are usually left handed around here. Even the cheap teflon tape seems to hold up fine. The overall power should be around 2 kg of propane per hour at max. If memory serves me right that is about 24 kW. The kiln reaches 1200 °C in 6 hours easily.
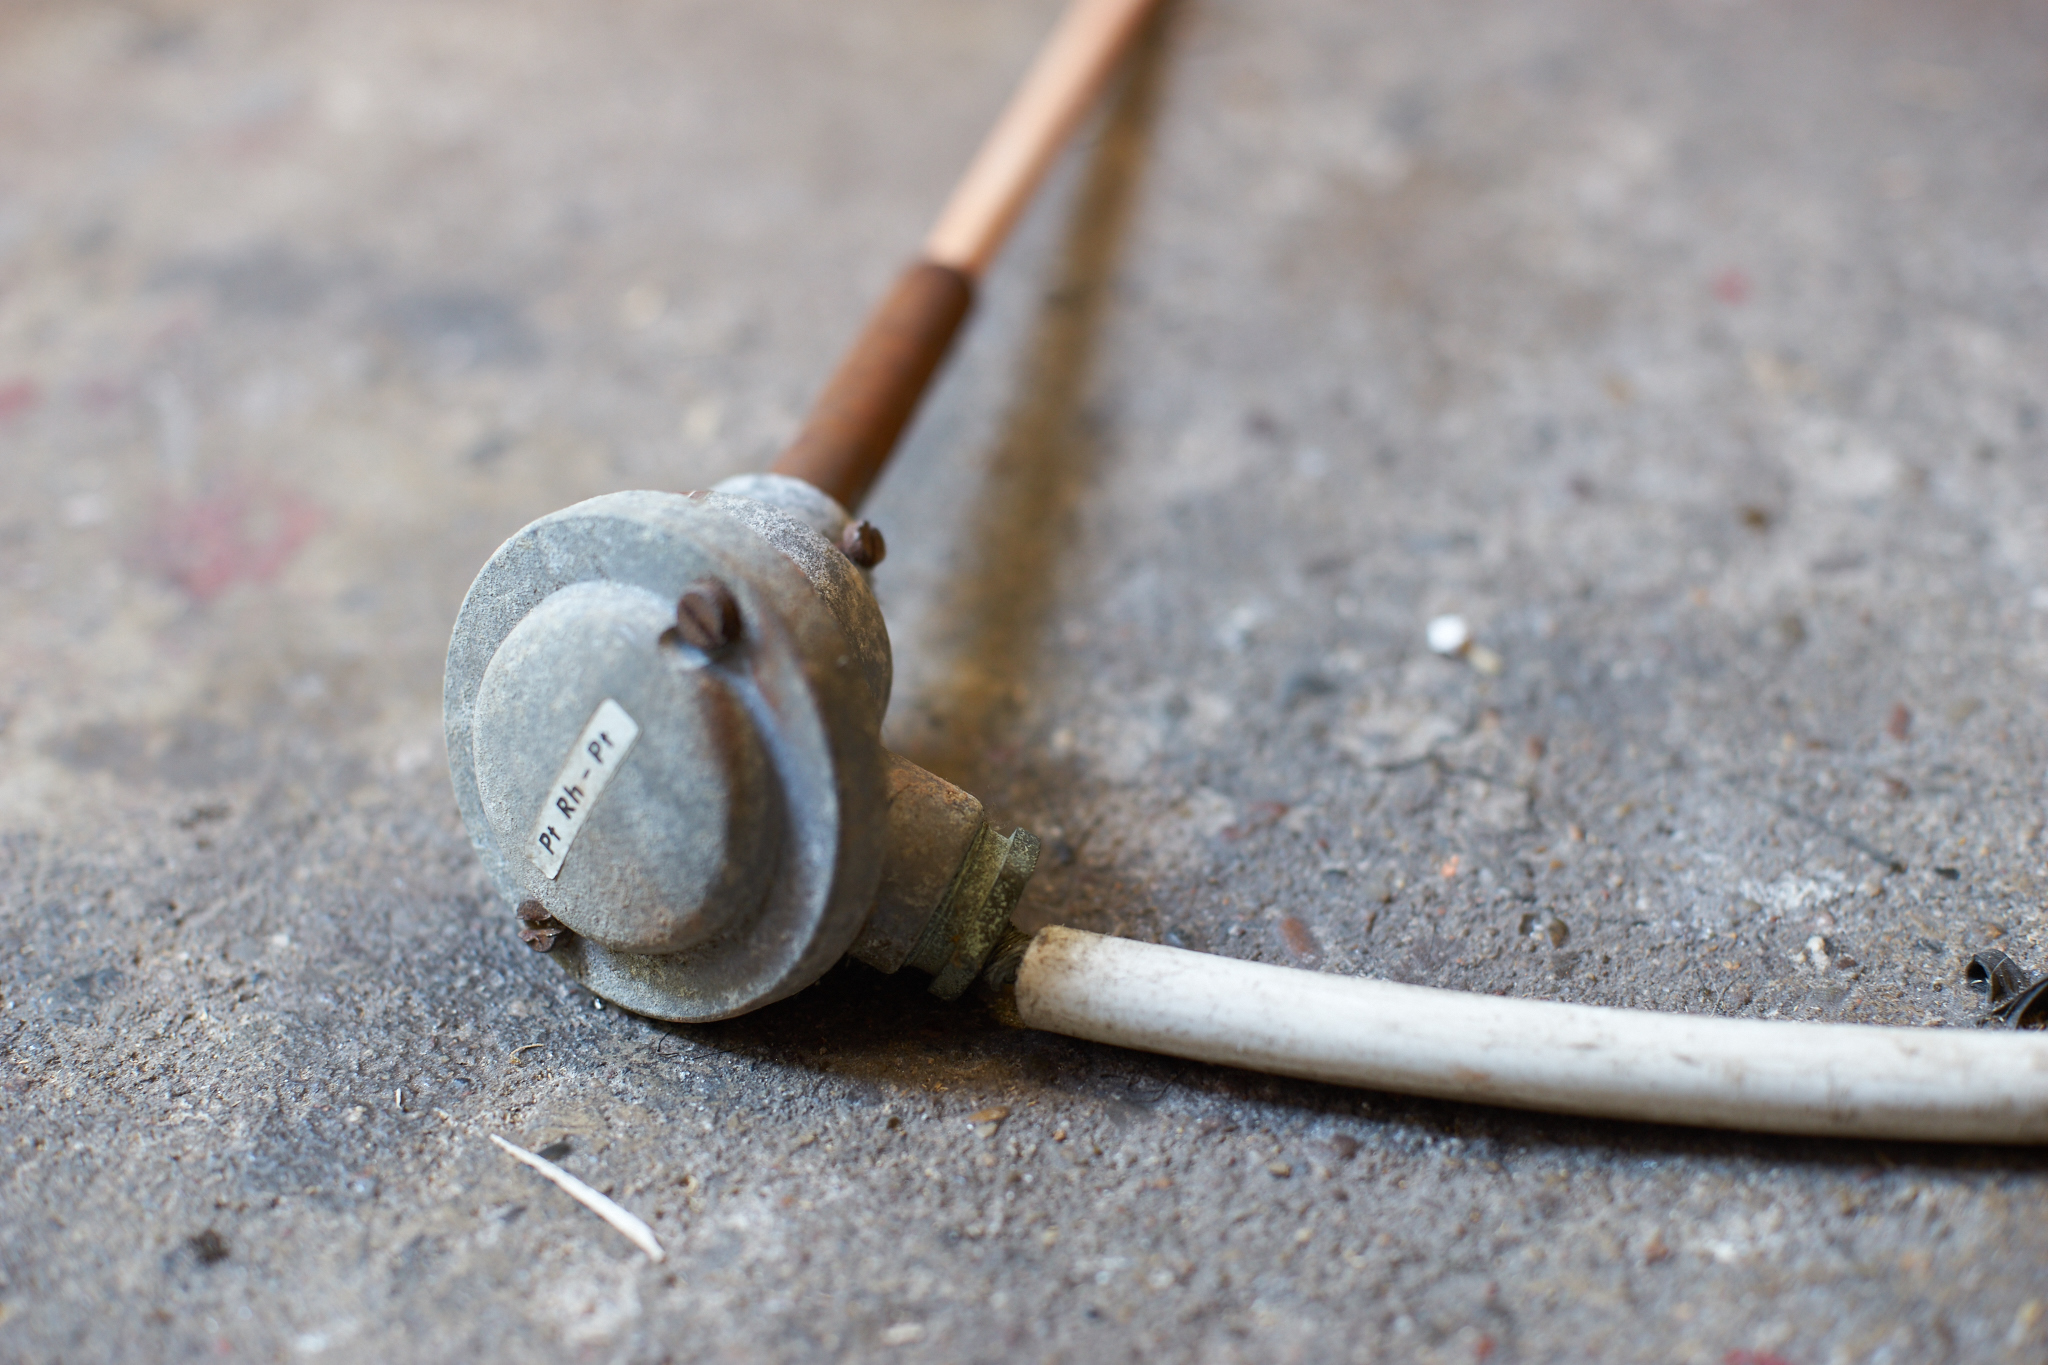
Temperature reading
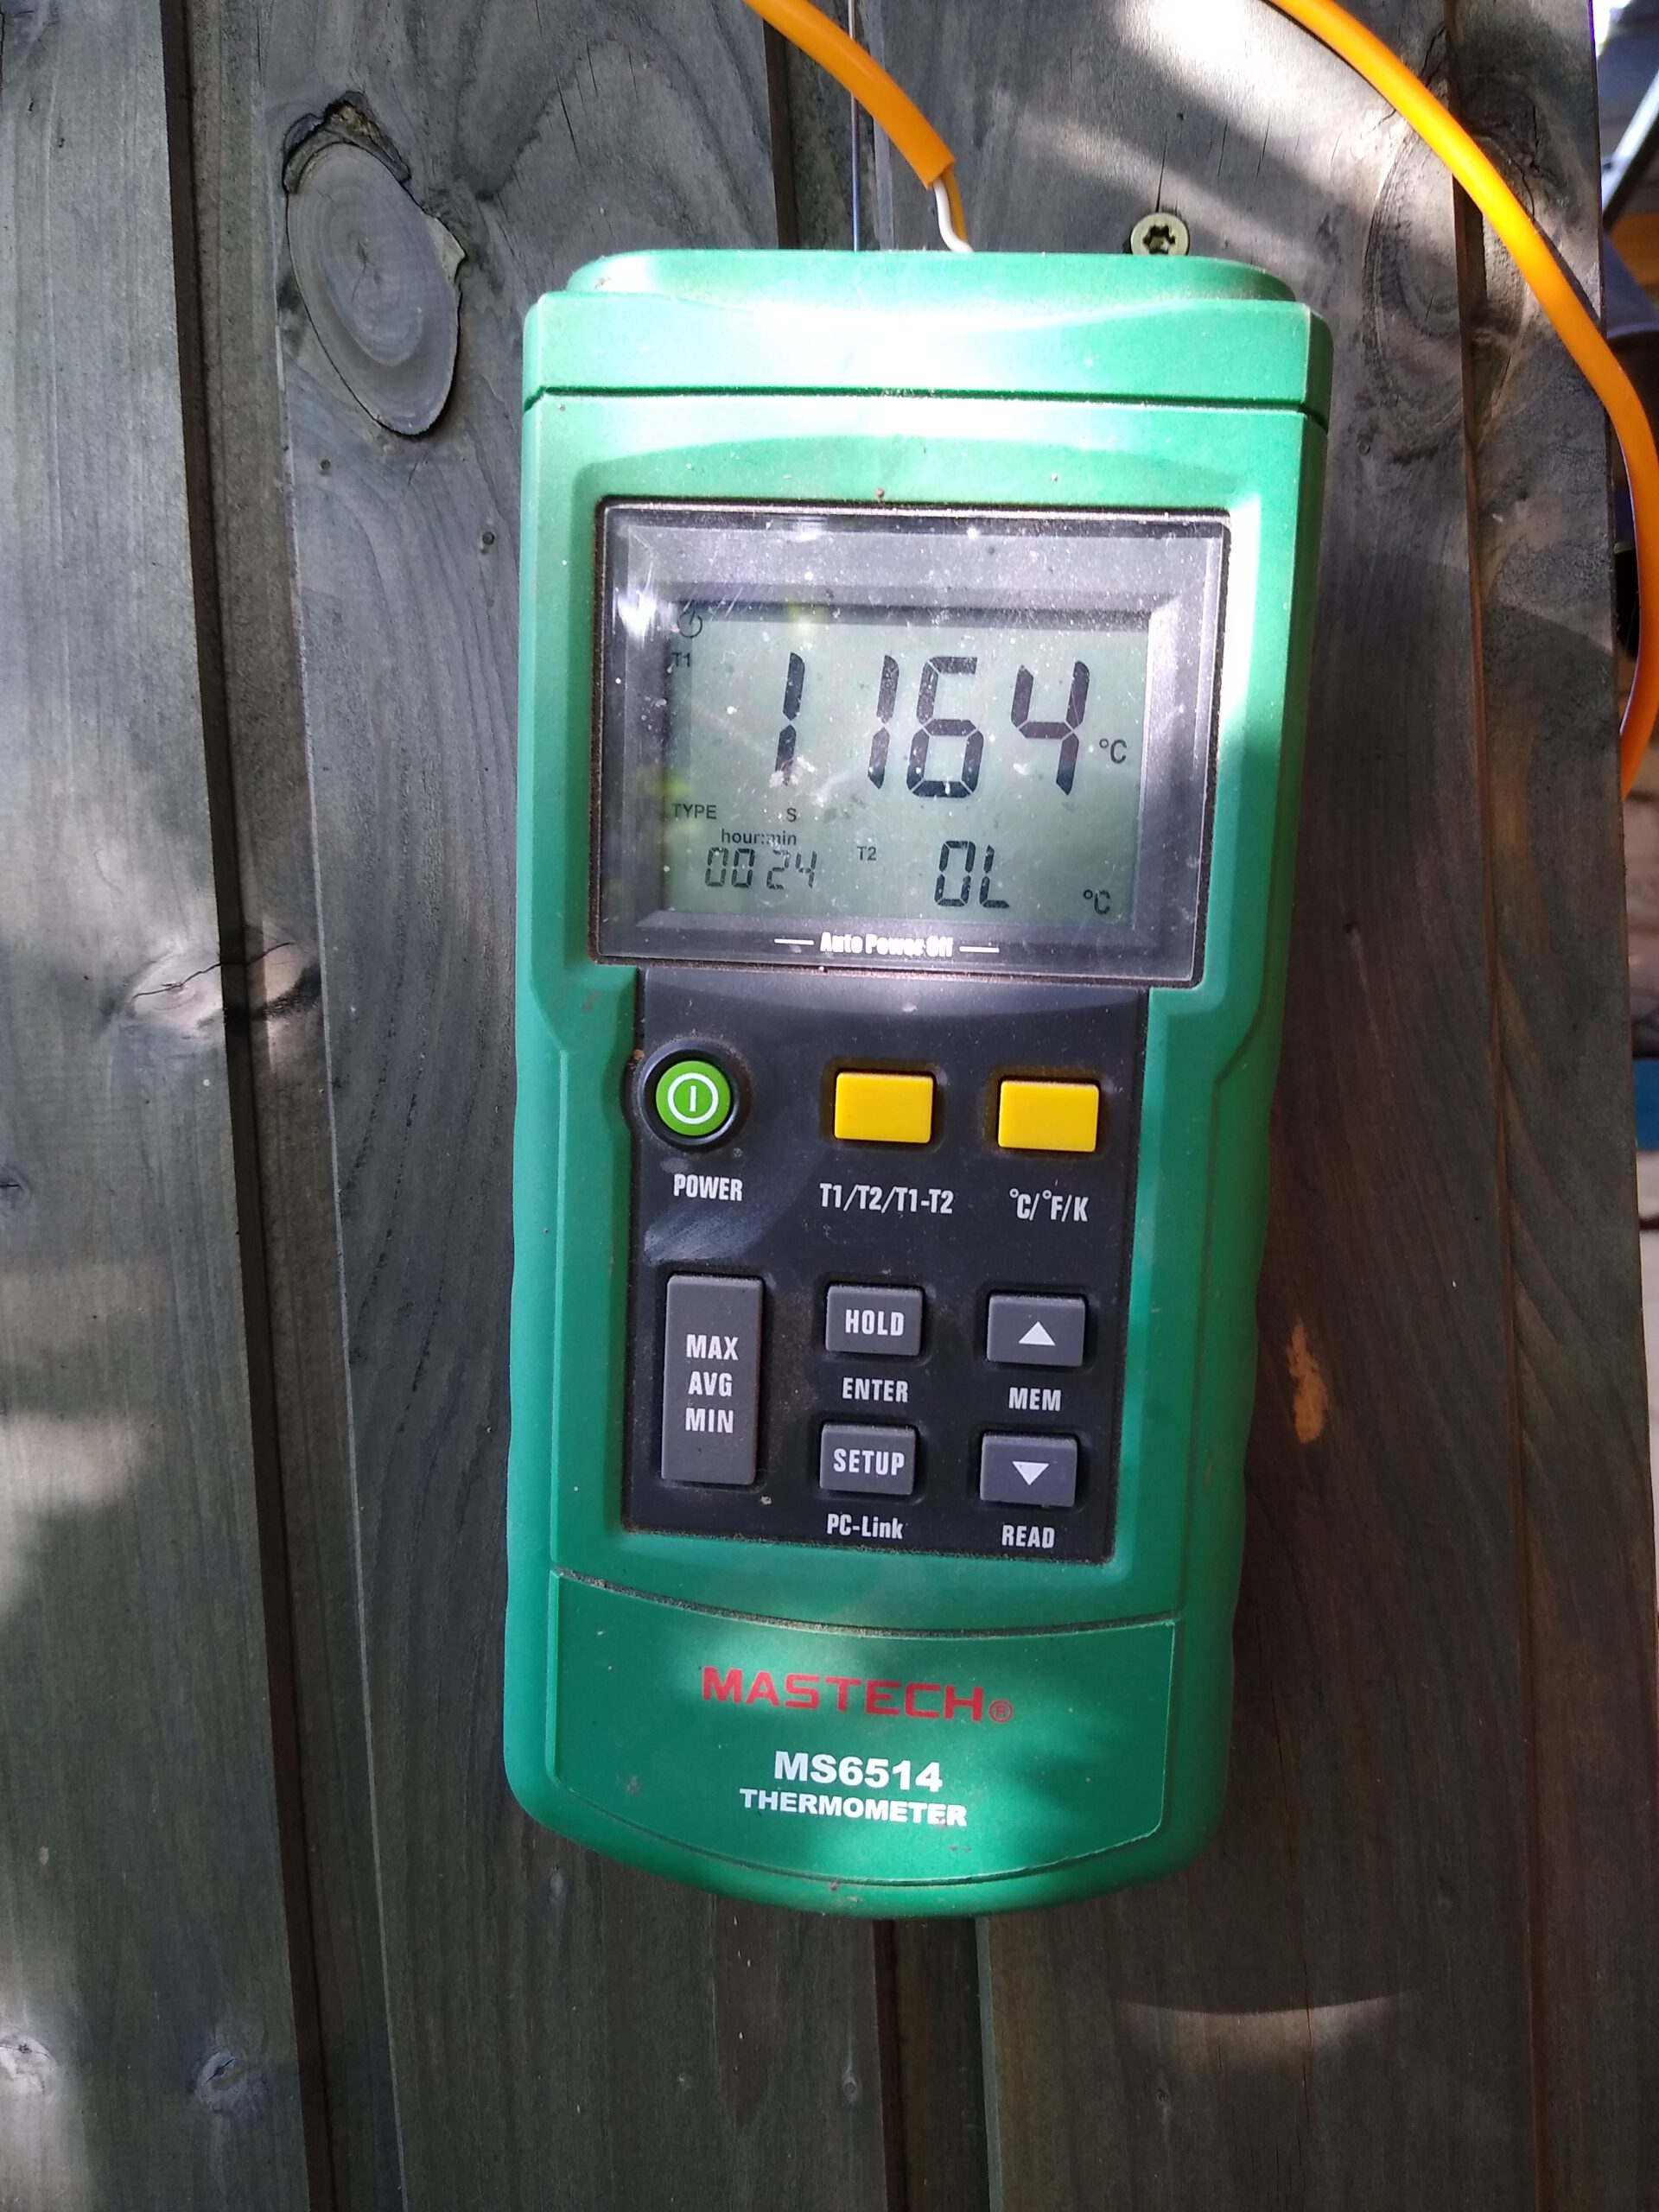
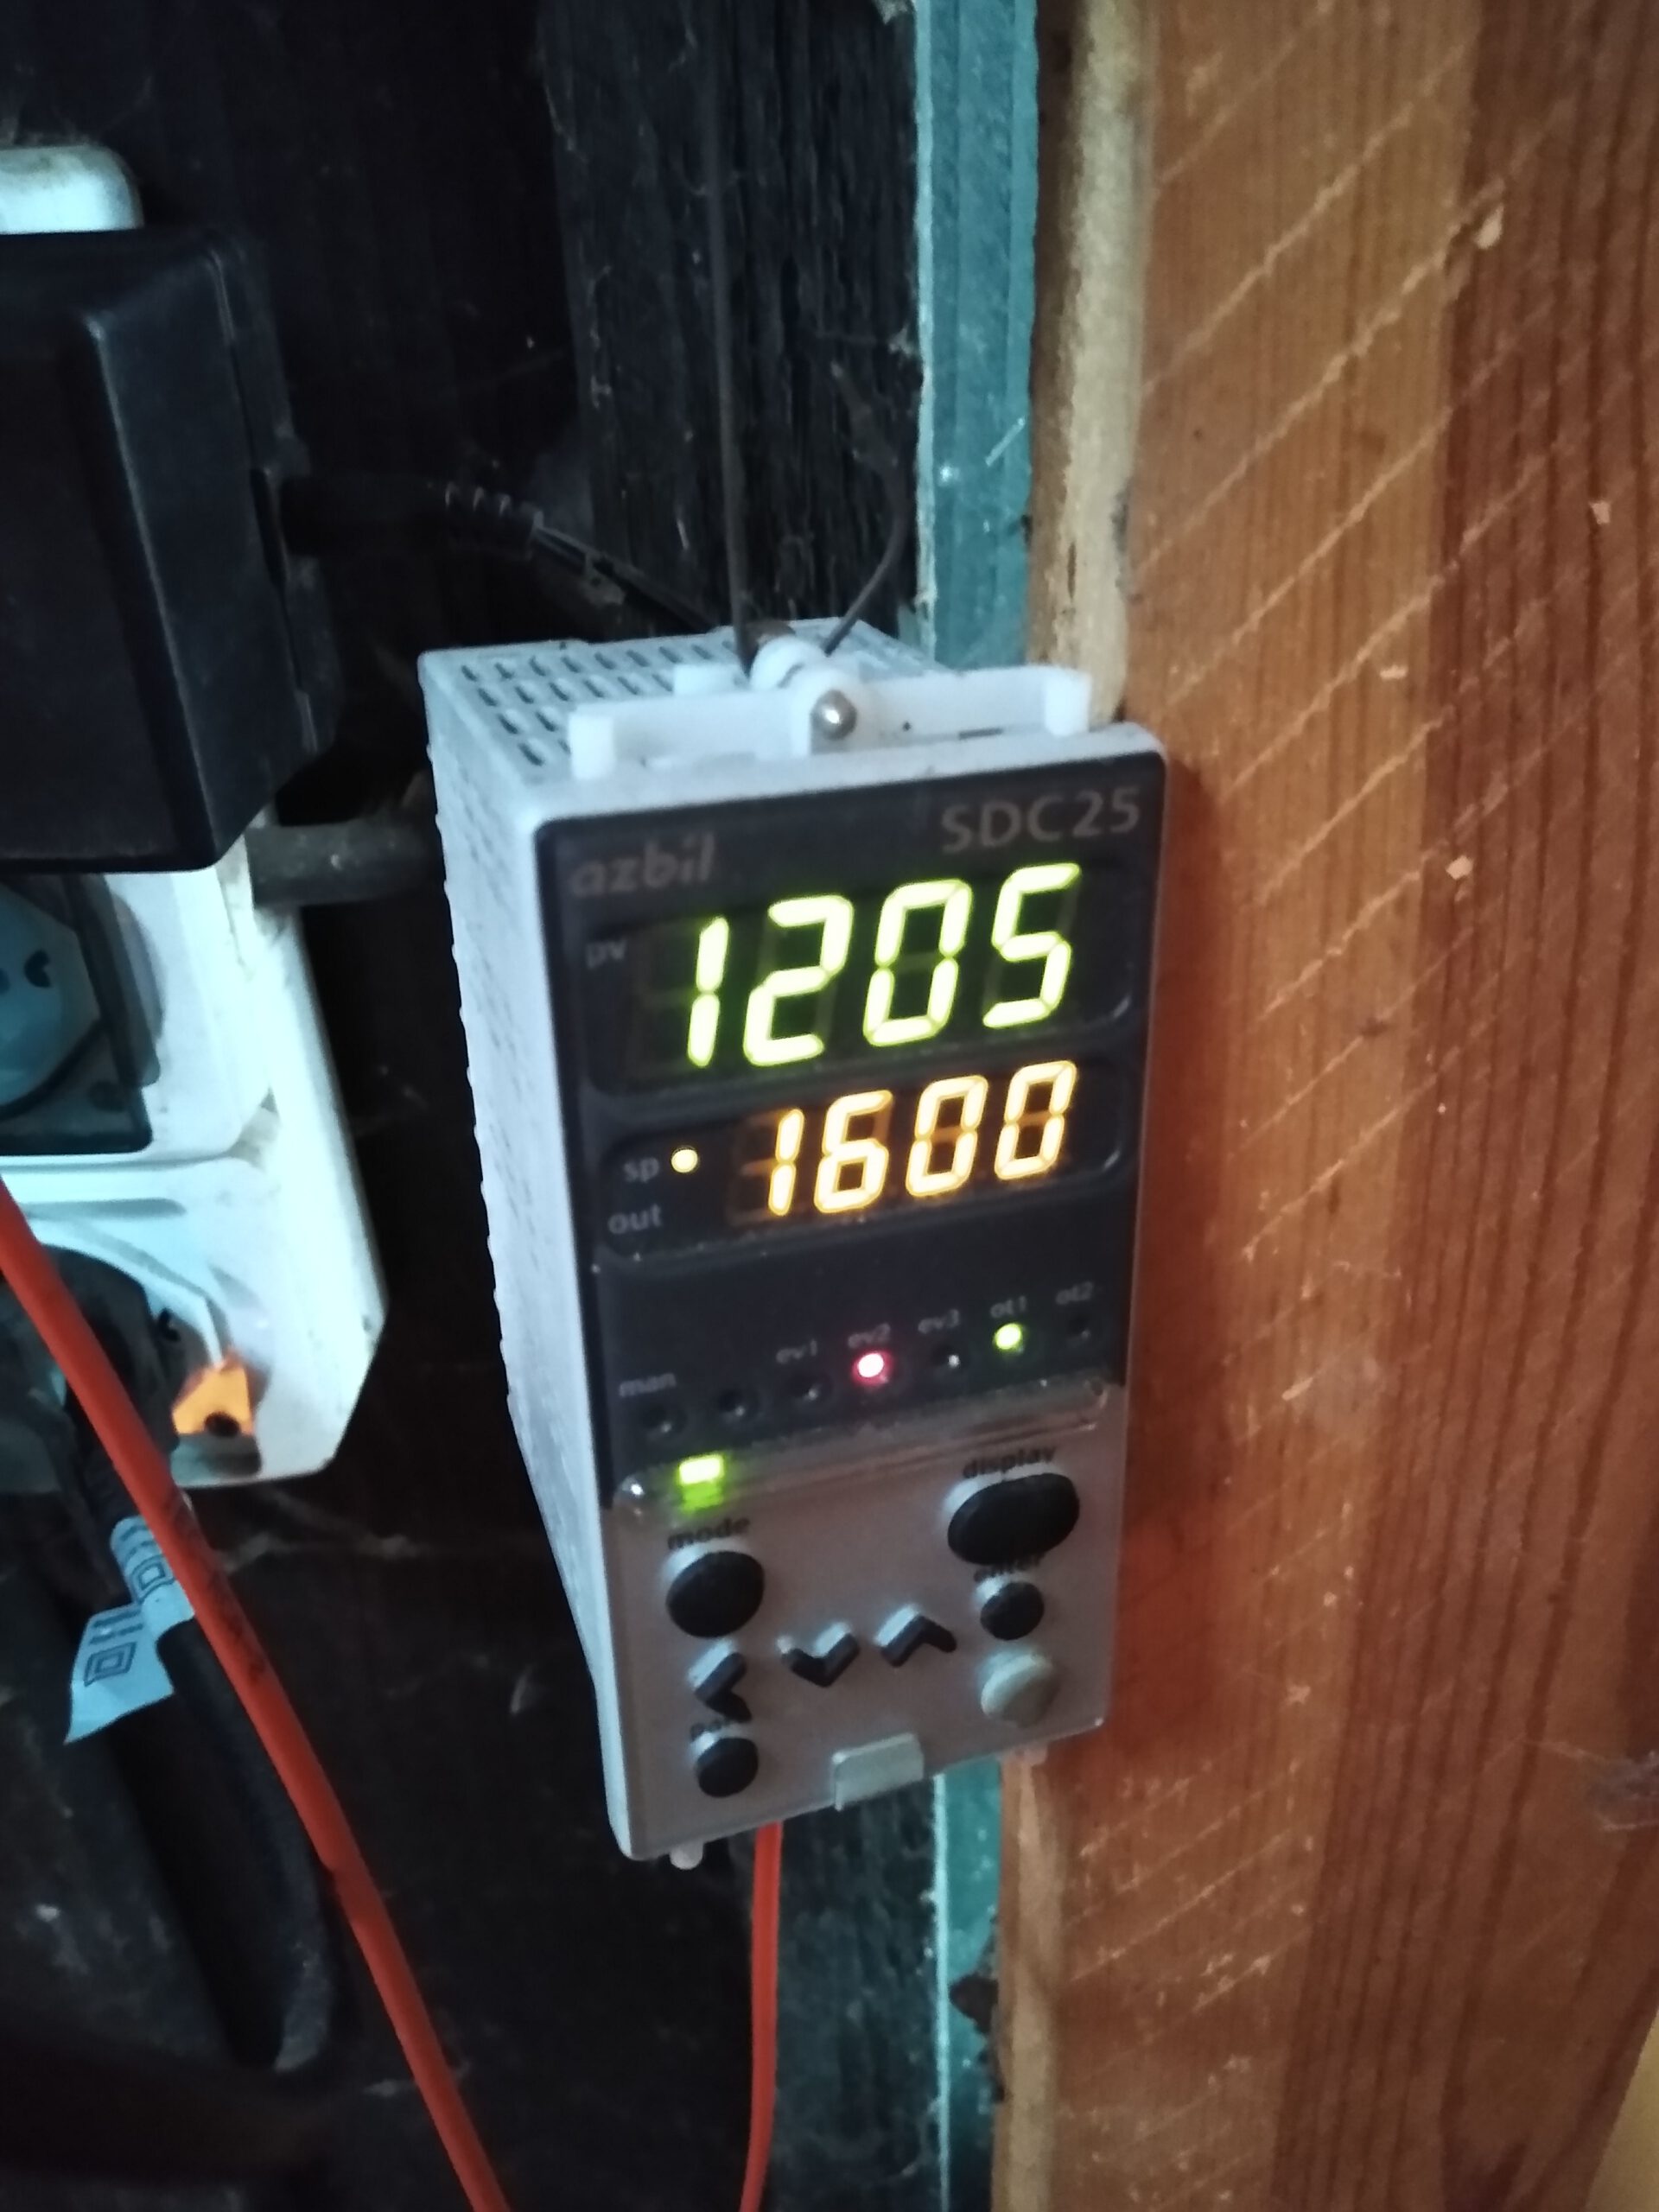
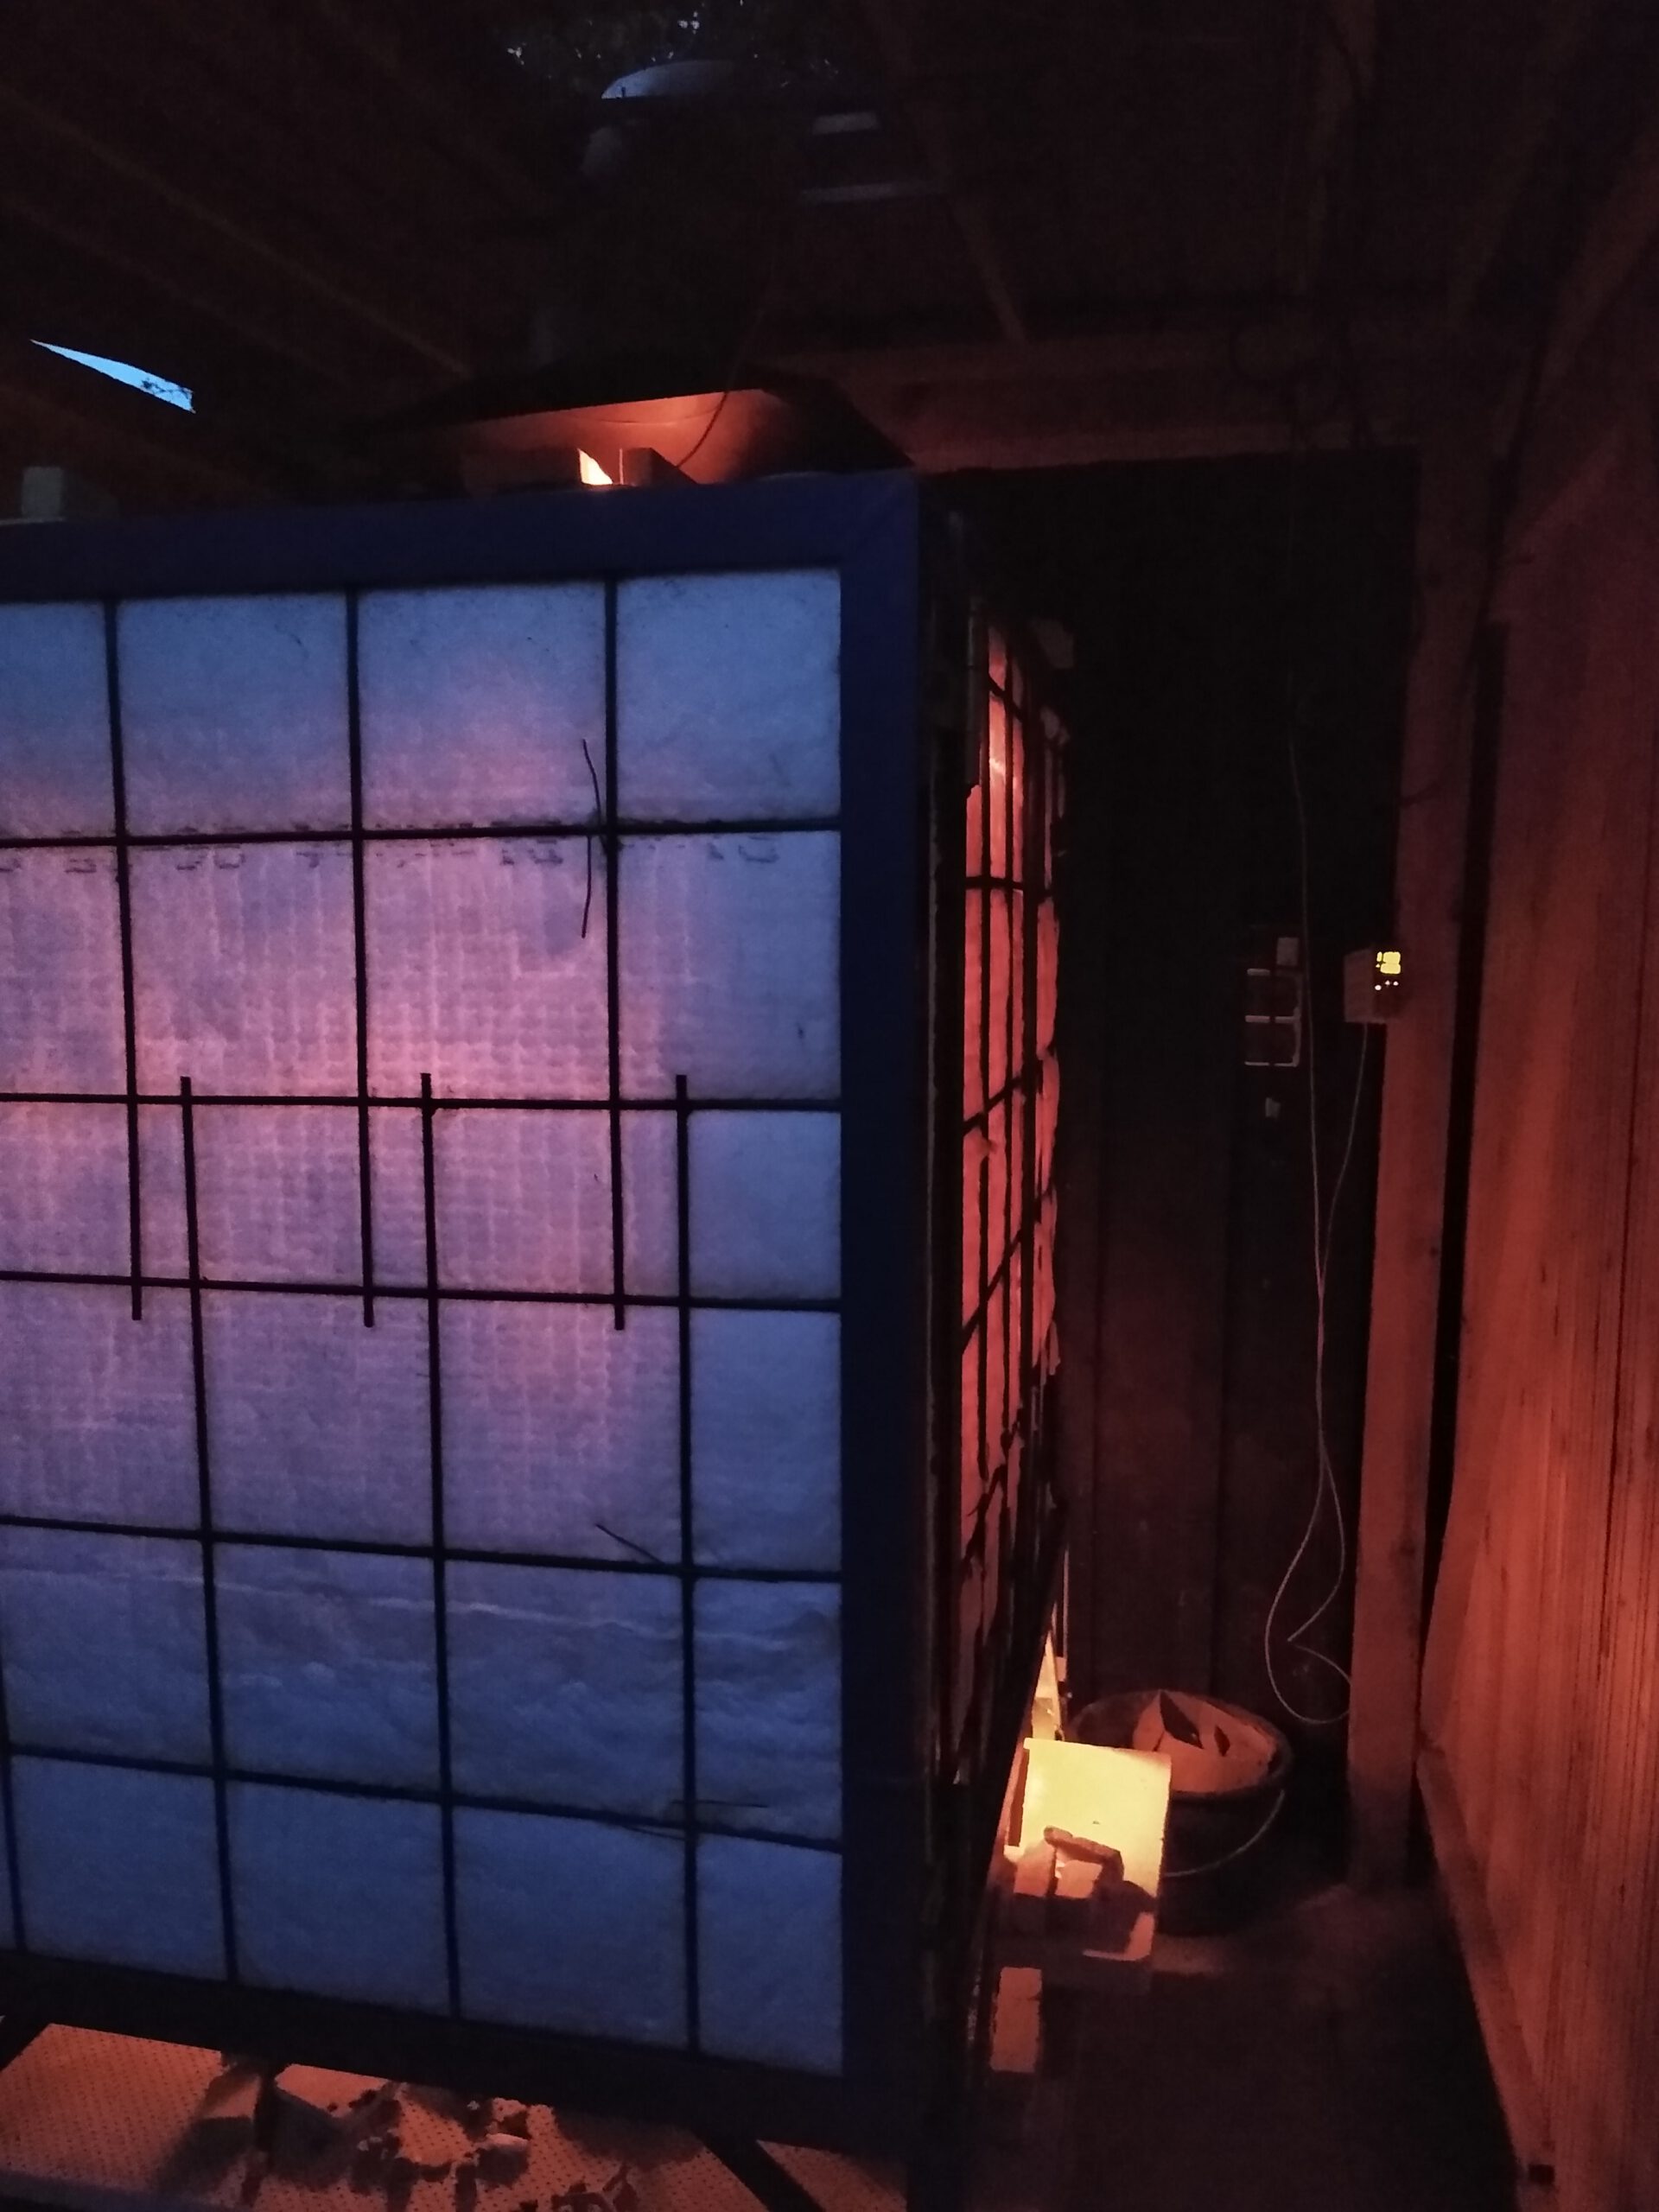
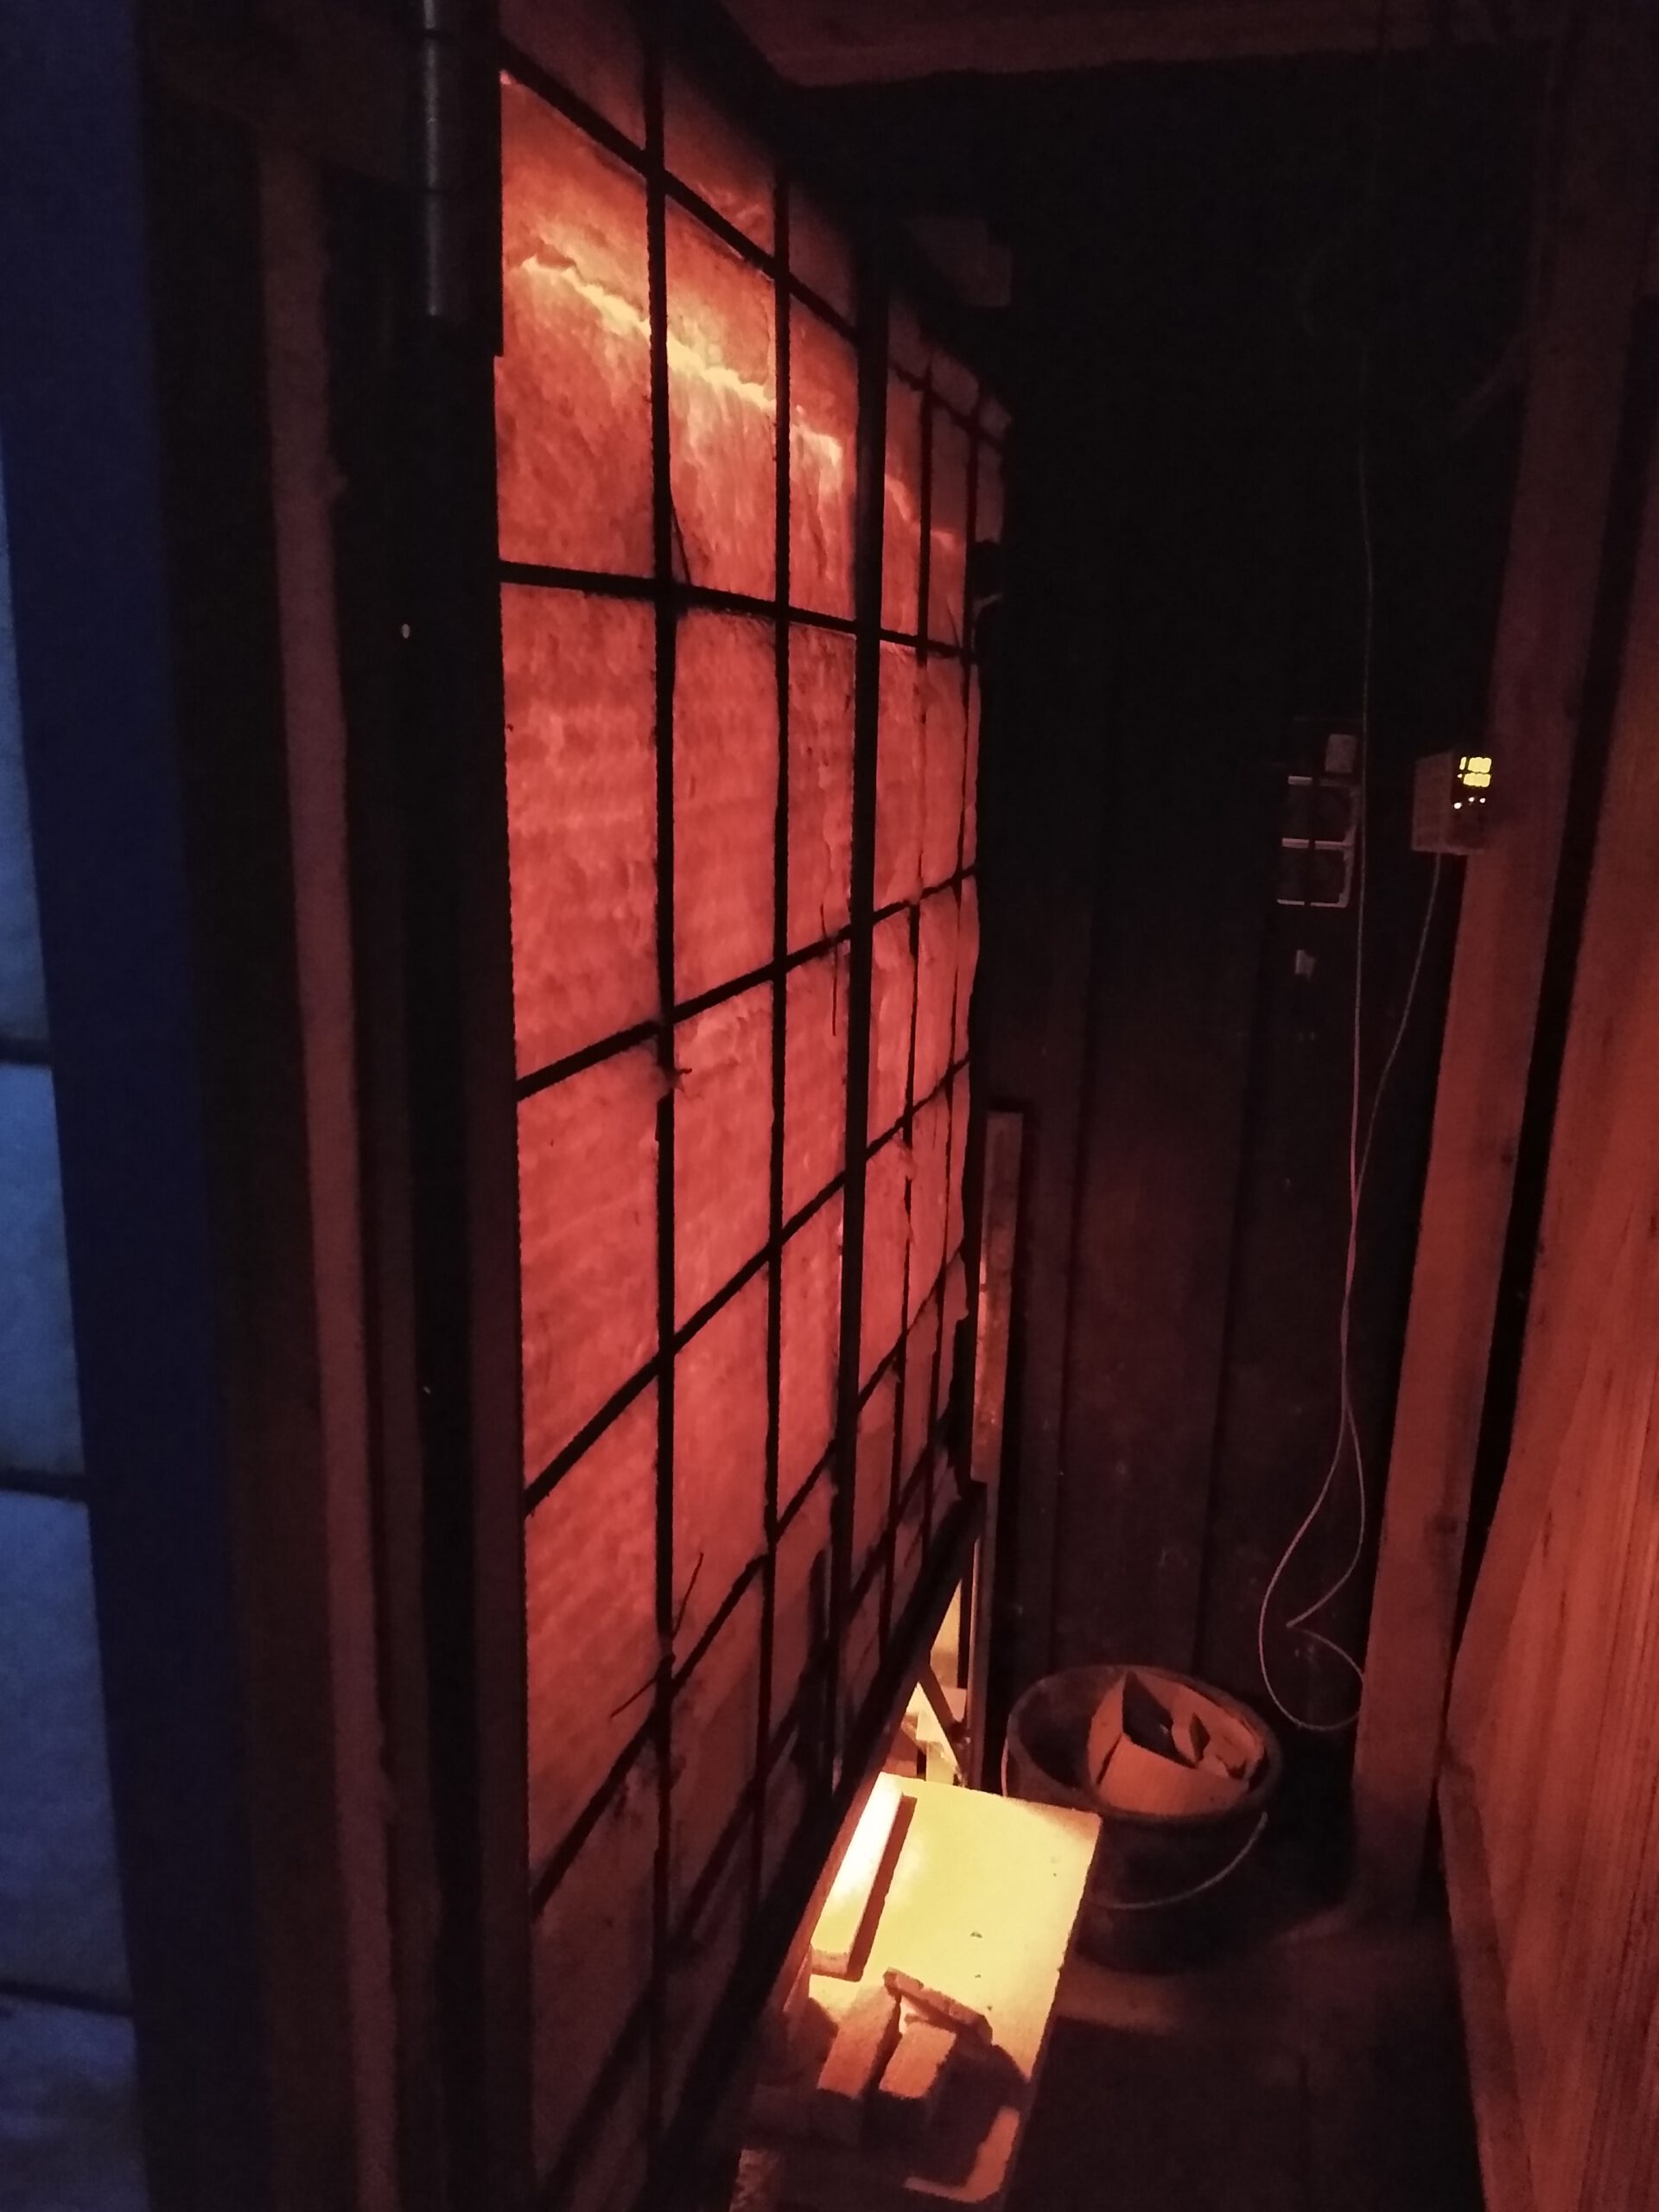
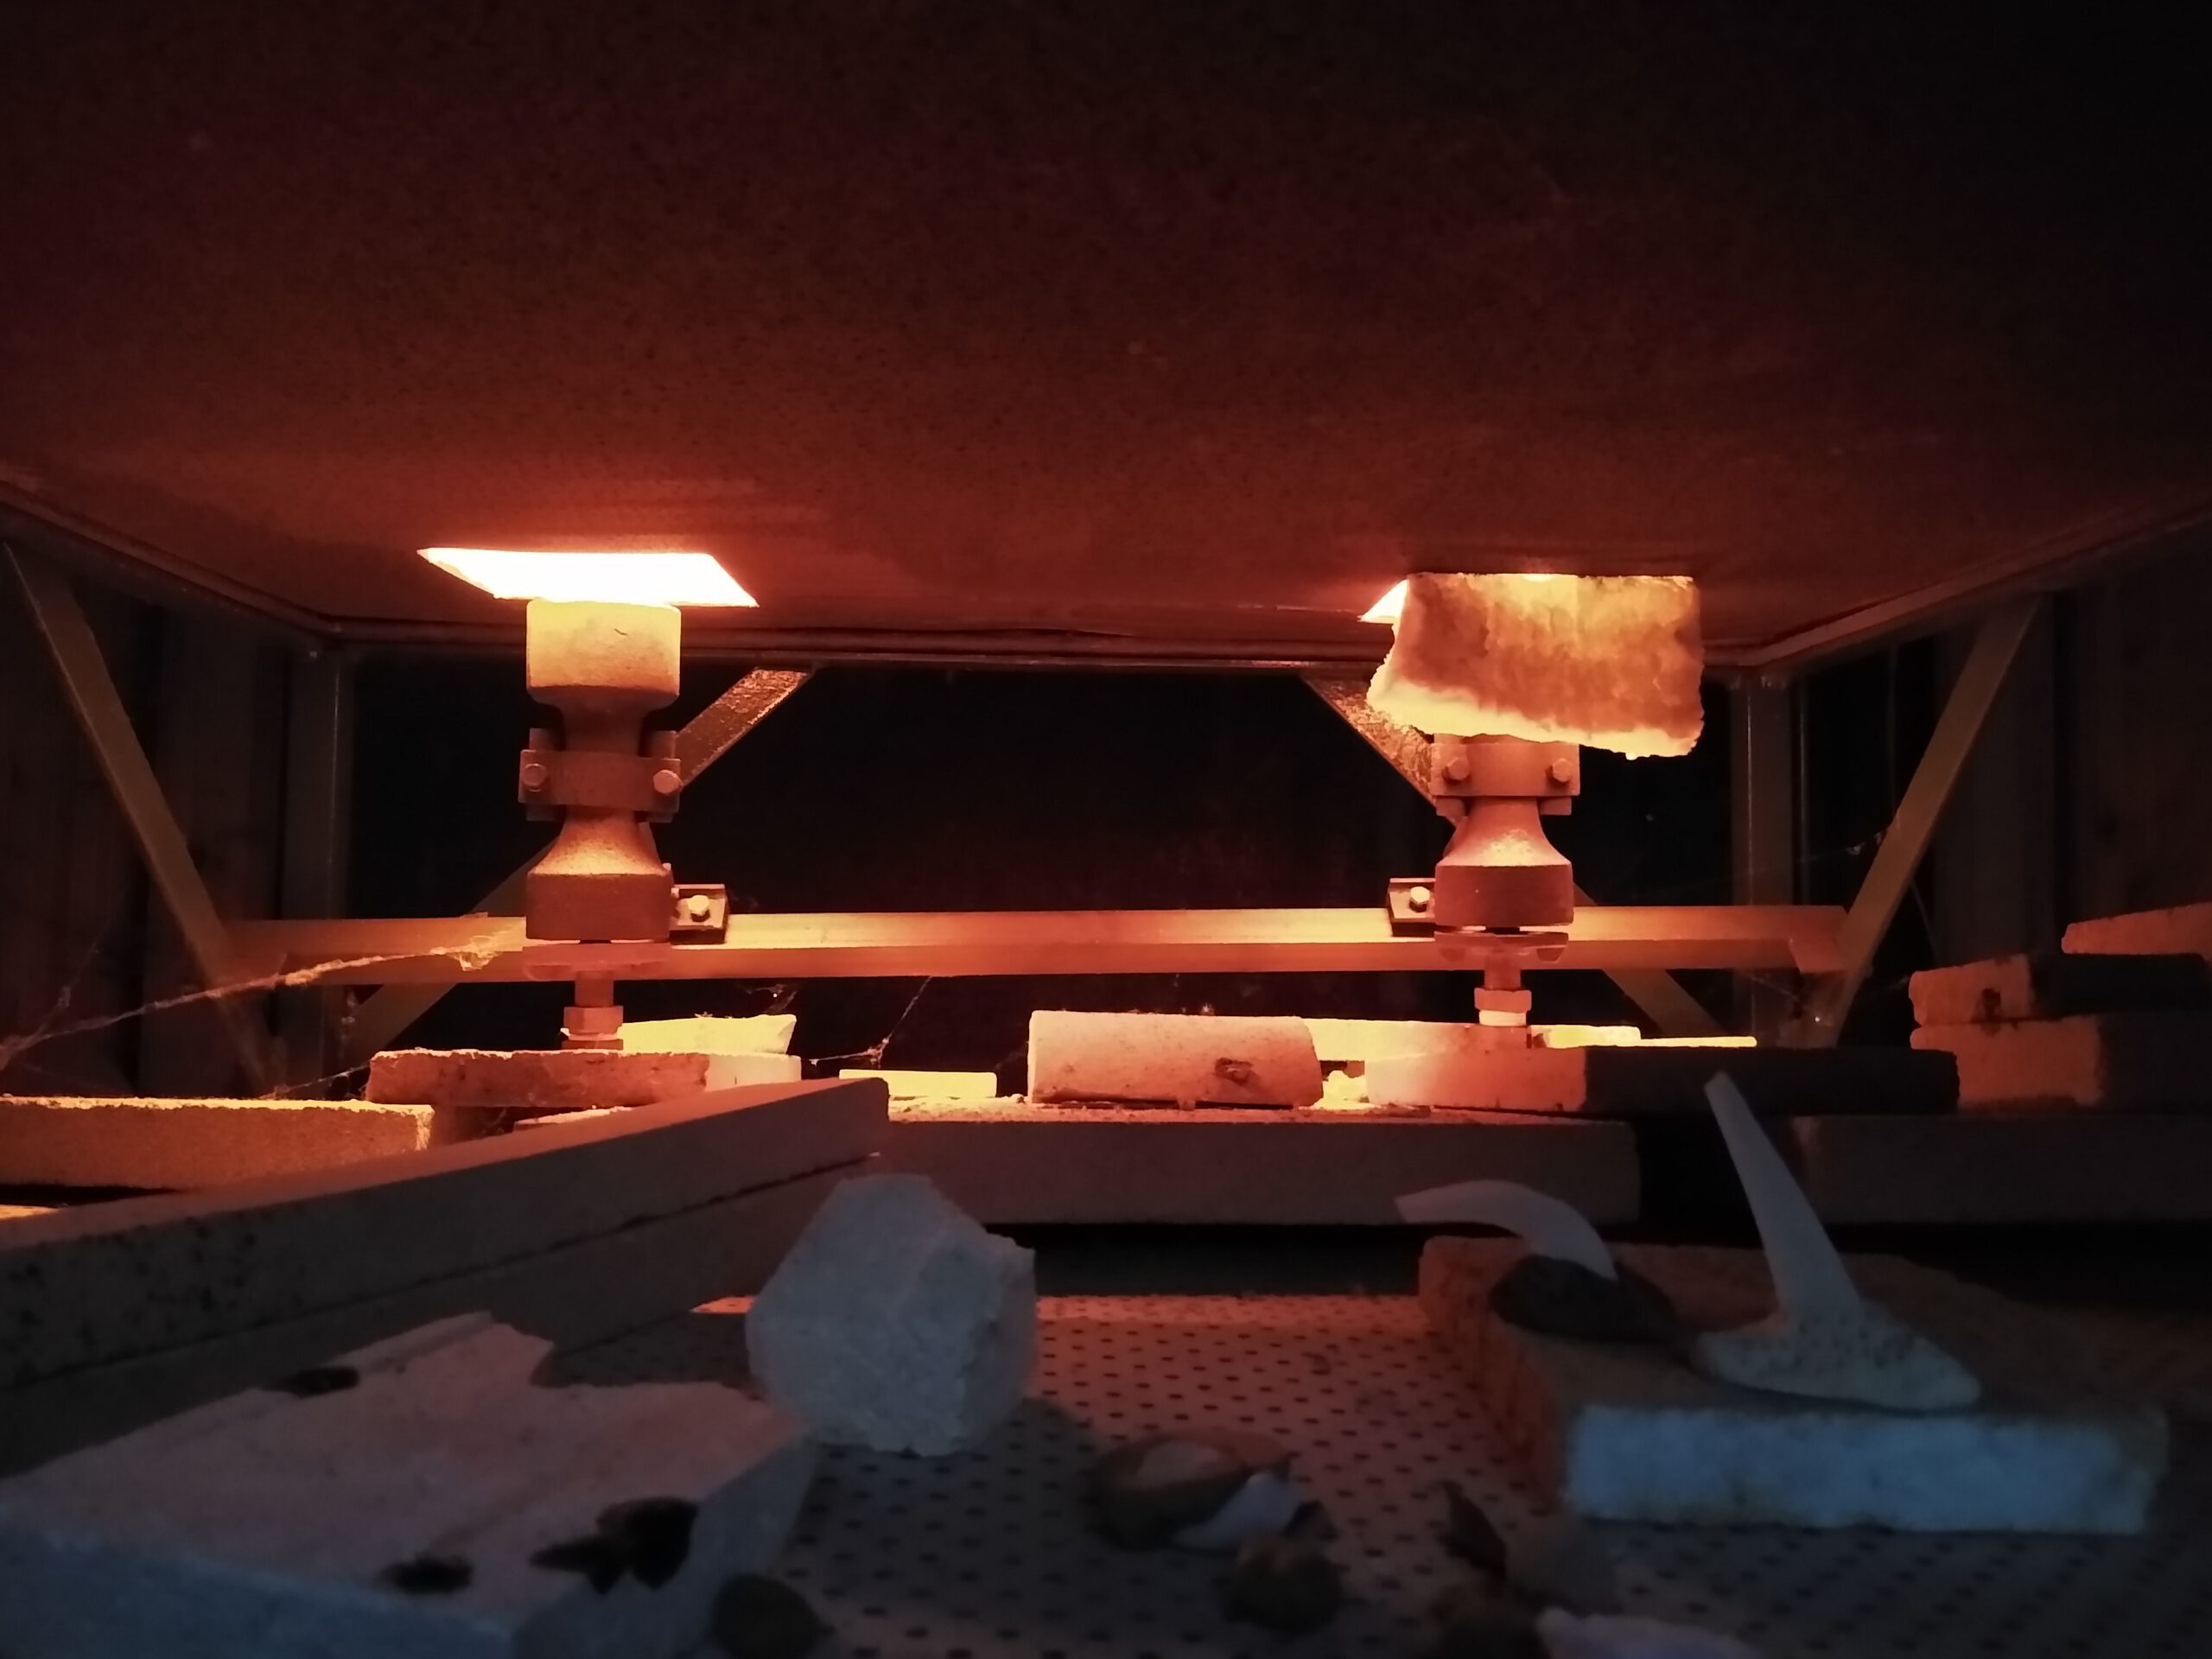
Here are some pictures of the kiln at temperature. I didn’t include a spy hole which I regret now and then. I’m not using cones with this kiln. With some experience it’s possible to fire just with the pyrometer. For some time I used the cheapest thermometer that could read type S thermocouples. It’s a Mastech MS6514 and it works fine (it even got a data logging feature which I used a few times). In the end I got tired of the automatic power off and the display which is hard to read from far away. I switched to a Yamatake temperature controller that only acts as a temperature display. My kiln isn’t automated in any way.