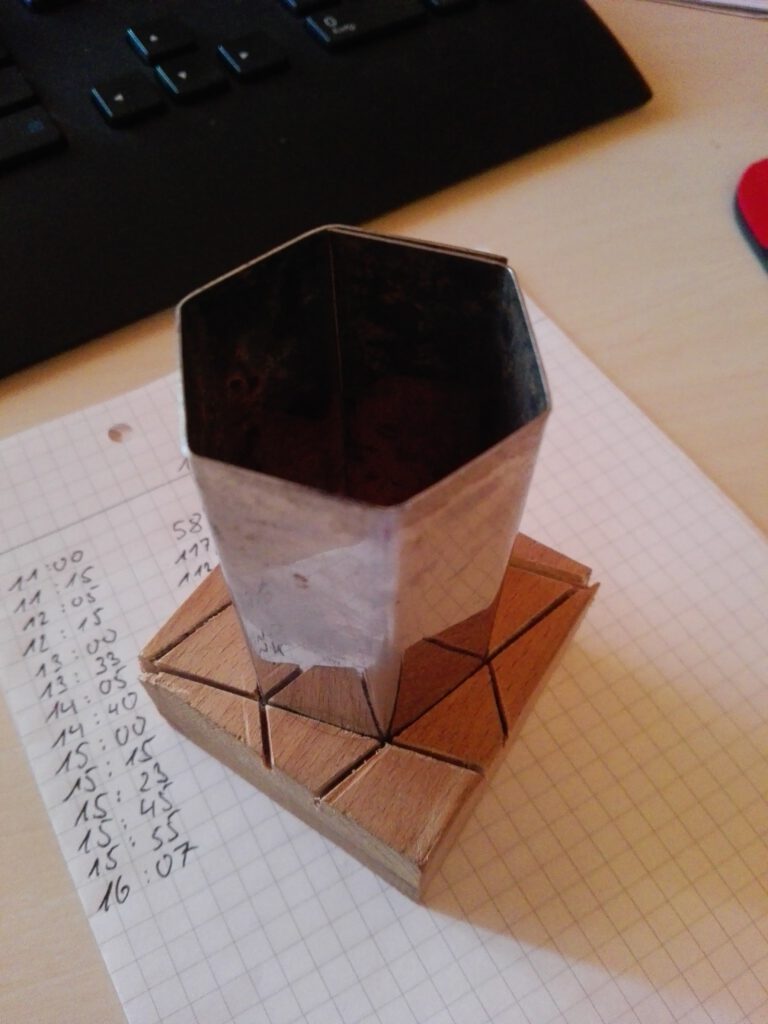
This article is about how I made tiles for the top of a small coffee table. Because I wanted to have hexagonal tiles for a honeycomb pattern it made sense to make a custom cutter. My first idea was to bend a strip of scrap stainless sheet metal into shape and glue it into a piece of wood to help maintain the shape. In the end I ditched the wooden block and just drove a sheet metal screw into the overlapping side of the cutter.

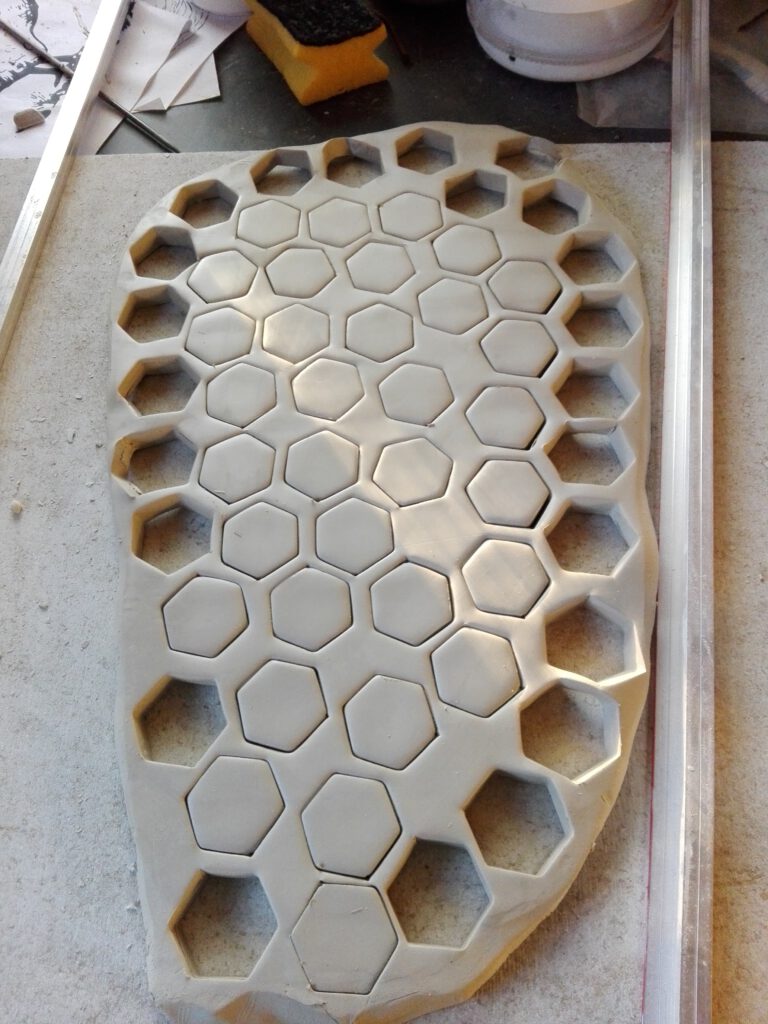
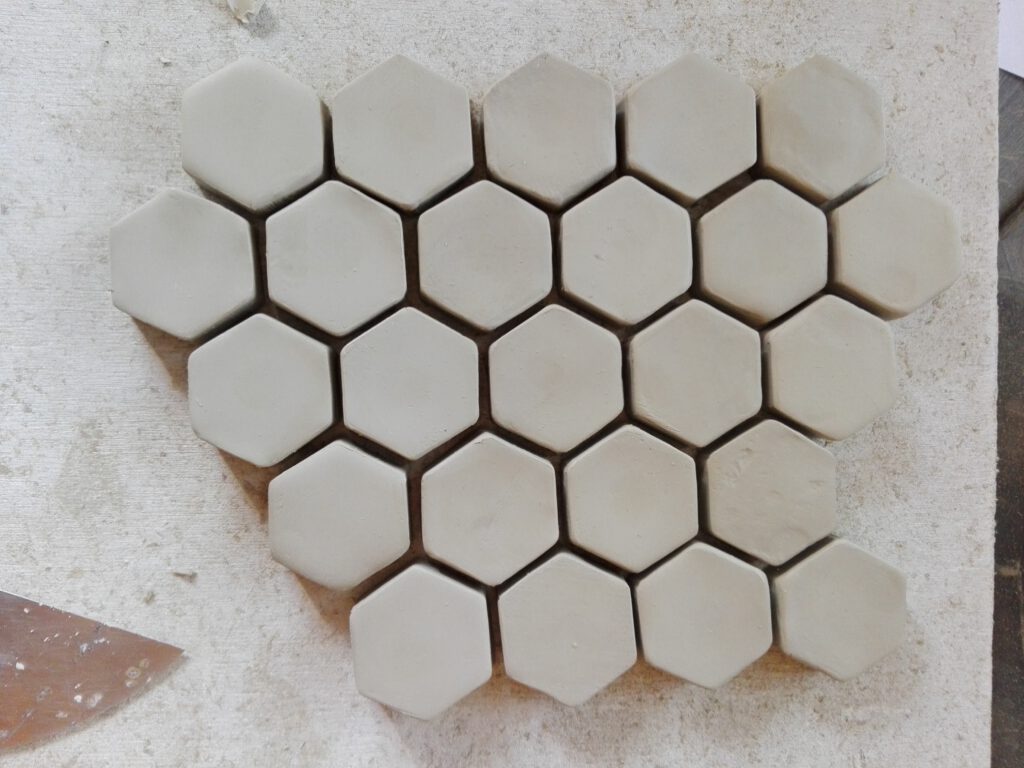
With the cutter finished it was just a matter of rolling slabs of clay and cutting out the shapes. The only problem was that the clay sticks to the cutter quite well. So I had to push out almost every tile with my fingers which of course left some marks in the clay. I fixed that by gently tapping the tiles on a smooth surface.
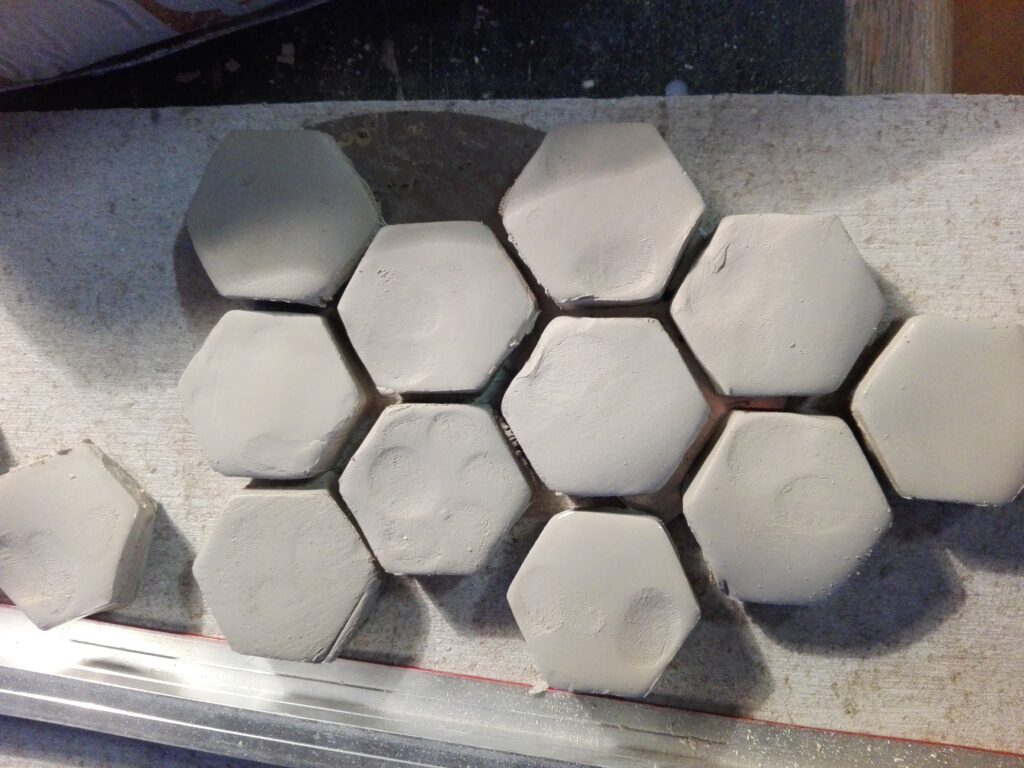
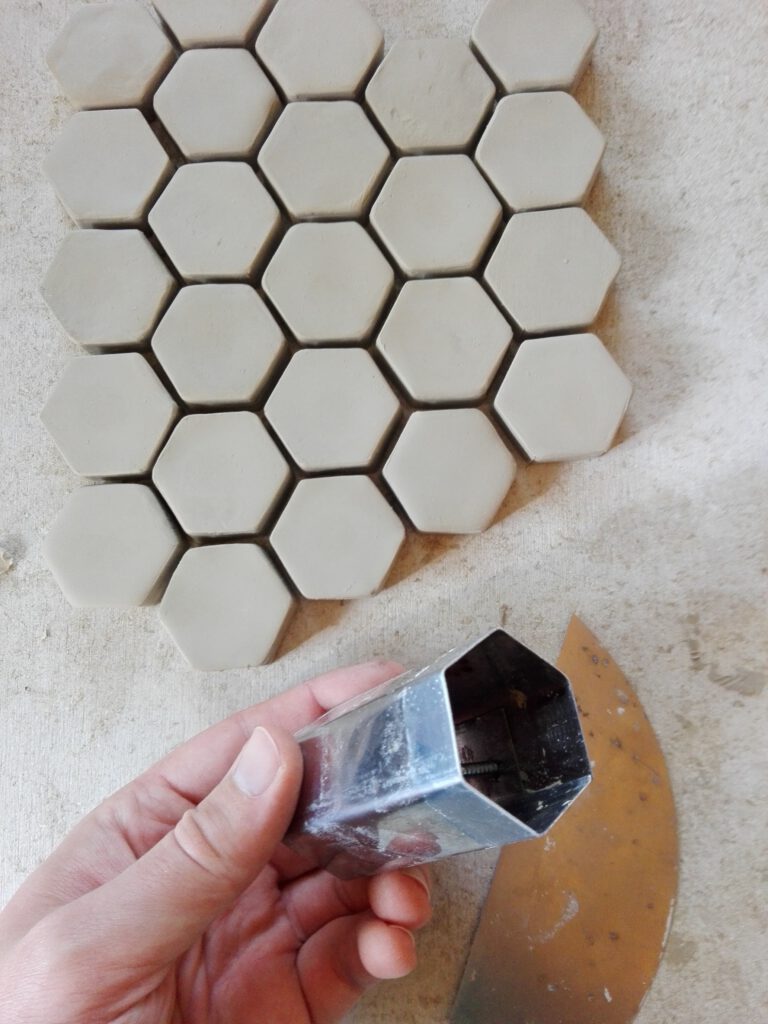
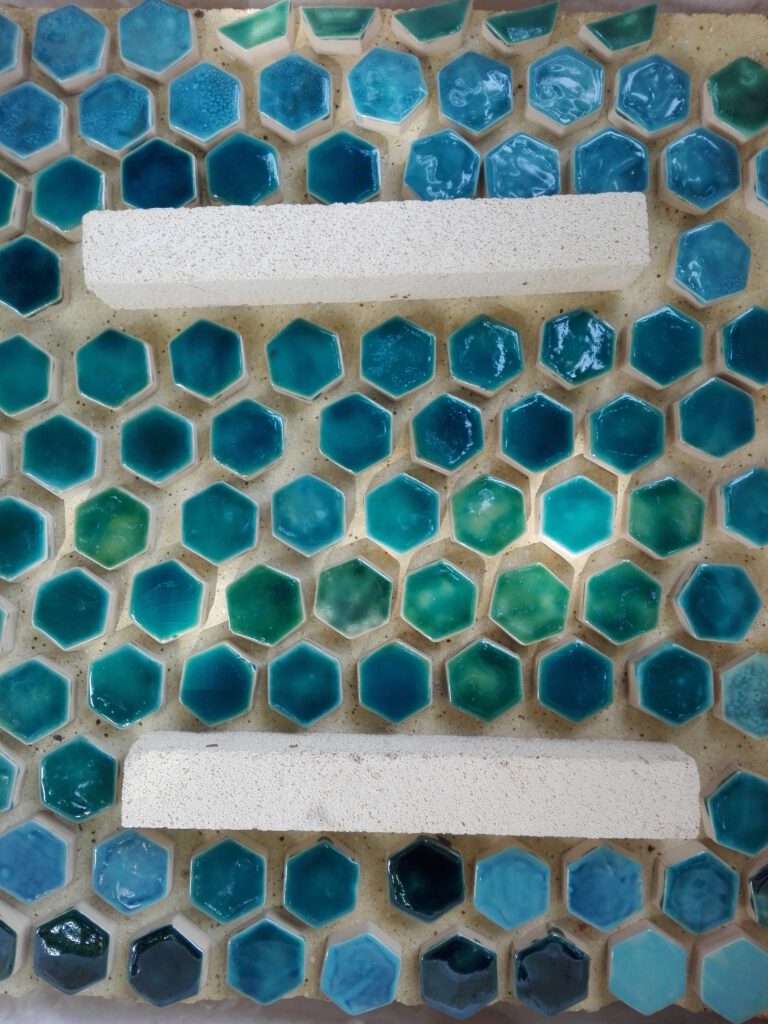
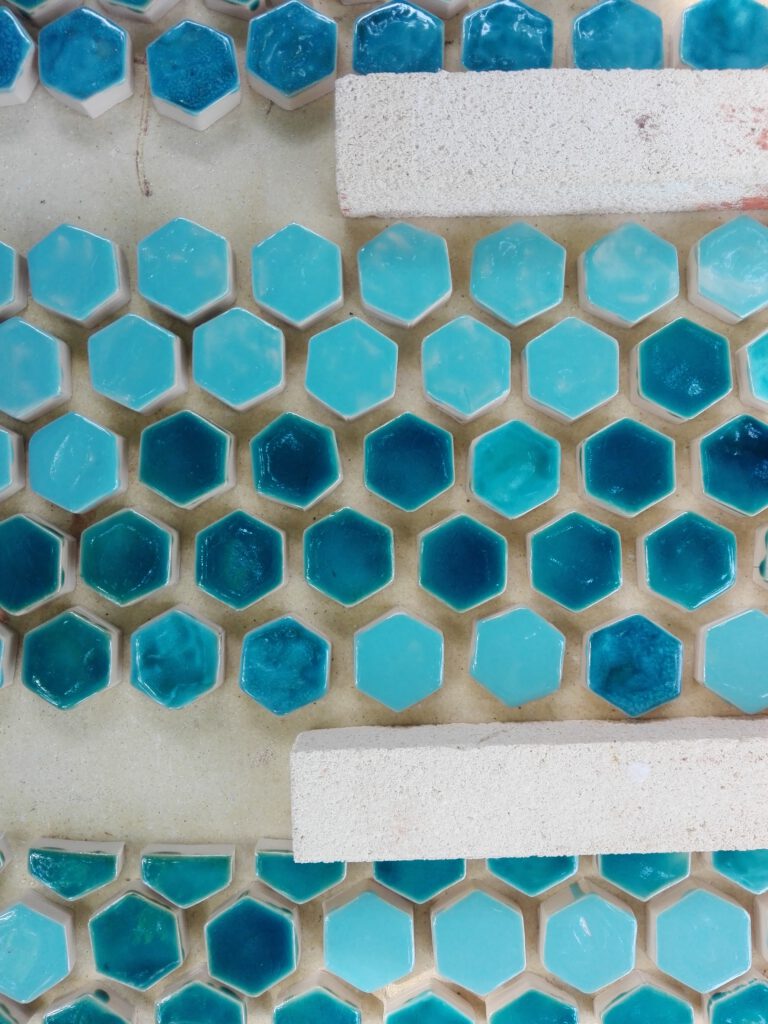
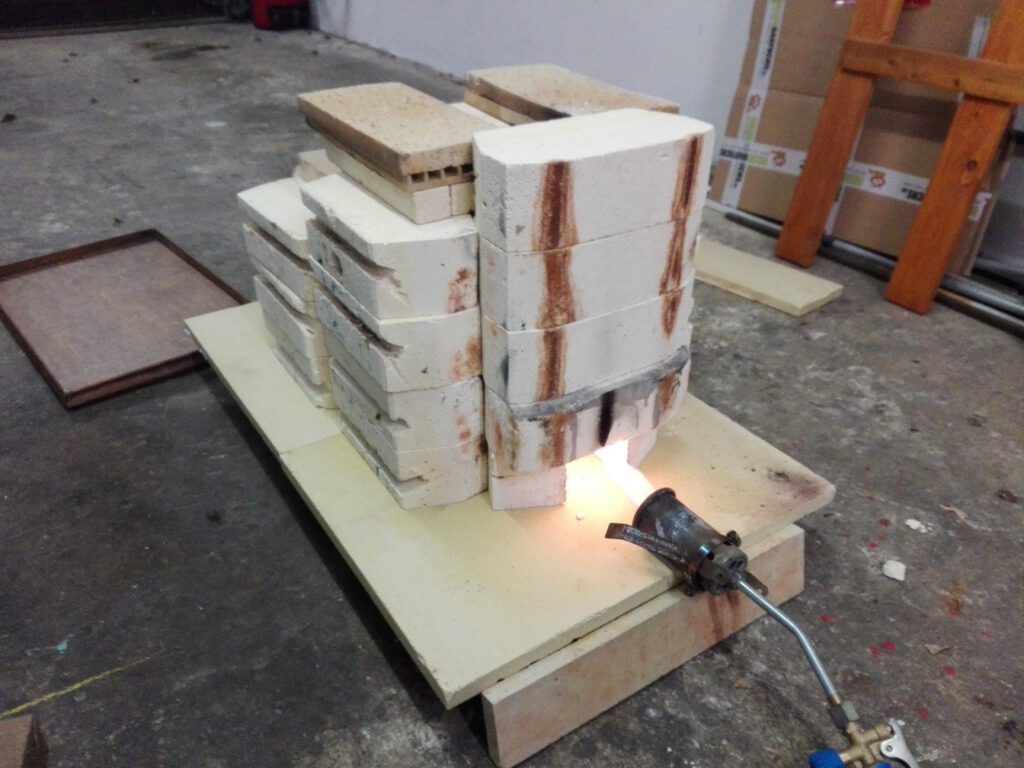
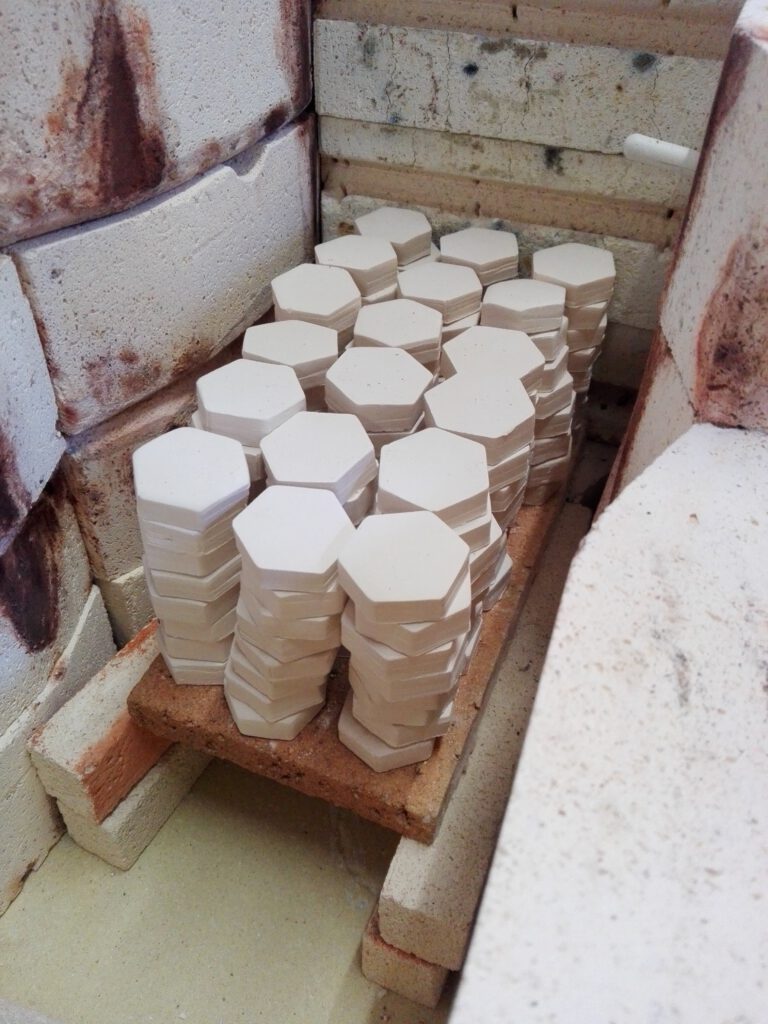
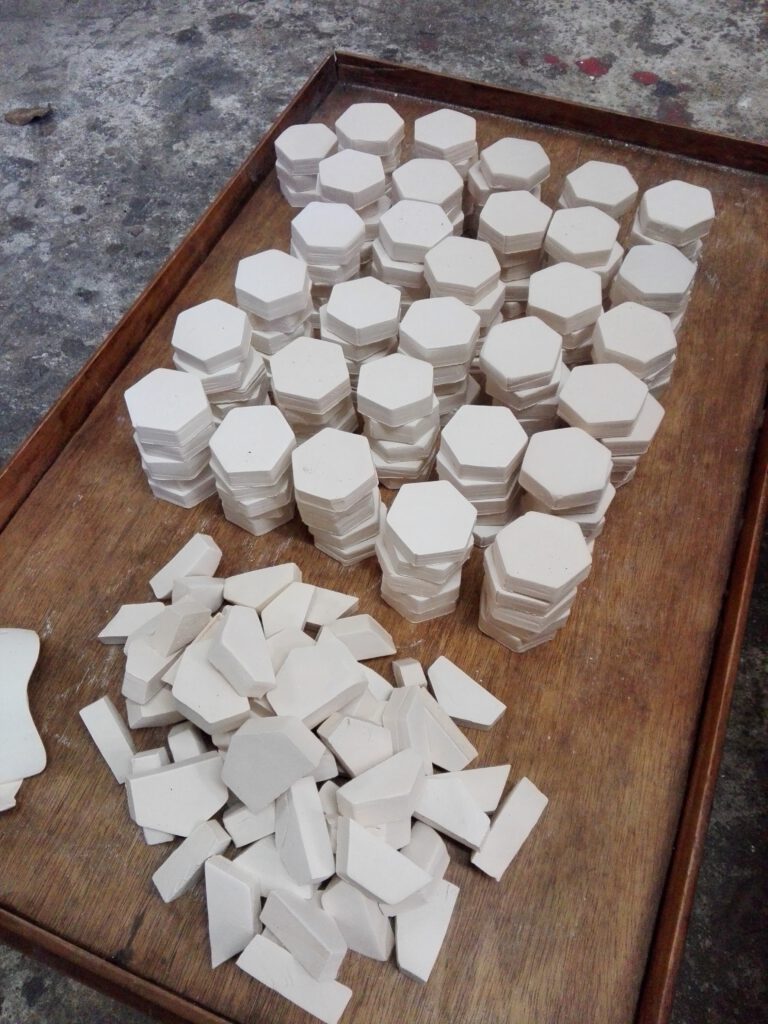
To get a straight line at the edge of the mosaic I had to make two types of special tiles. For two sides of the mosaic I just cut the hexagonal tiles in half (cutting from one corner to the opposing corner). For the other two sides I cut the tiles in half by splitting opposing faces. For bisque firing the tiles I didn’t want to use the big kiln so I set up a temporary kiln with old firebricks.

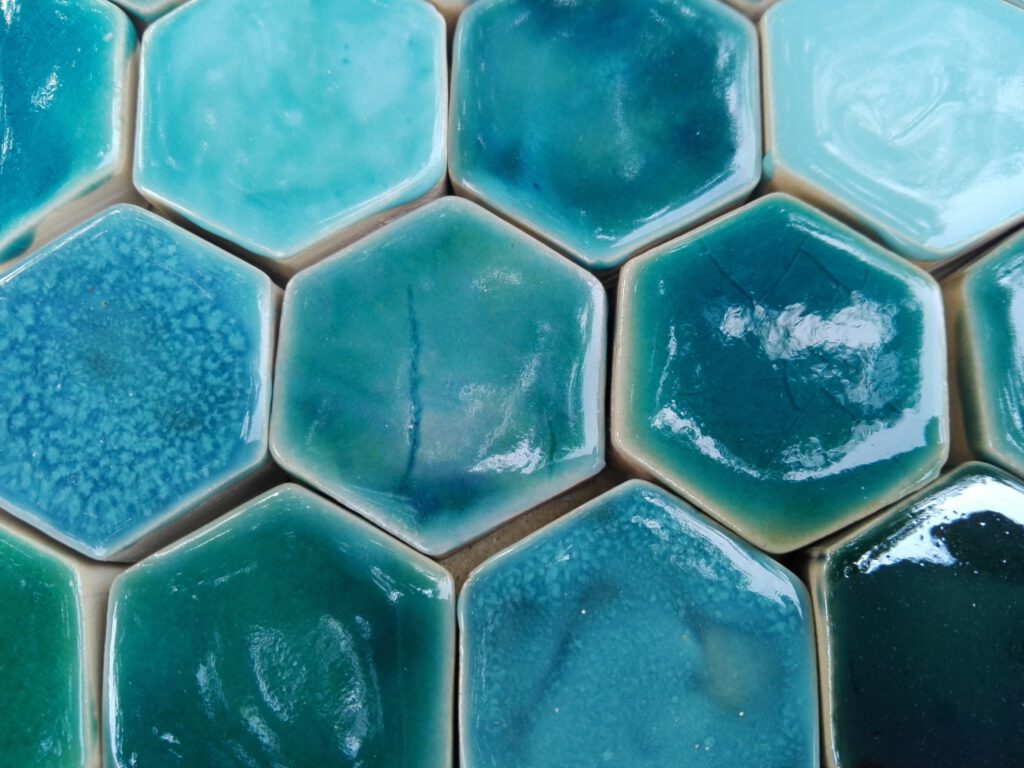
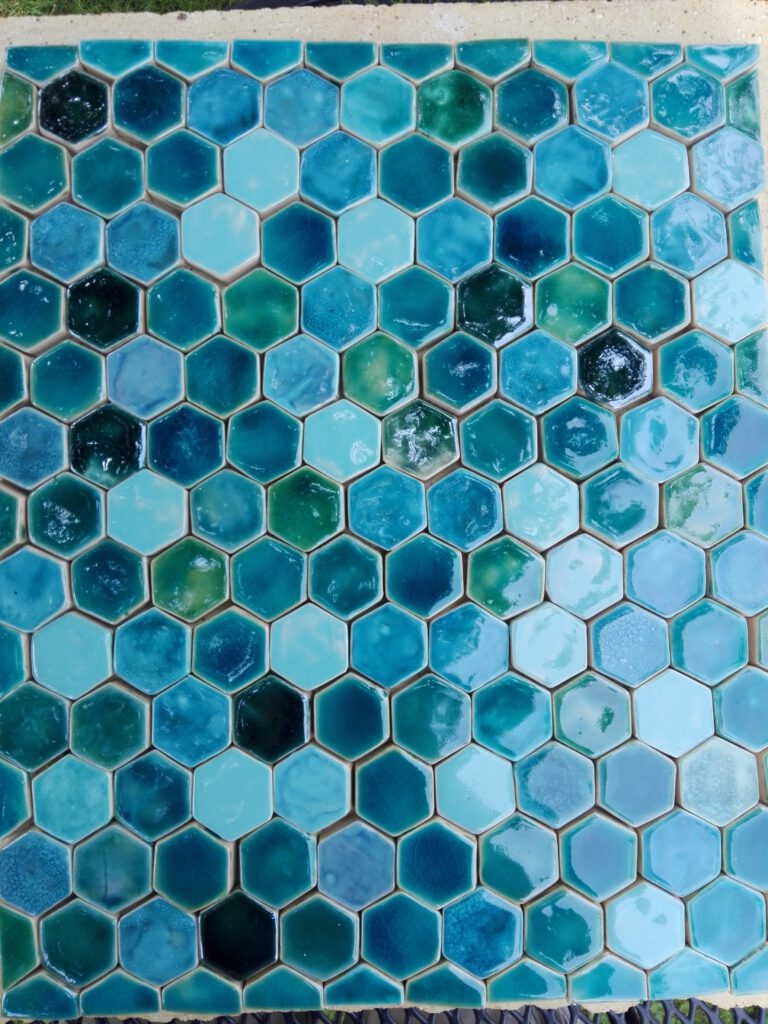
After bisque firing I glazed the tiles in various shades of blue and green. To get more color variation from three different glazes I layered them on top of eachother. The results of the glaze firing can be seen in the following pictures.