The first kiln I built is described here.
I’m in the process of building yet another kiln. This time it’s quite a bit smaller and more portable. I hope the smaller size will help in reducing cycle times. What this means is that when I don’t have time to make a lot of pots there’s a very long period from making to finishing the pots. It feels less rewarding that way. Also I want to make more experiments with different clay bodies and glazes. A smaller kiln would make that faster and a little more efficient maybe.
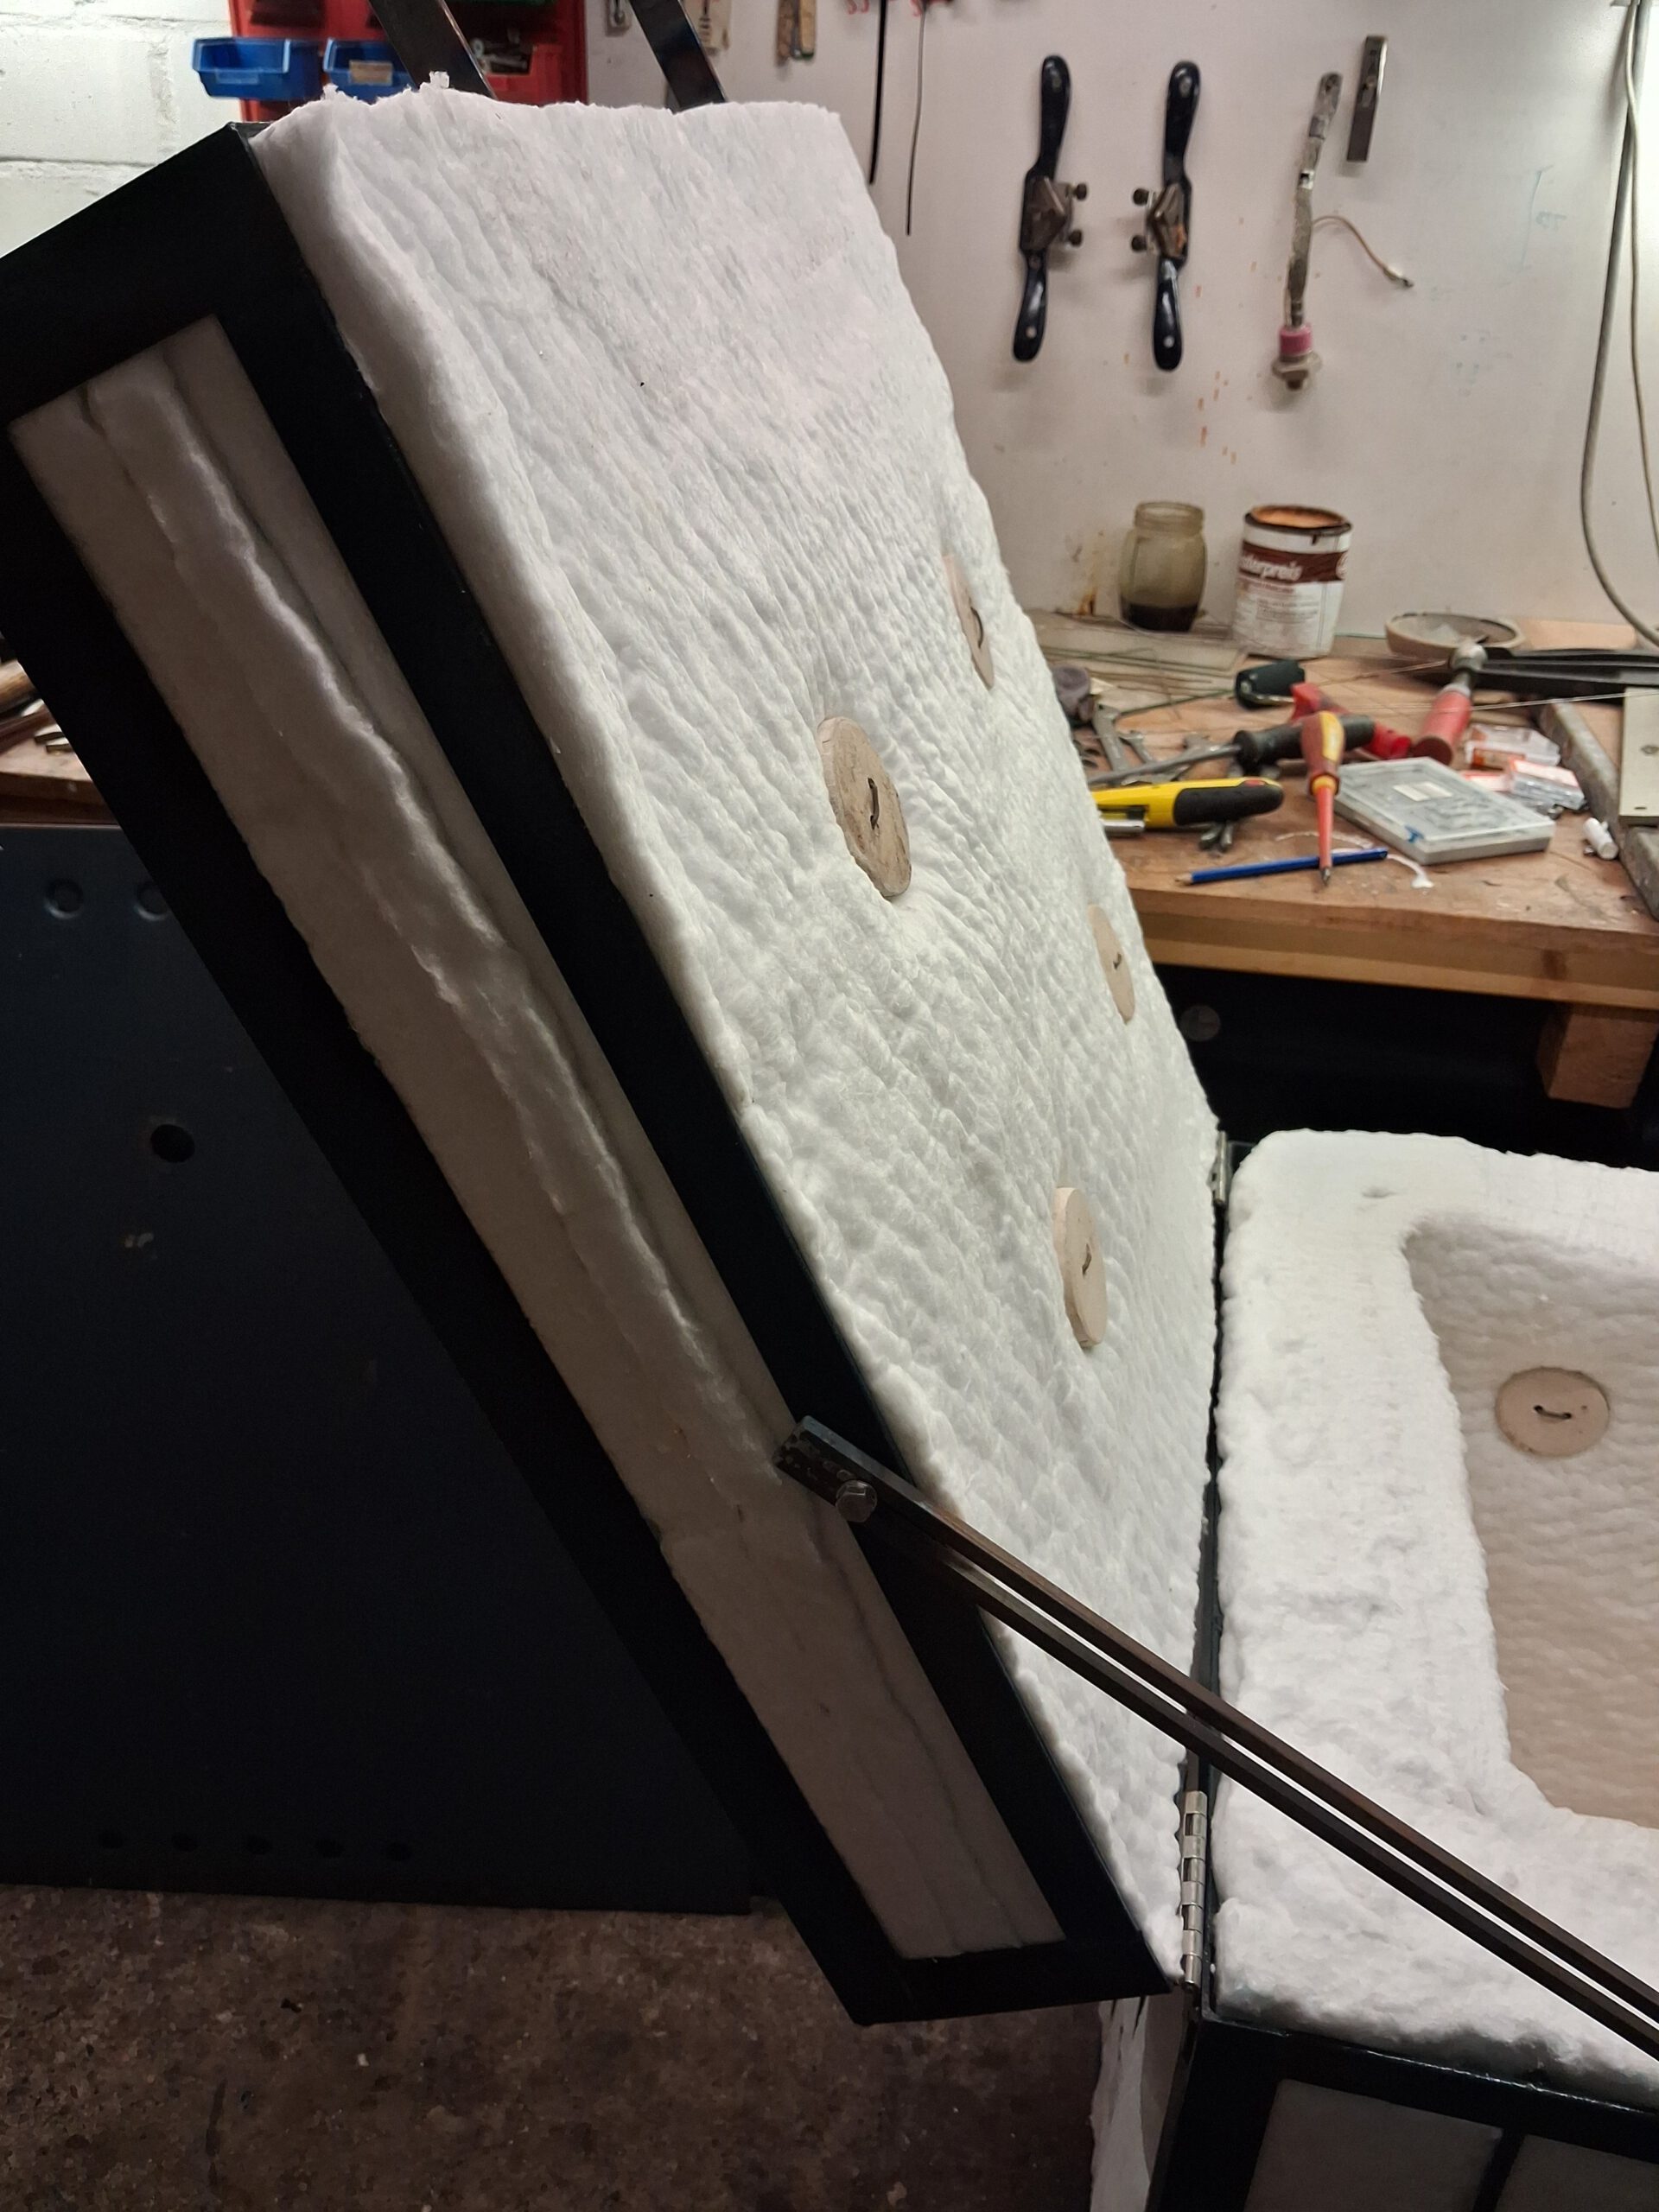
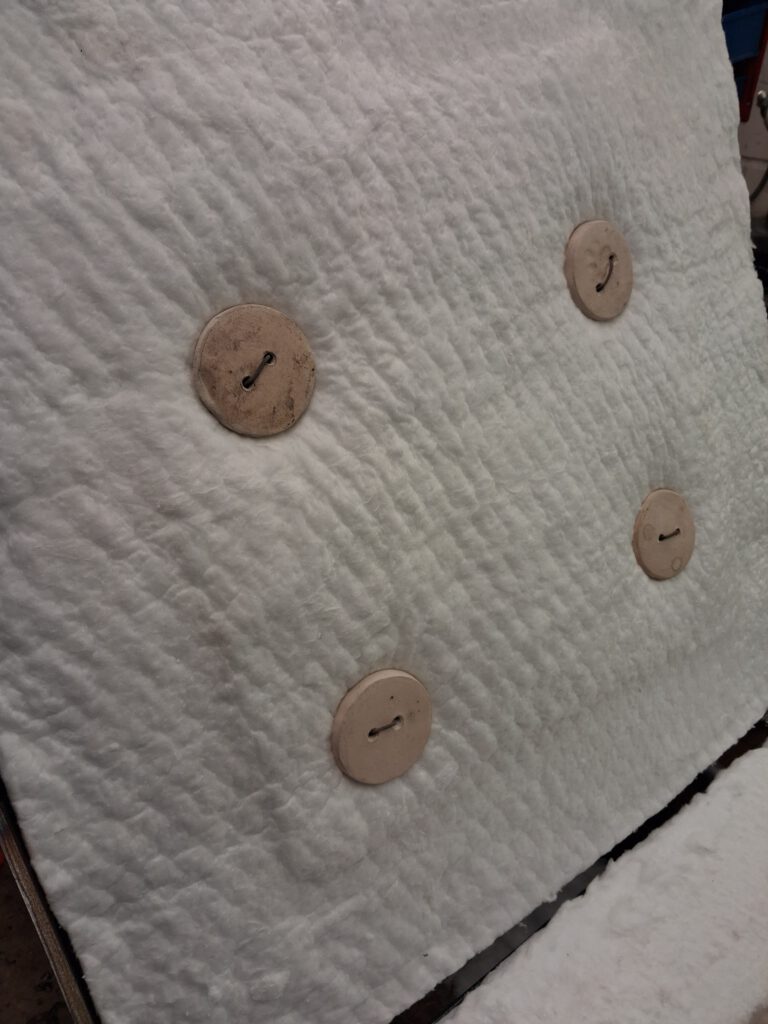
This new kiln is very similar to the one I built several years ago. I wrote an article about that one too. This time I decided to make a top loader. Again I chose 100 mm insulation (4 inches). I bought one roll of 25 mm thick fiber blanket with a rated temperature of 1400 °C. So it should be good for around 1200 °C long term. I couldn’t find the fiber blanket in 50 mm thick. With some leftovers from my other kiln that one roll (about 7,2 m and 0,61 m wide) was enough for the kiln.
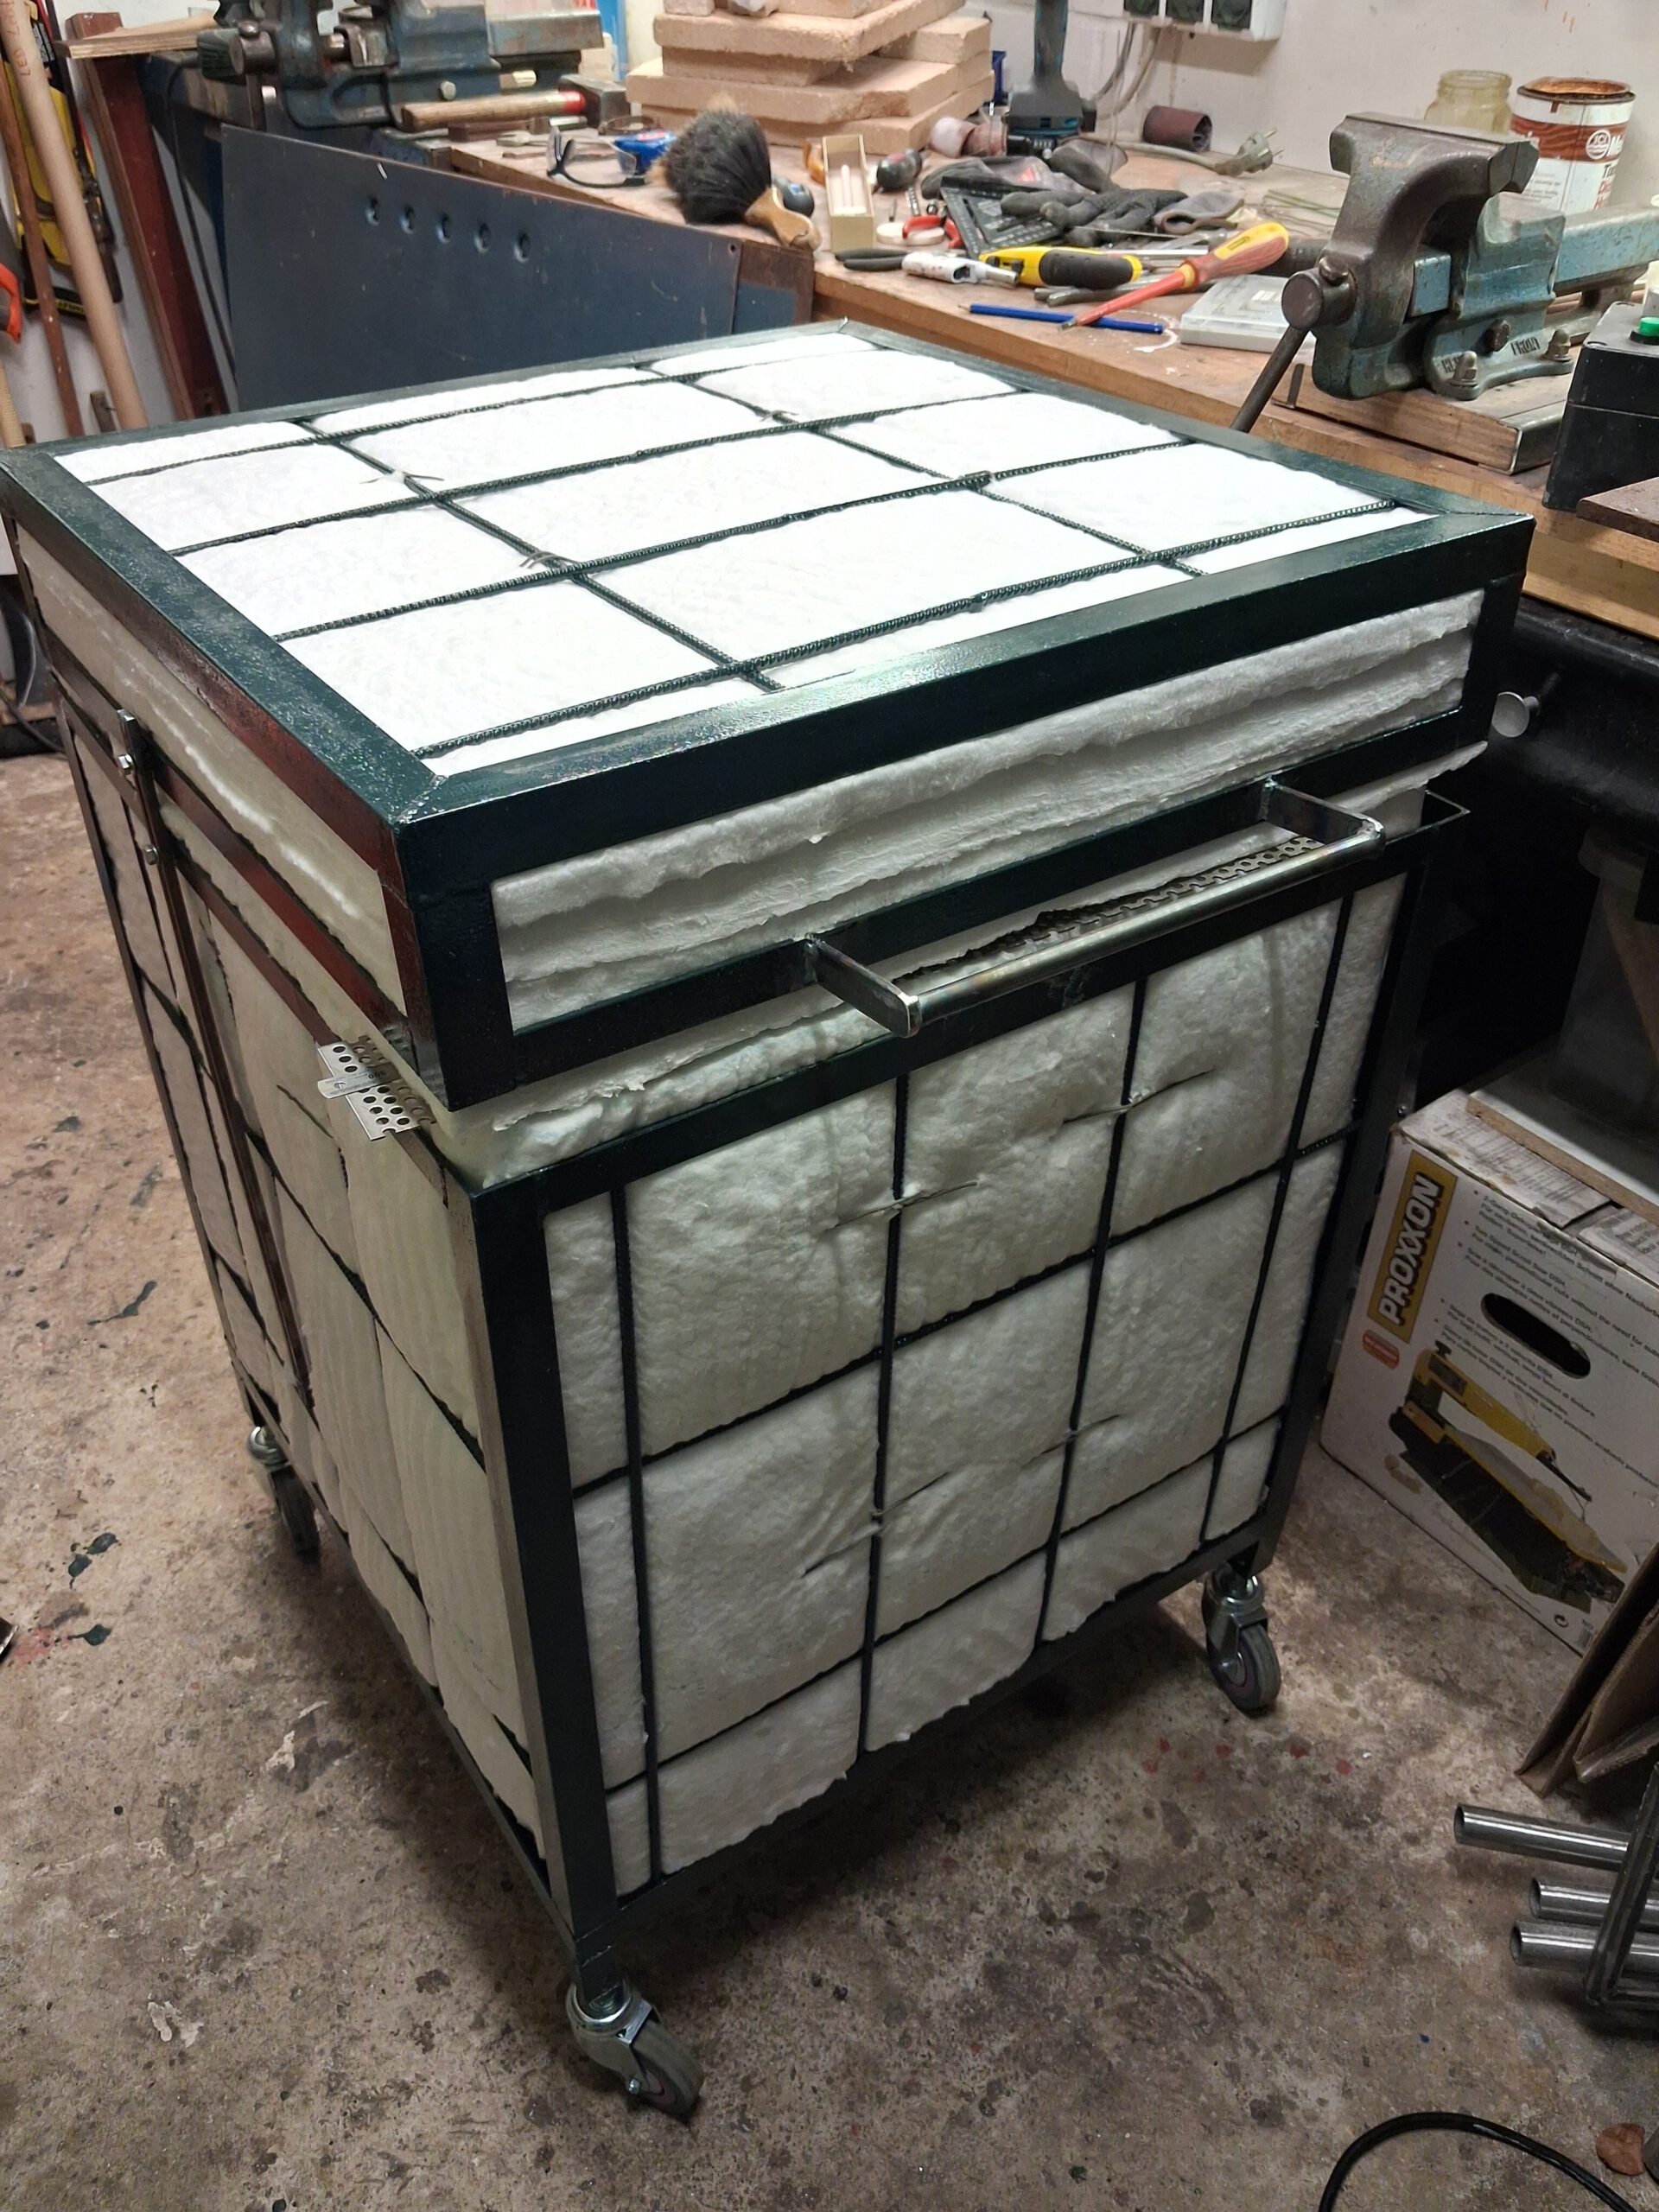
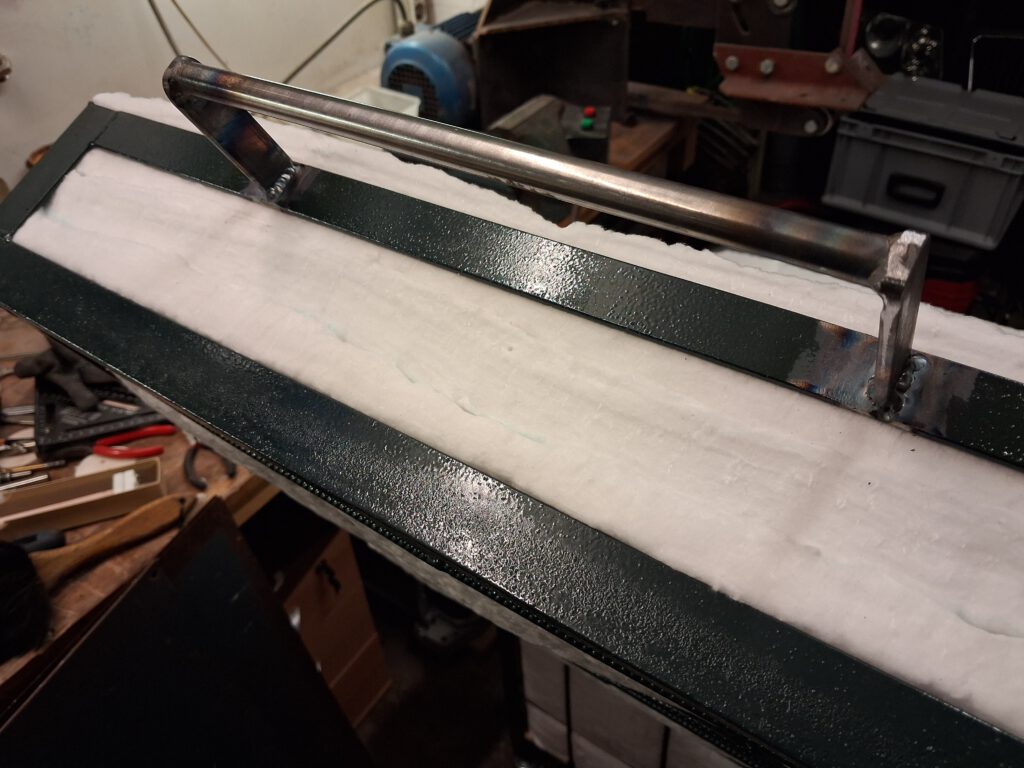
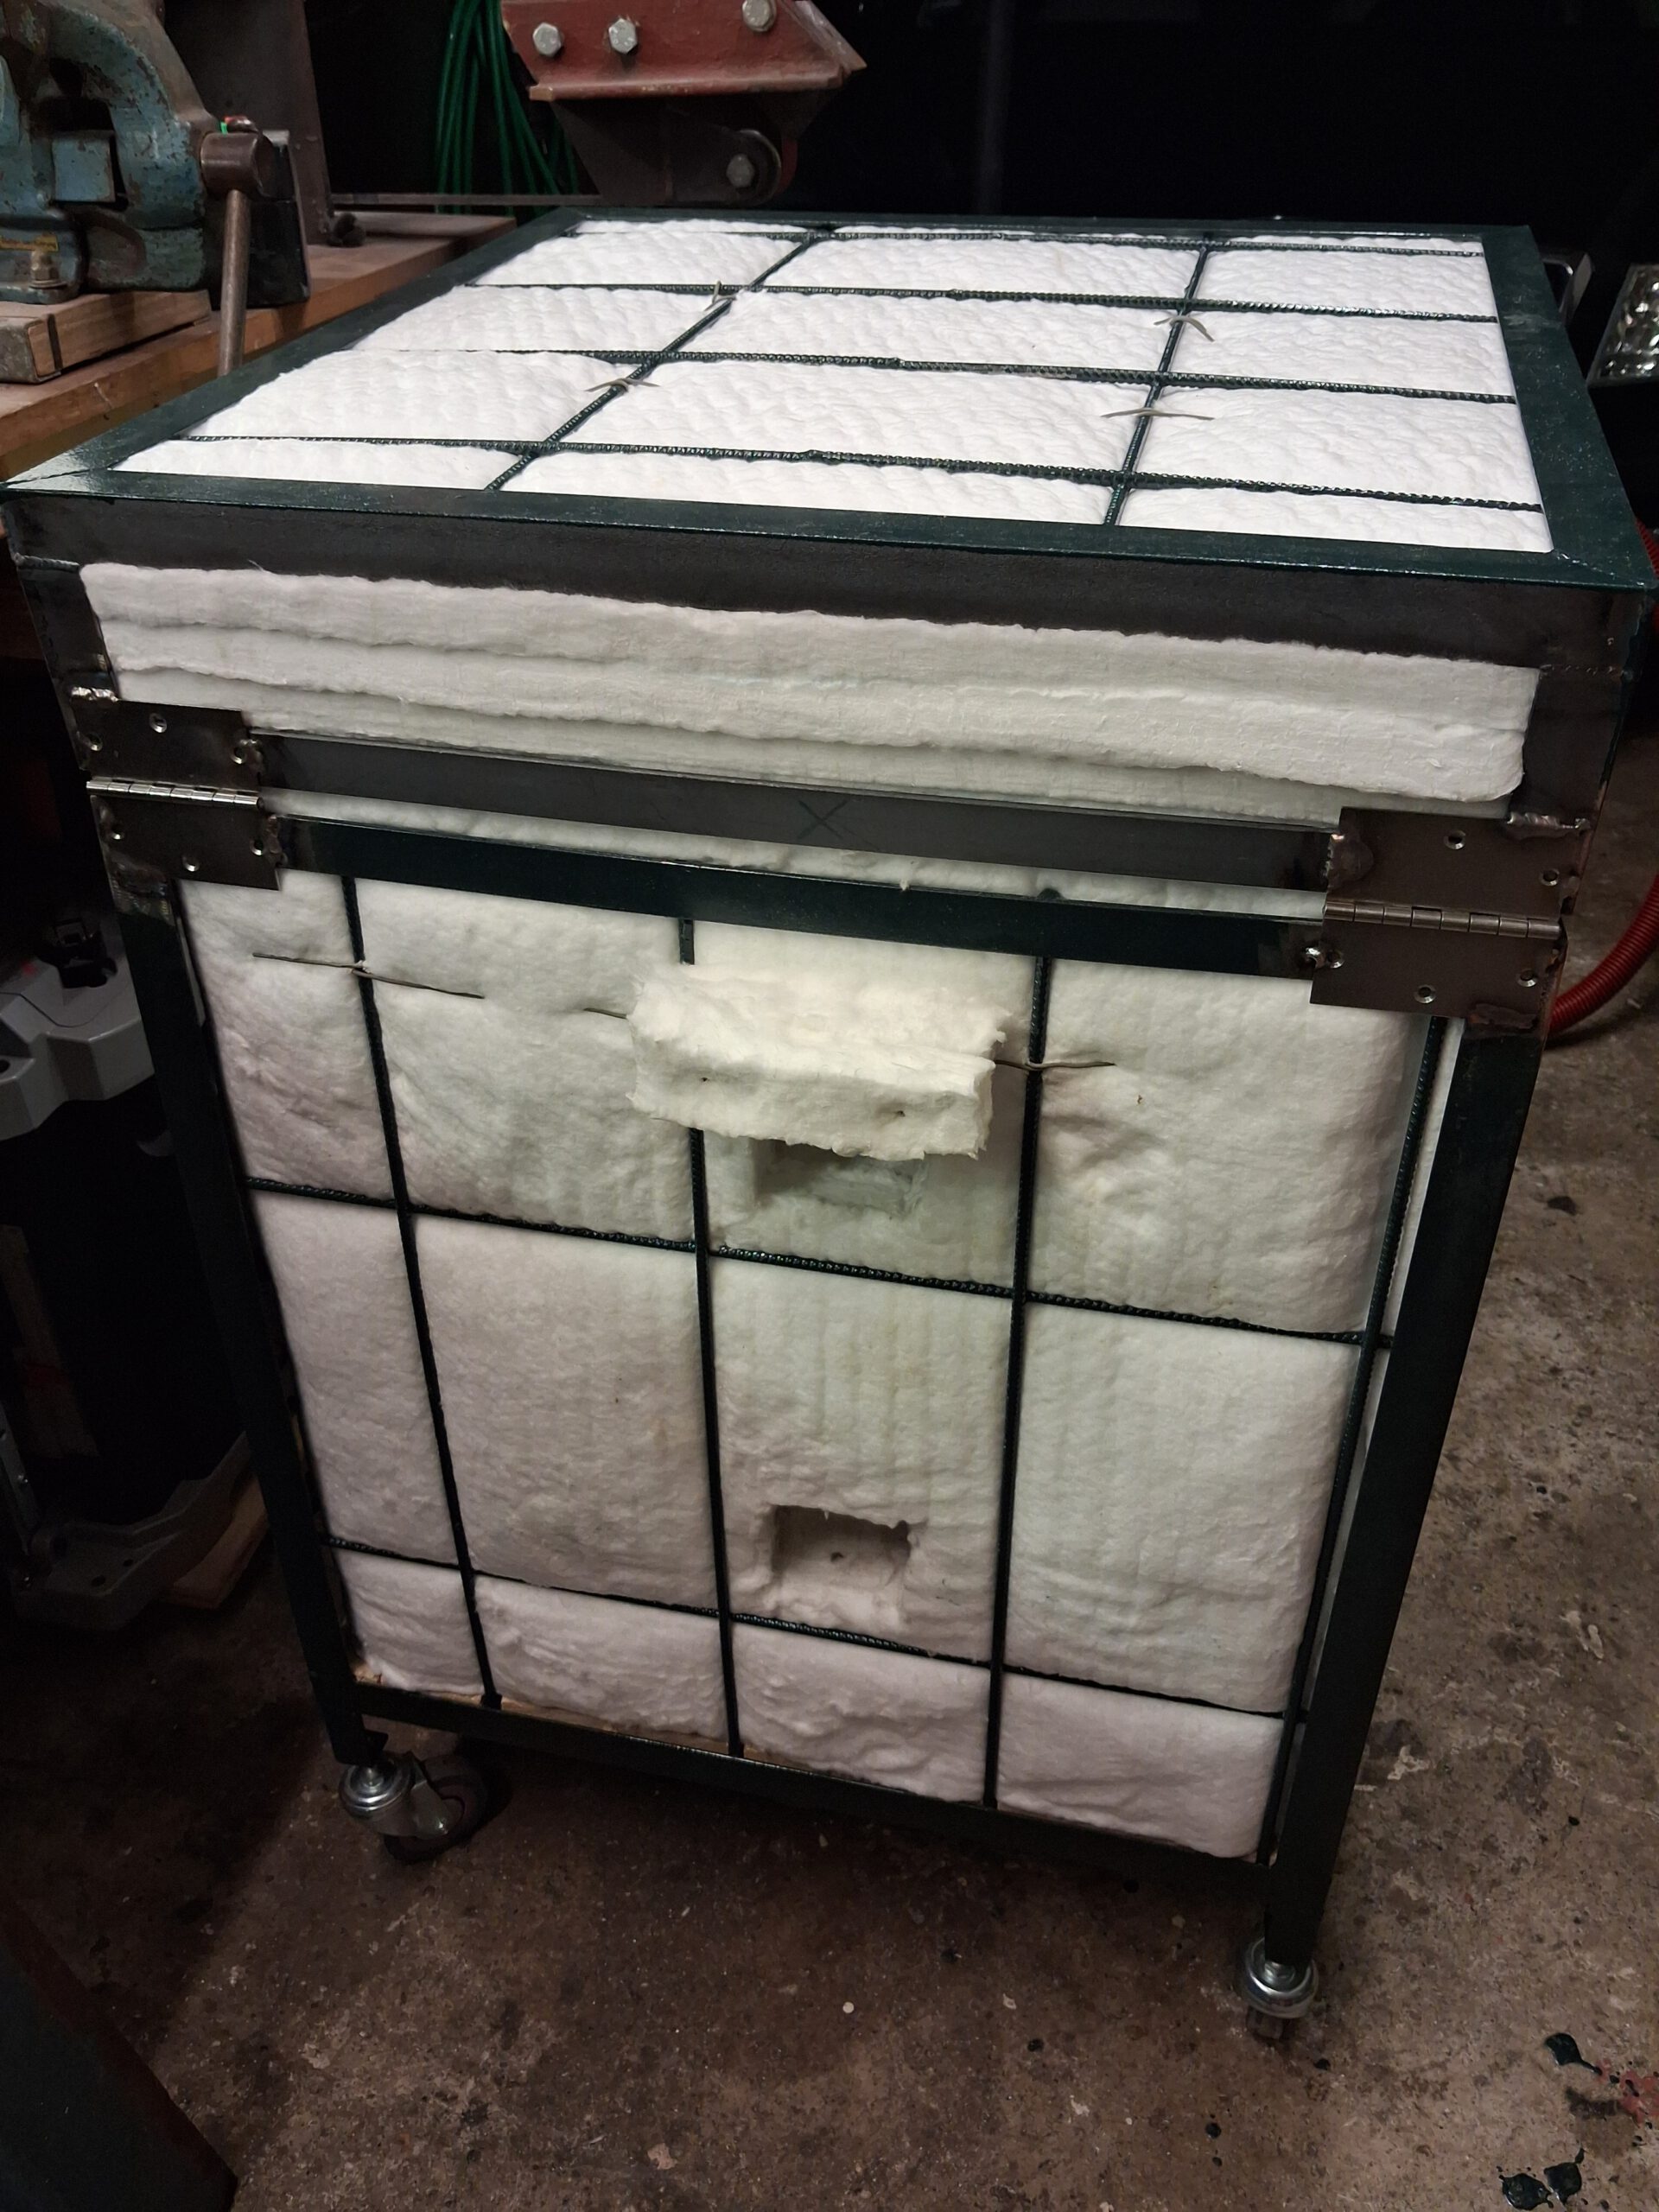
The frame is made of mild steel sections that I welded using my TIG welder. It’s a simple box and If I did it again I would go with slightly thicker steel. This is angle iron, 25×3 mm. The whole thing does flex a bit when you roll it over an uneven floor.
The floor consists of multple layers. The outer most layer is made of vermiculite boards. They are light, soft, pretty good at insulating but also not made for very high temperatures. I still had these from the kiln I dismantled. In that they were also used as an intermediate insulation in the three layer construction.
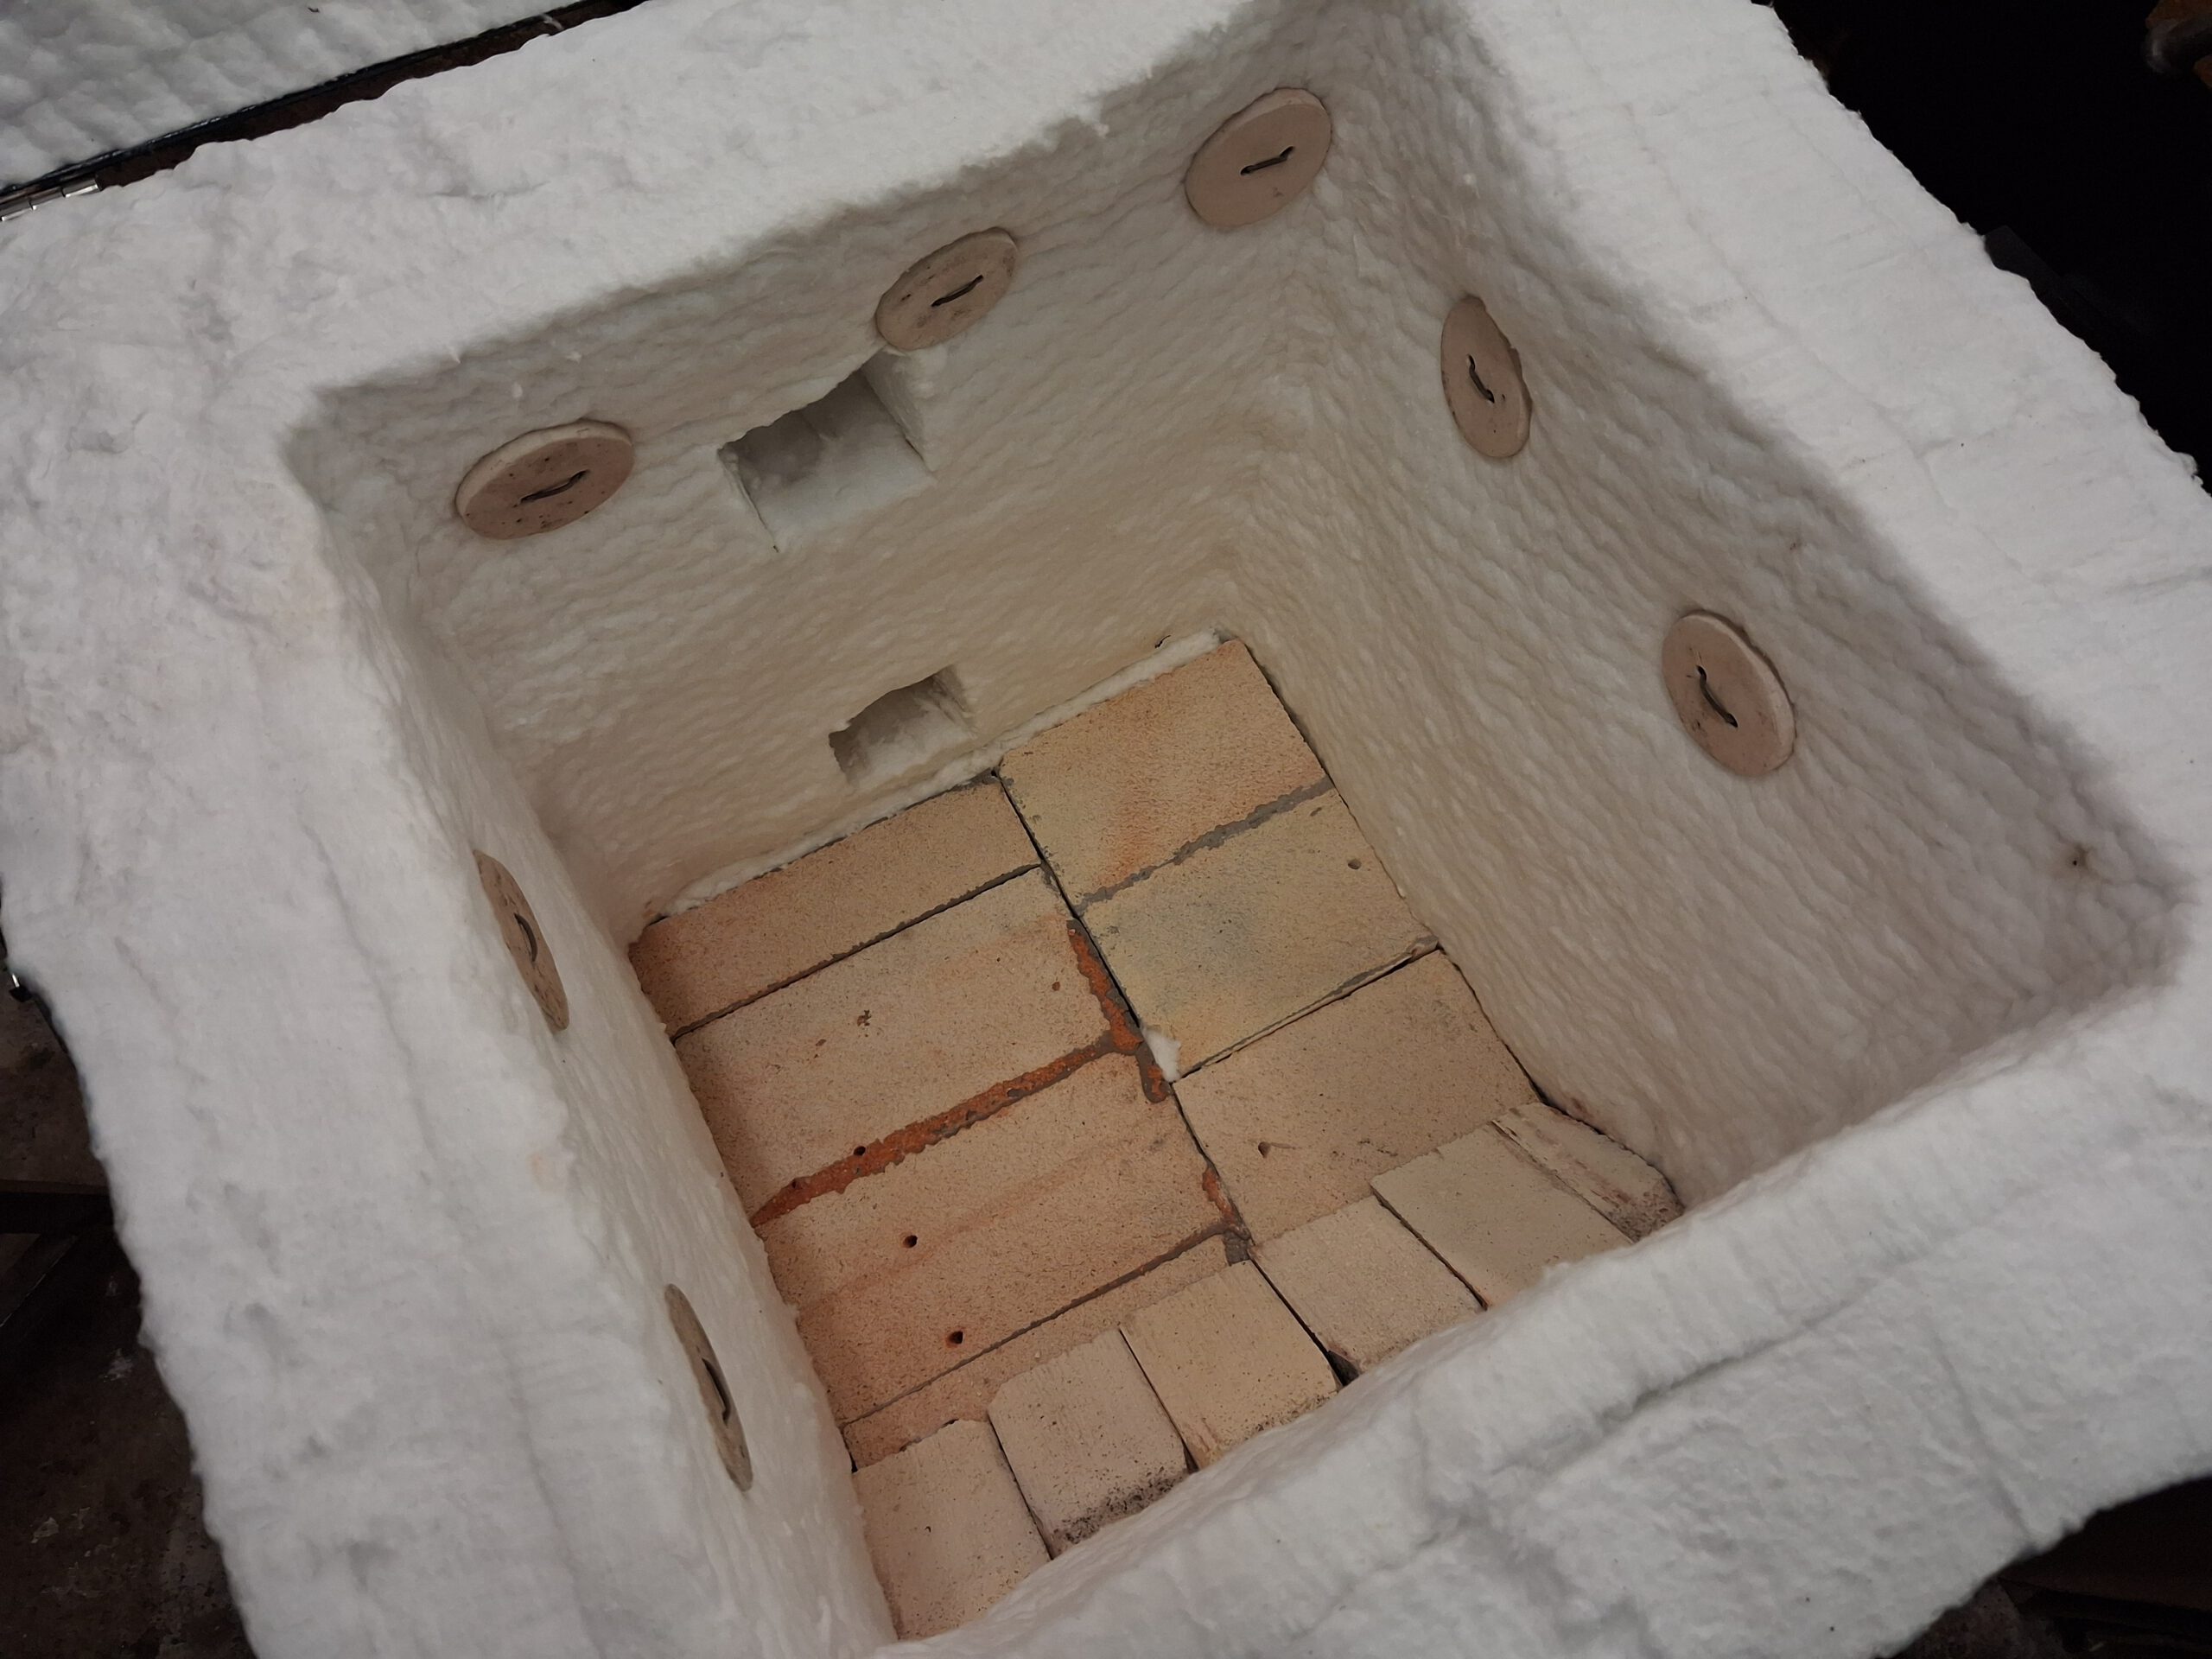
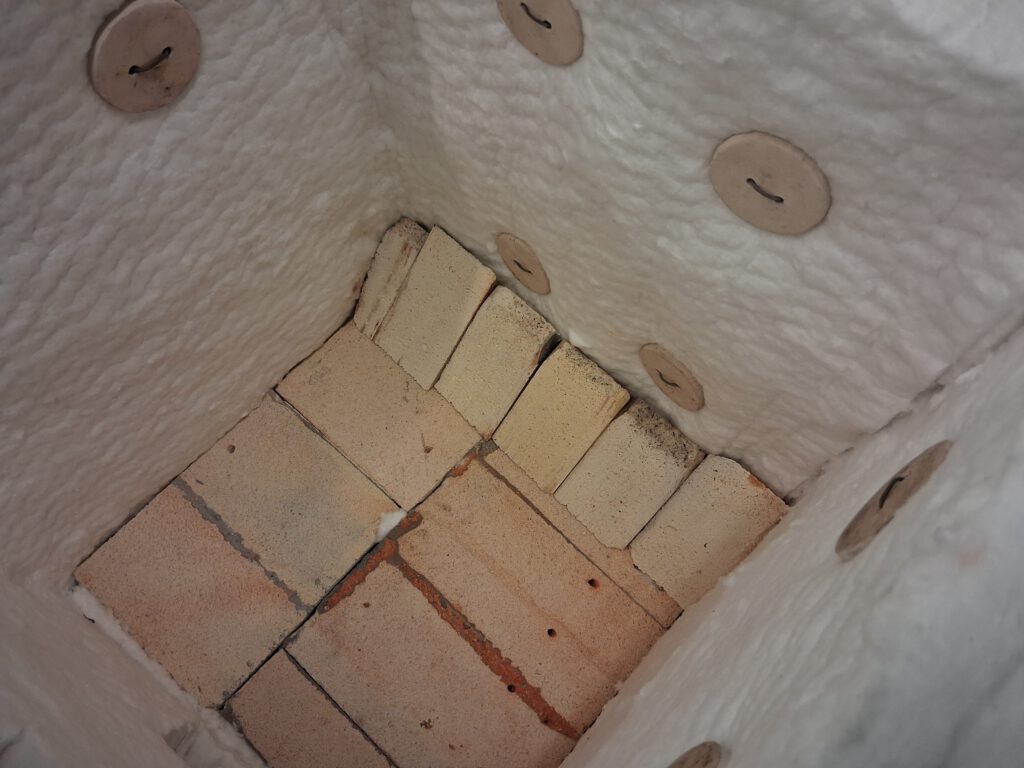
Next there is a layer of light fire brick. As I didn’t have any whole bricks left I cut rectangular bricks from the irregular shaped ones. My cuts weren’t very precice as I did them with an old hand saw for wood. It wasn’t sharp enough for wood anymore but worked fine for the fire bricks. As a result I had some gaps between the bricks. I filled the gaps with pieces of fiber blanket as good as I could. Next I put another layer of harder fire bricks on top. I’m not sure how to describe them. They are harder than the soft bricks but still lighter and not as dense as the hard bricks. They are a lot more abbrasion resistant than the soft bricks. This layer is only about 30 mm thick (just like the vermiculite).
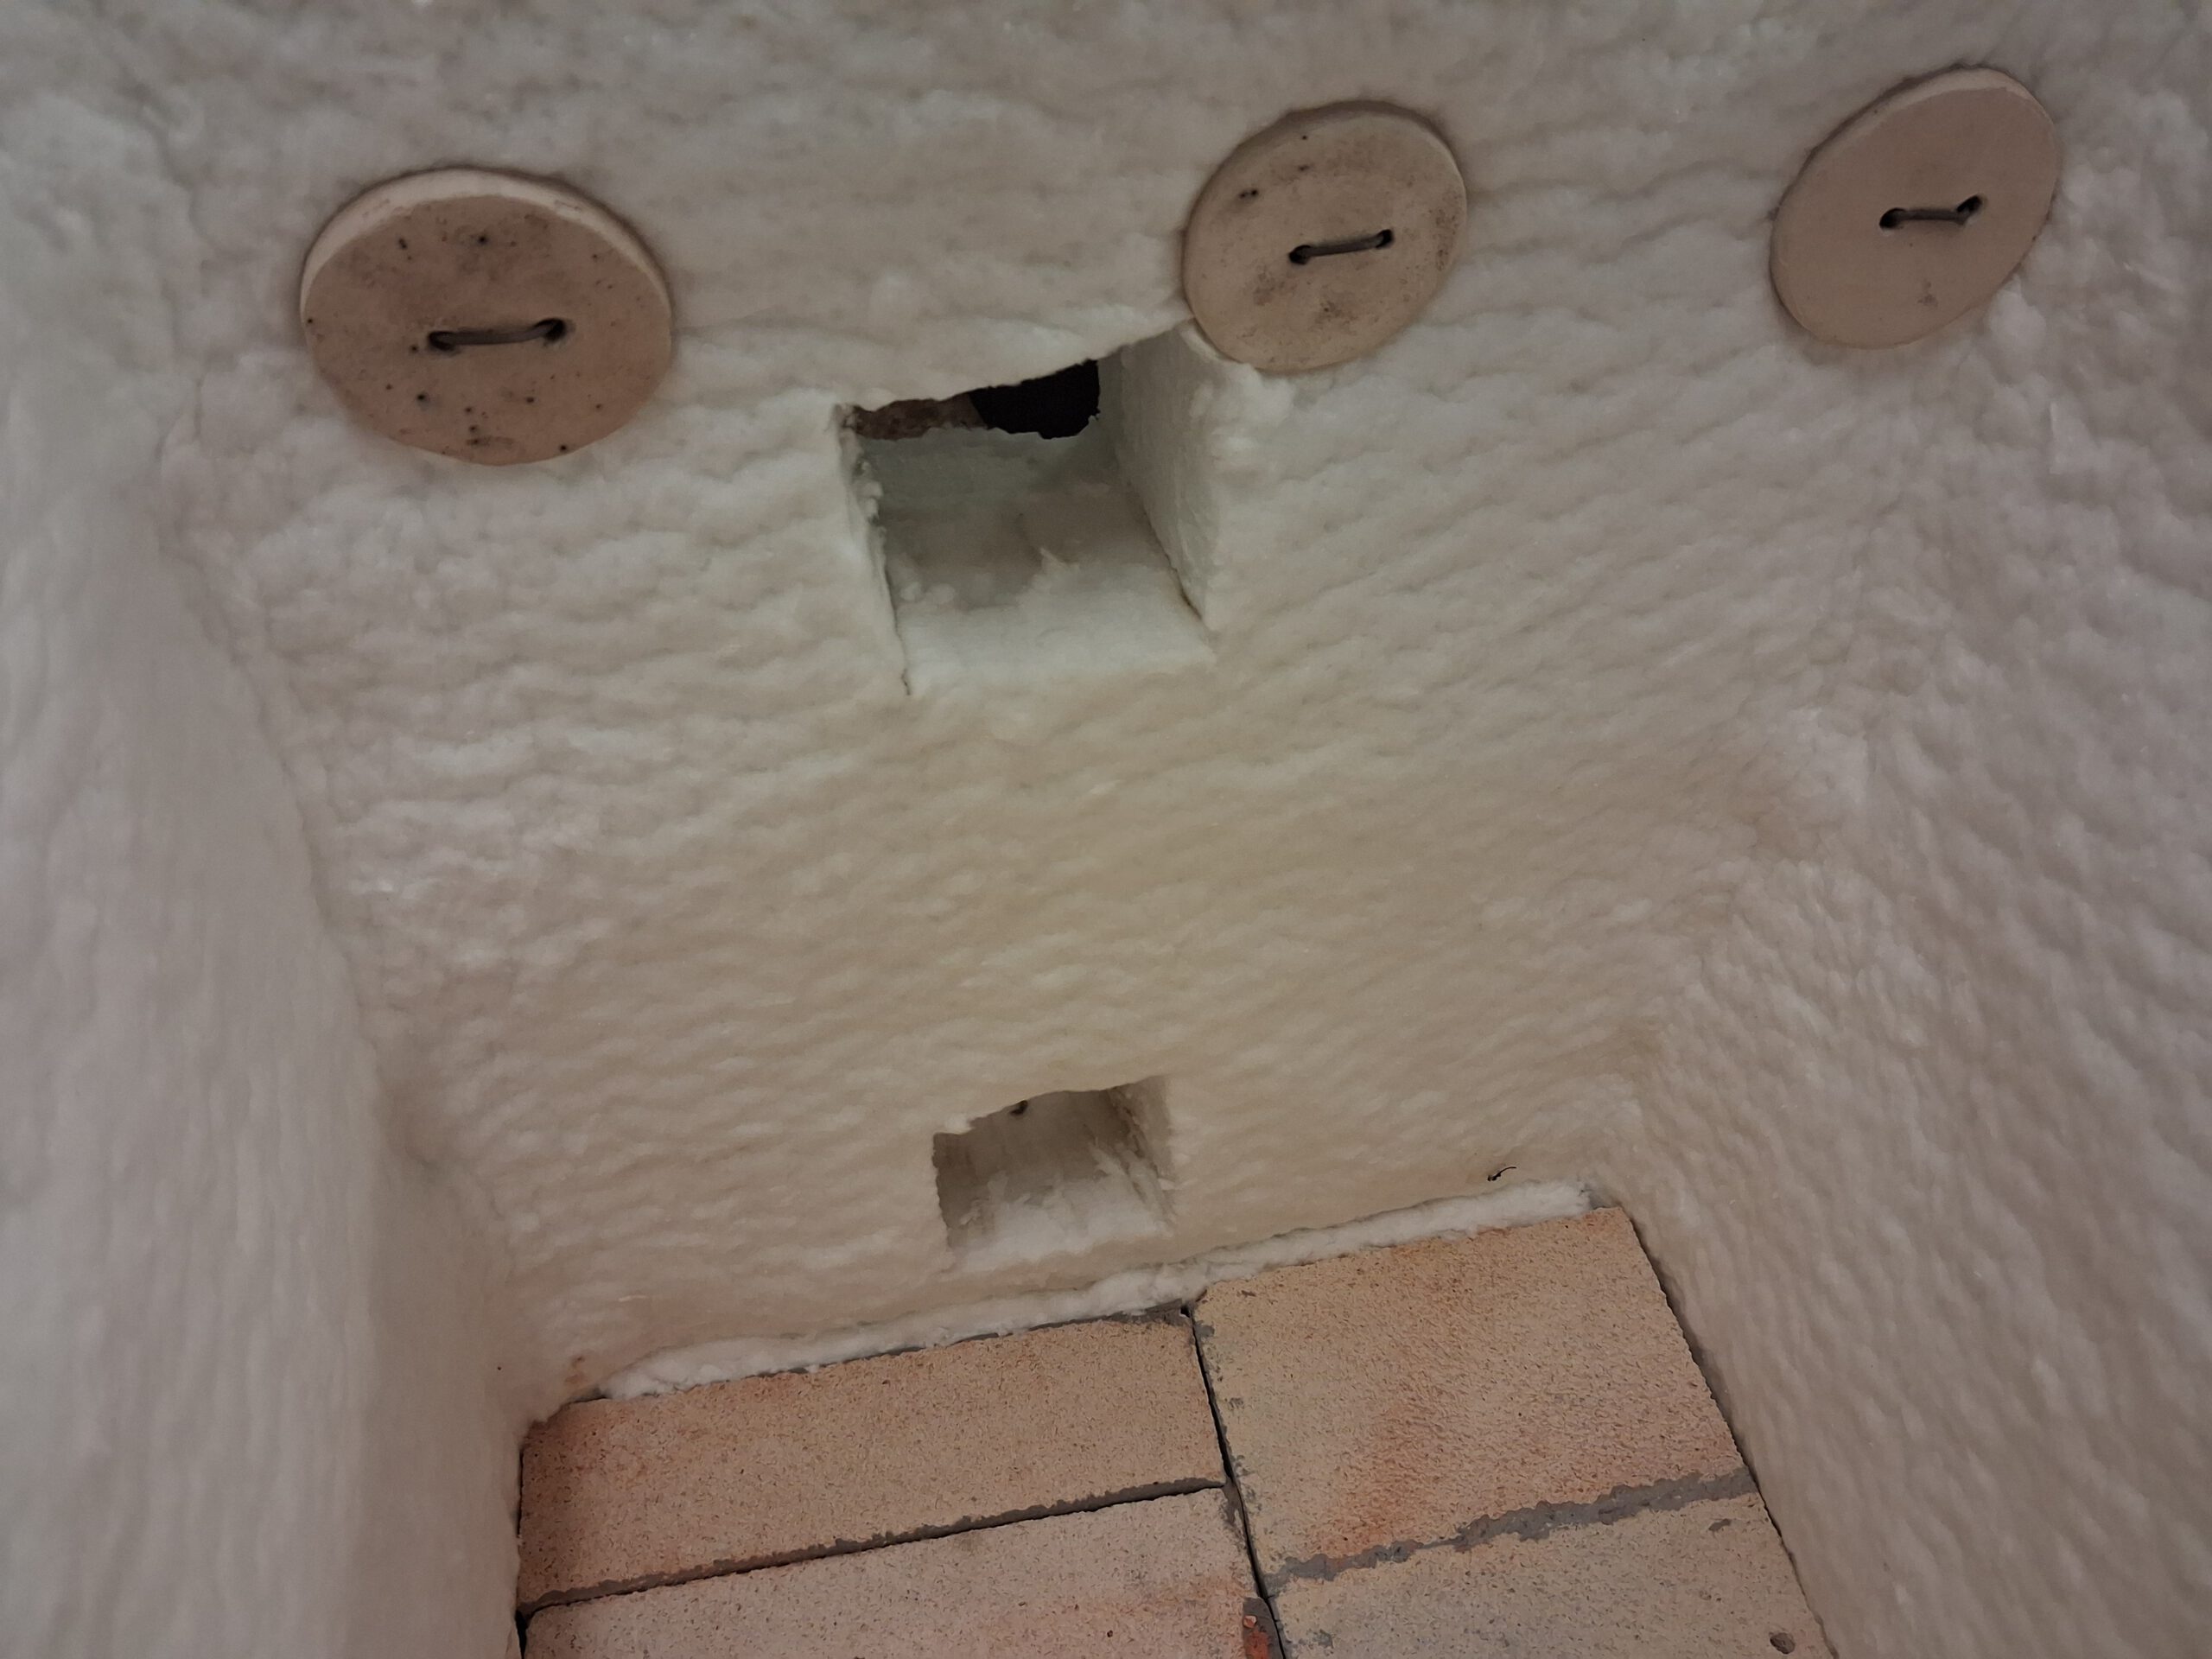
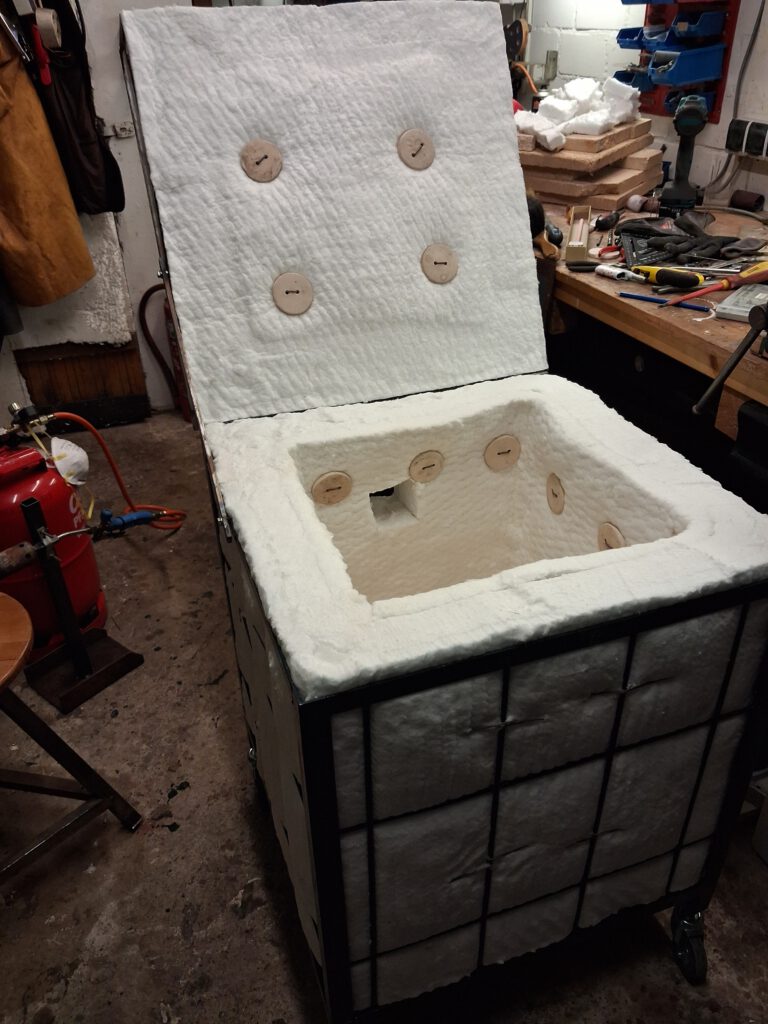
This time I didn’t want to have the more complicated construction of a down draft kiln so I will use some kind of cross draft. There is no chimney stack at all. I just cut two identical holes in the side of the kiln above eachother. The lower hole is the burner port and the upper hole is the “chimney” or exhaust. The plan is to have the flame come into the kiln horizontally below a kiln shelf. Then some 45 ° angle bricks will help to direct the flames upwards.Then the flames have to turn around and exit the kiln on the same side they entered.
Now here are some pictures of how the kiln looks so far.