I’m in the middle of building a small cloud chamber to make ionizing radiation visible. This is just to document a few findings of mine without going into the details of how and why a cloud chamber works.
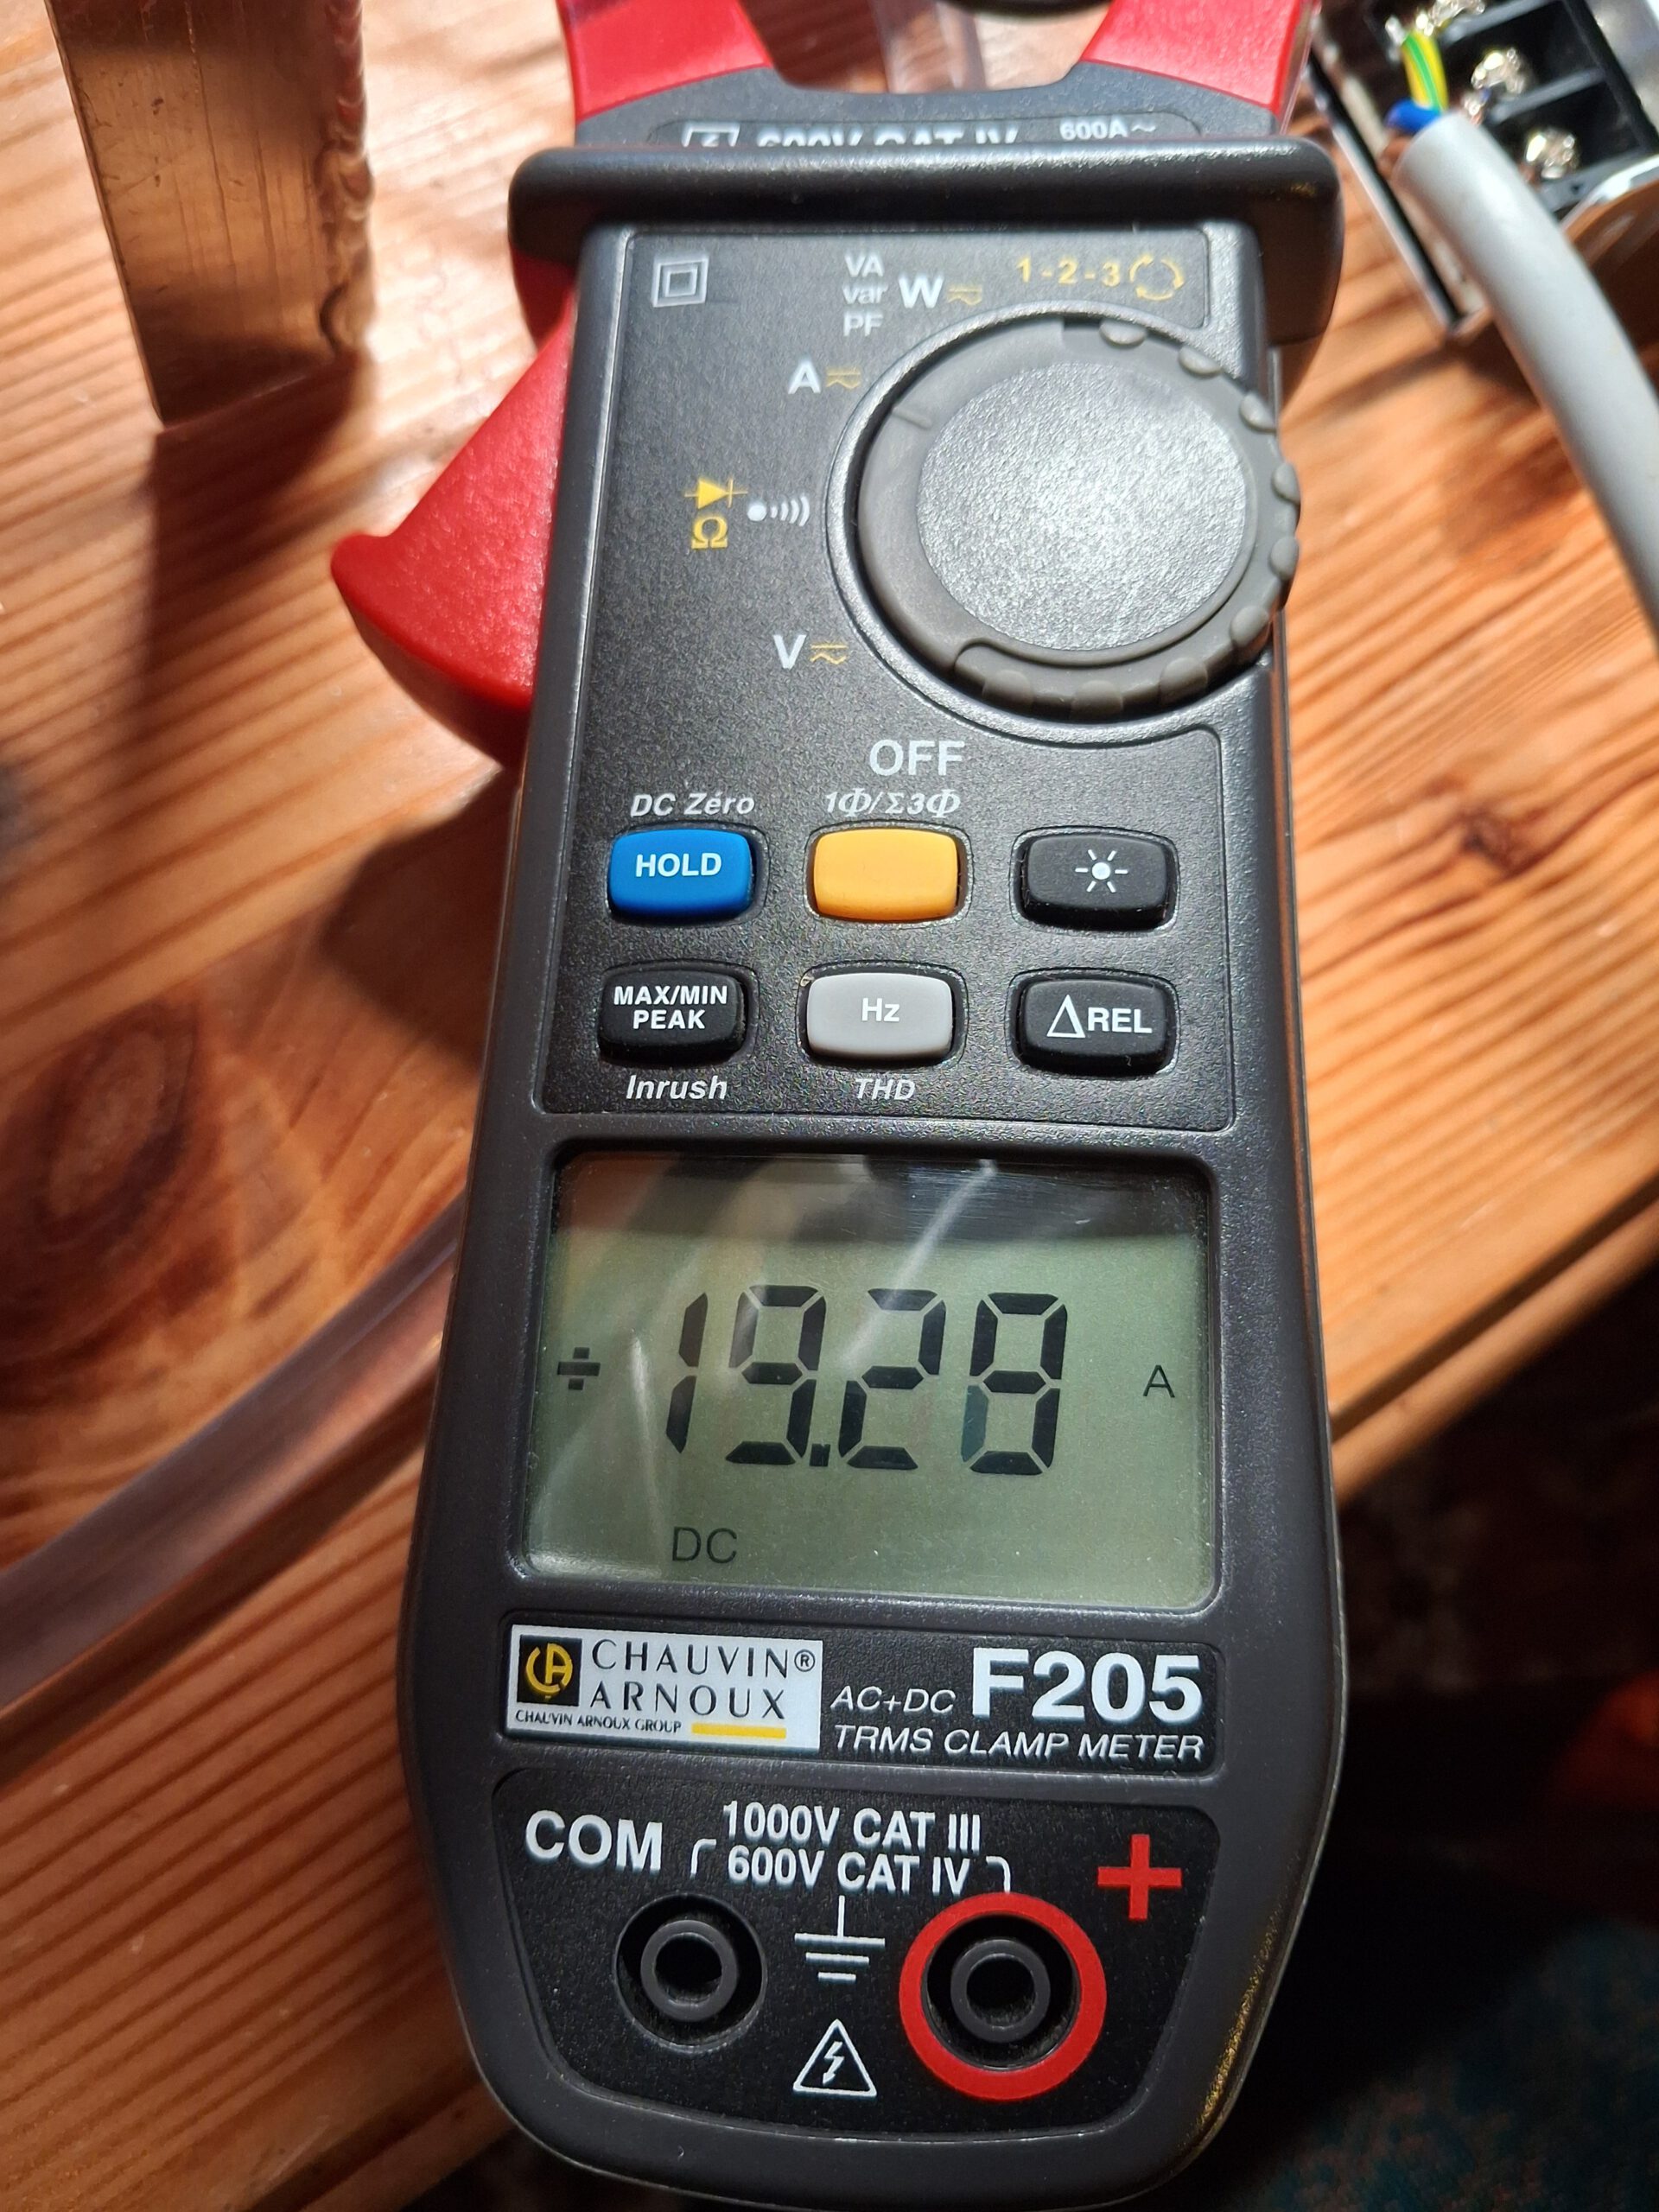
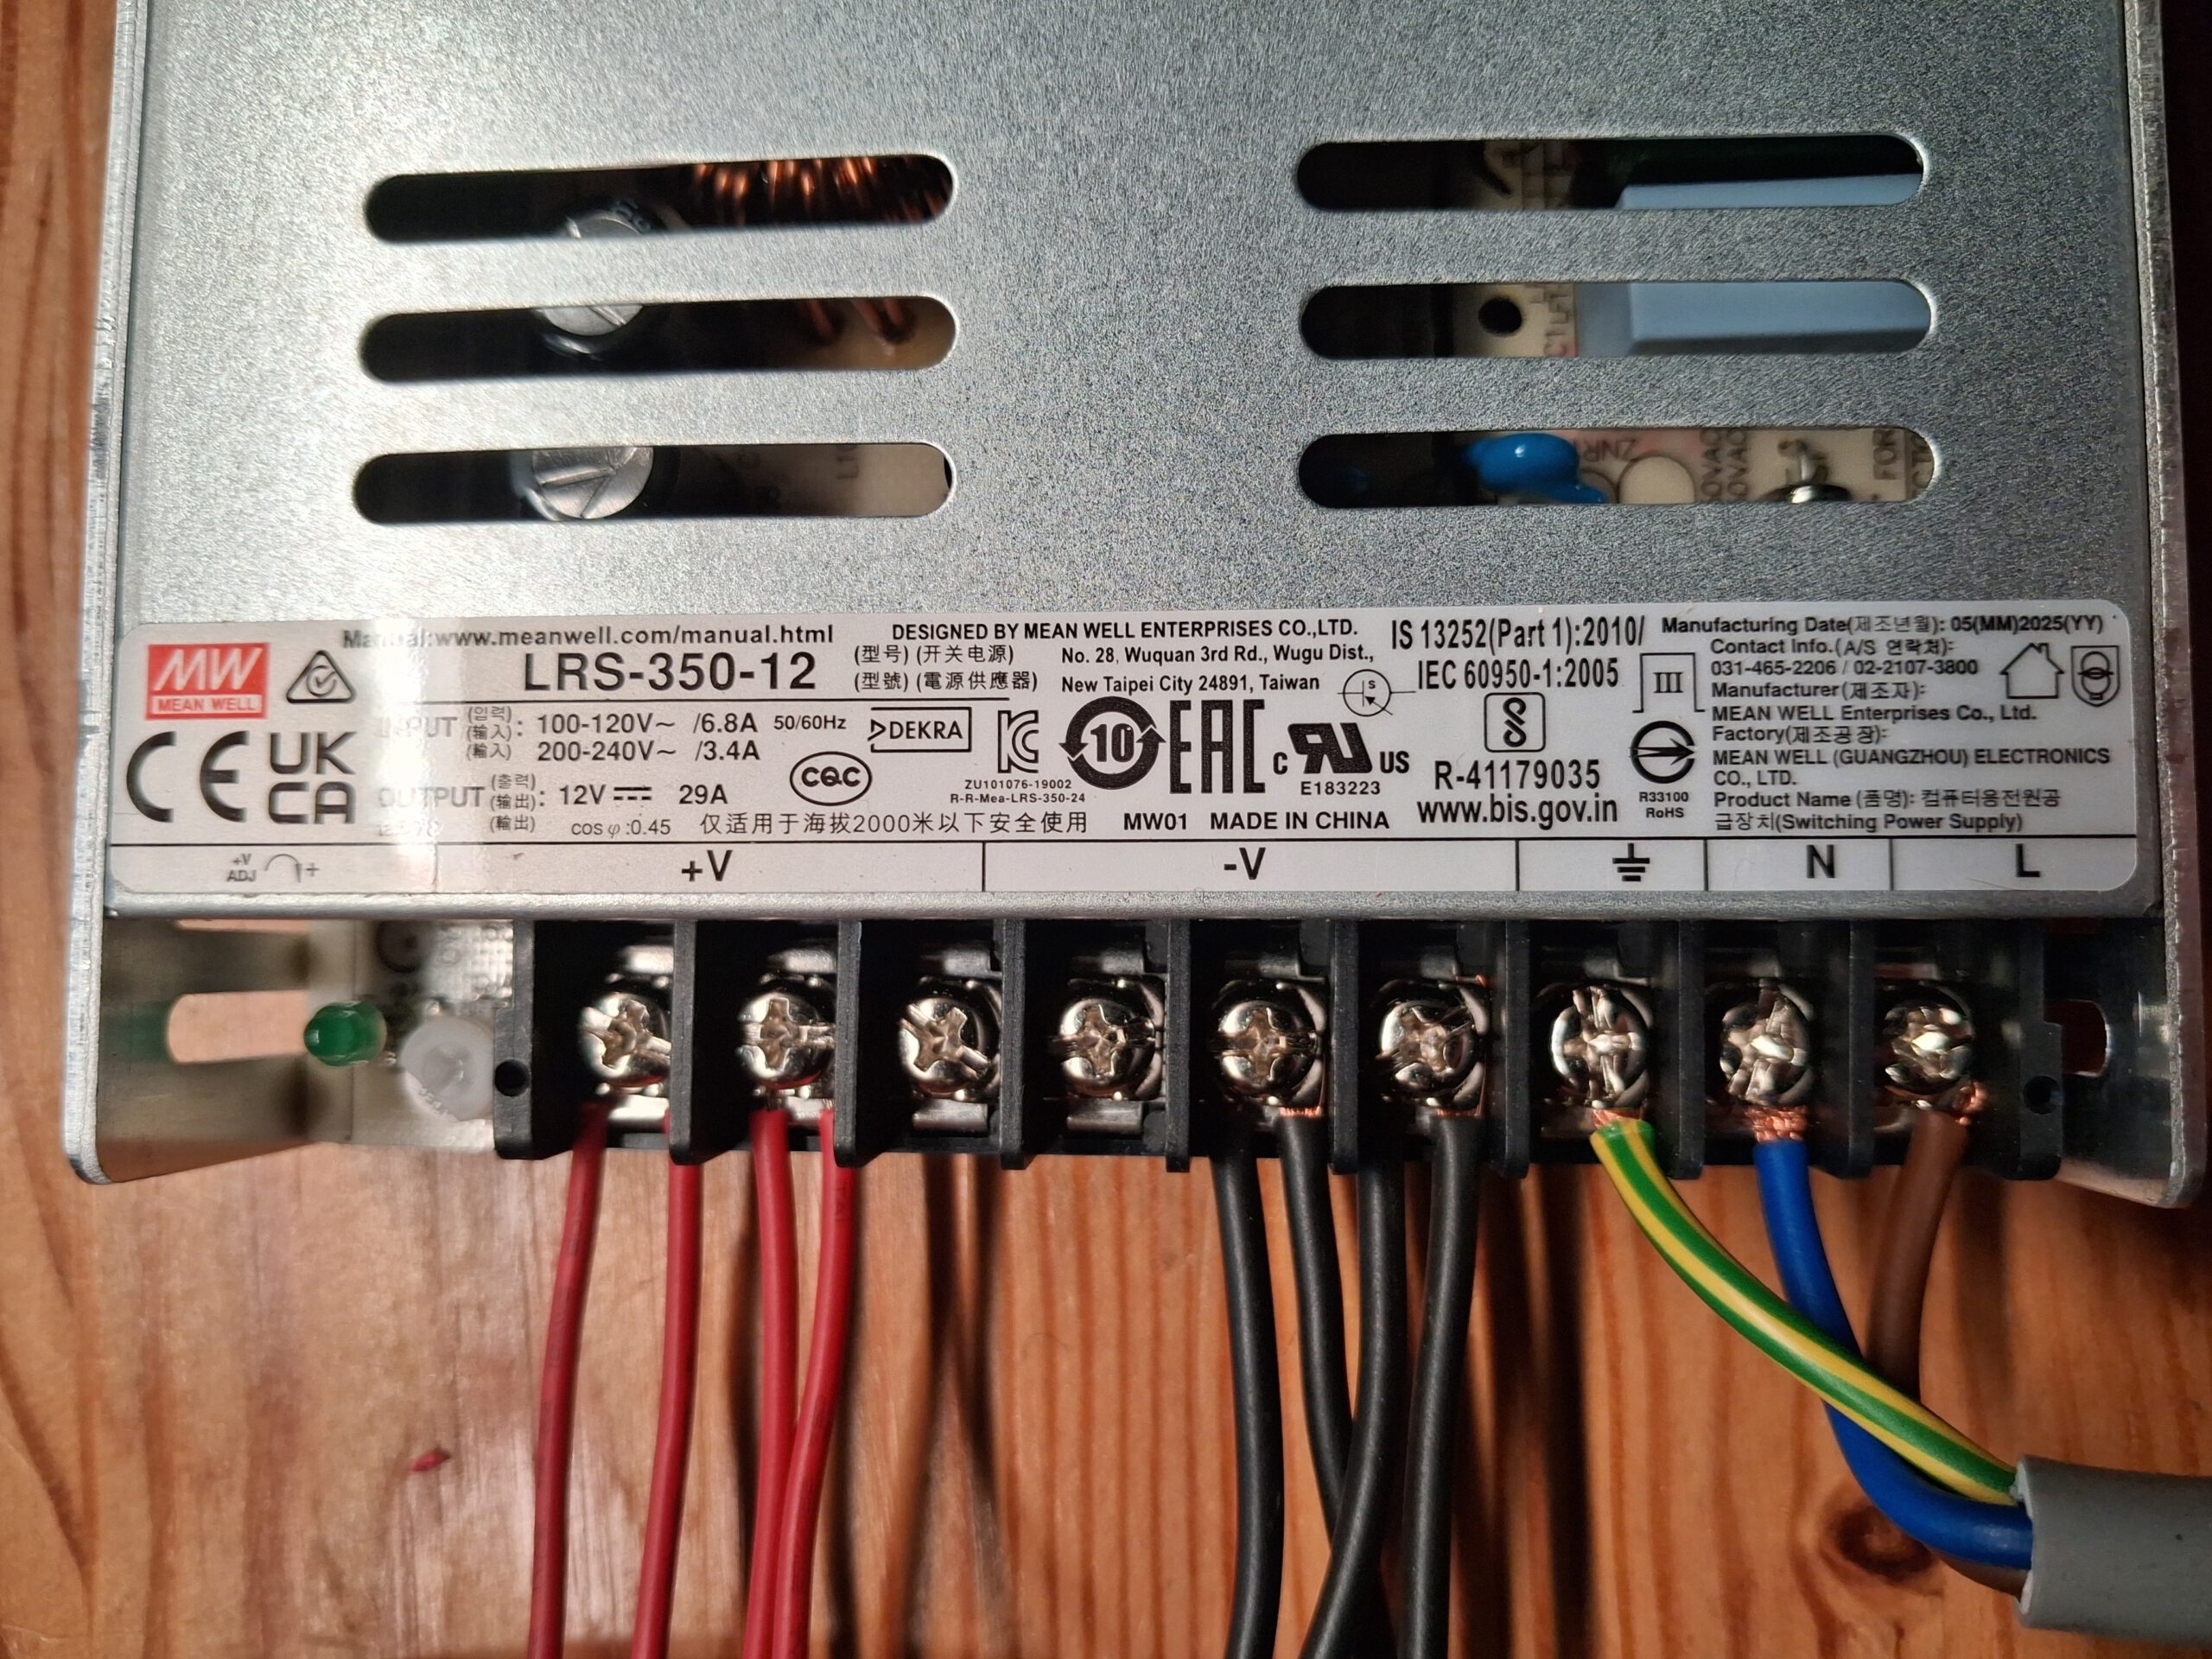
My cloud chamber uses 4 peltier elements type 19006. Those are stacked peltiers with around 5 A at 12 V. A meanwell 12 V power supply with 29 A maximum output serves the peltier elements. They draw around 20 A together.
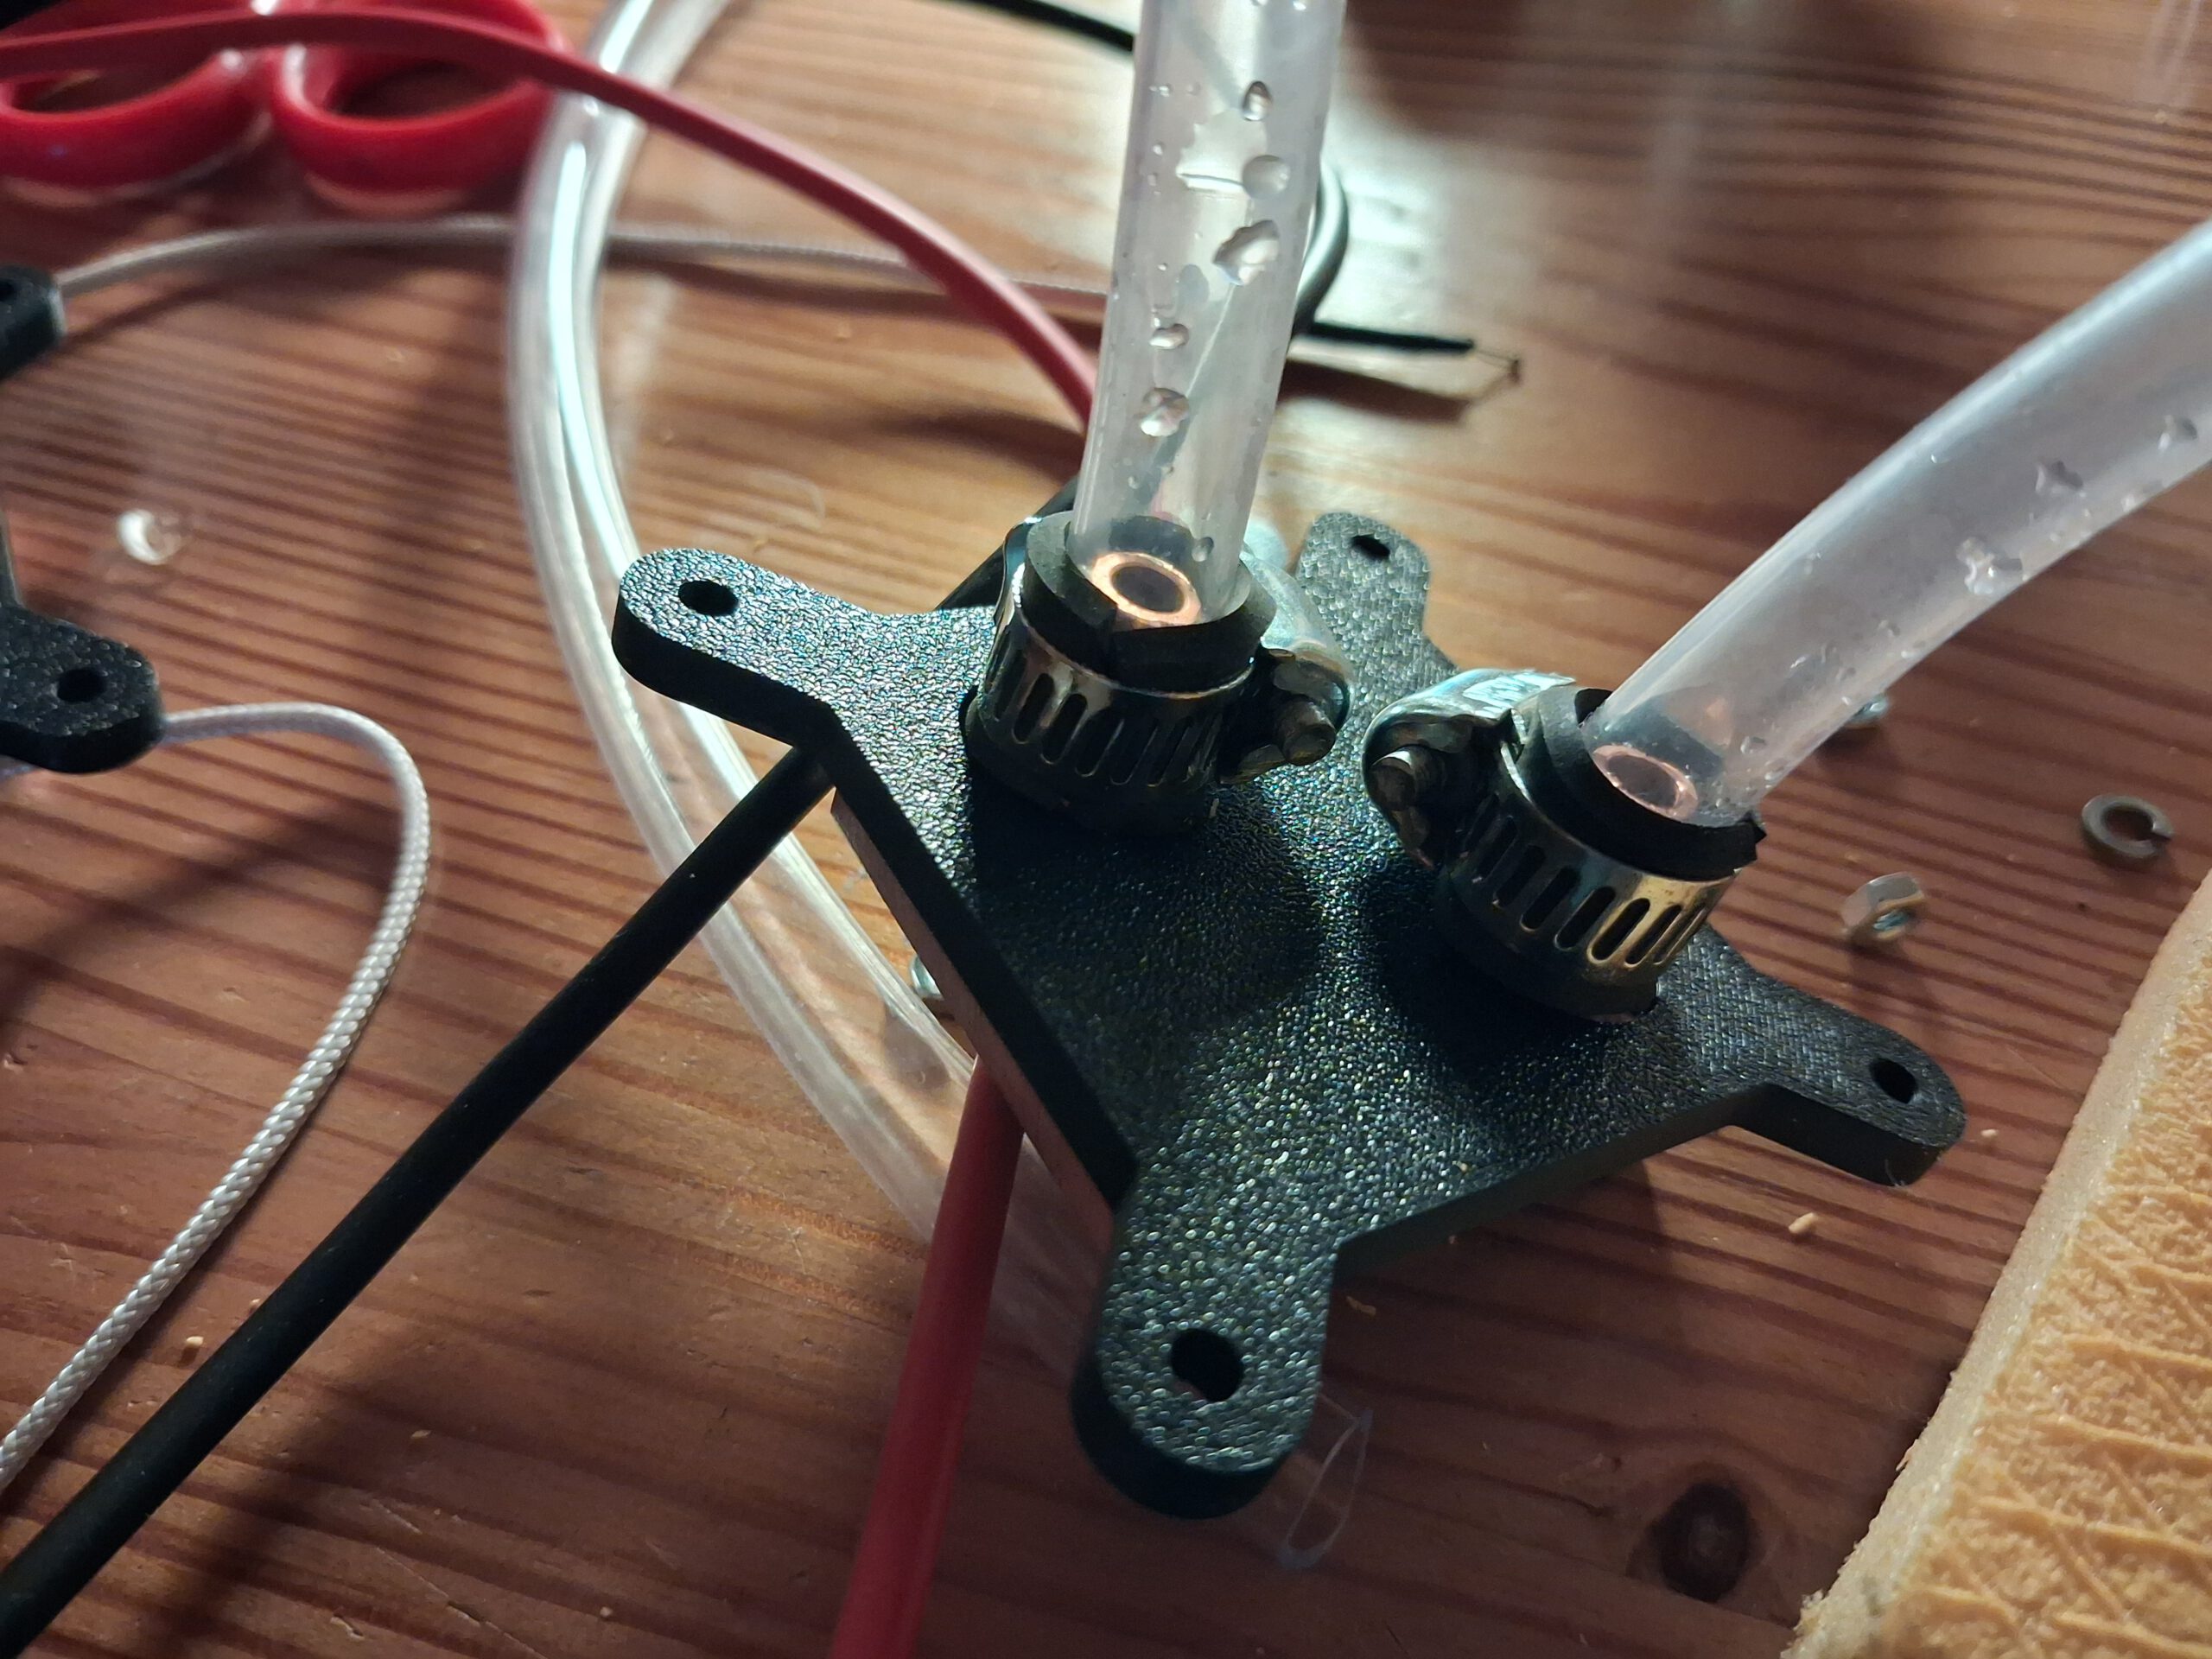
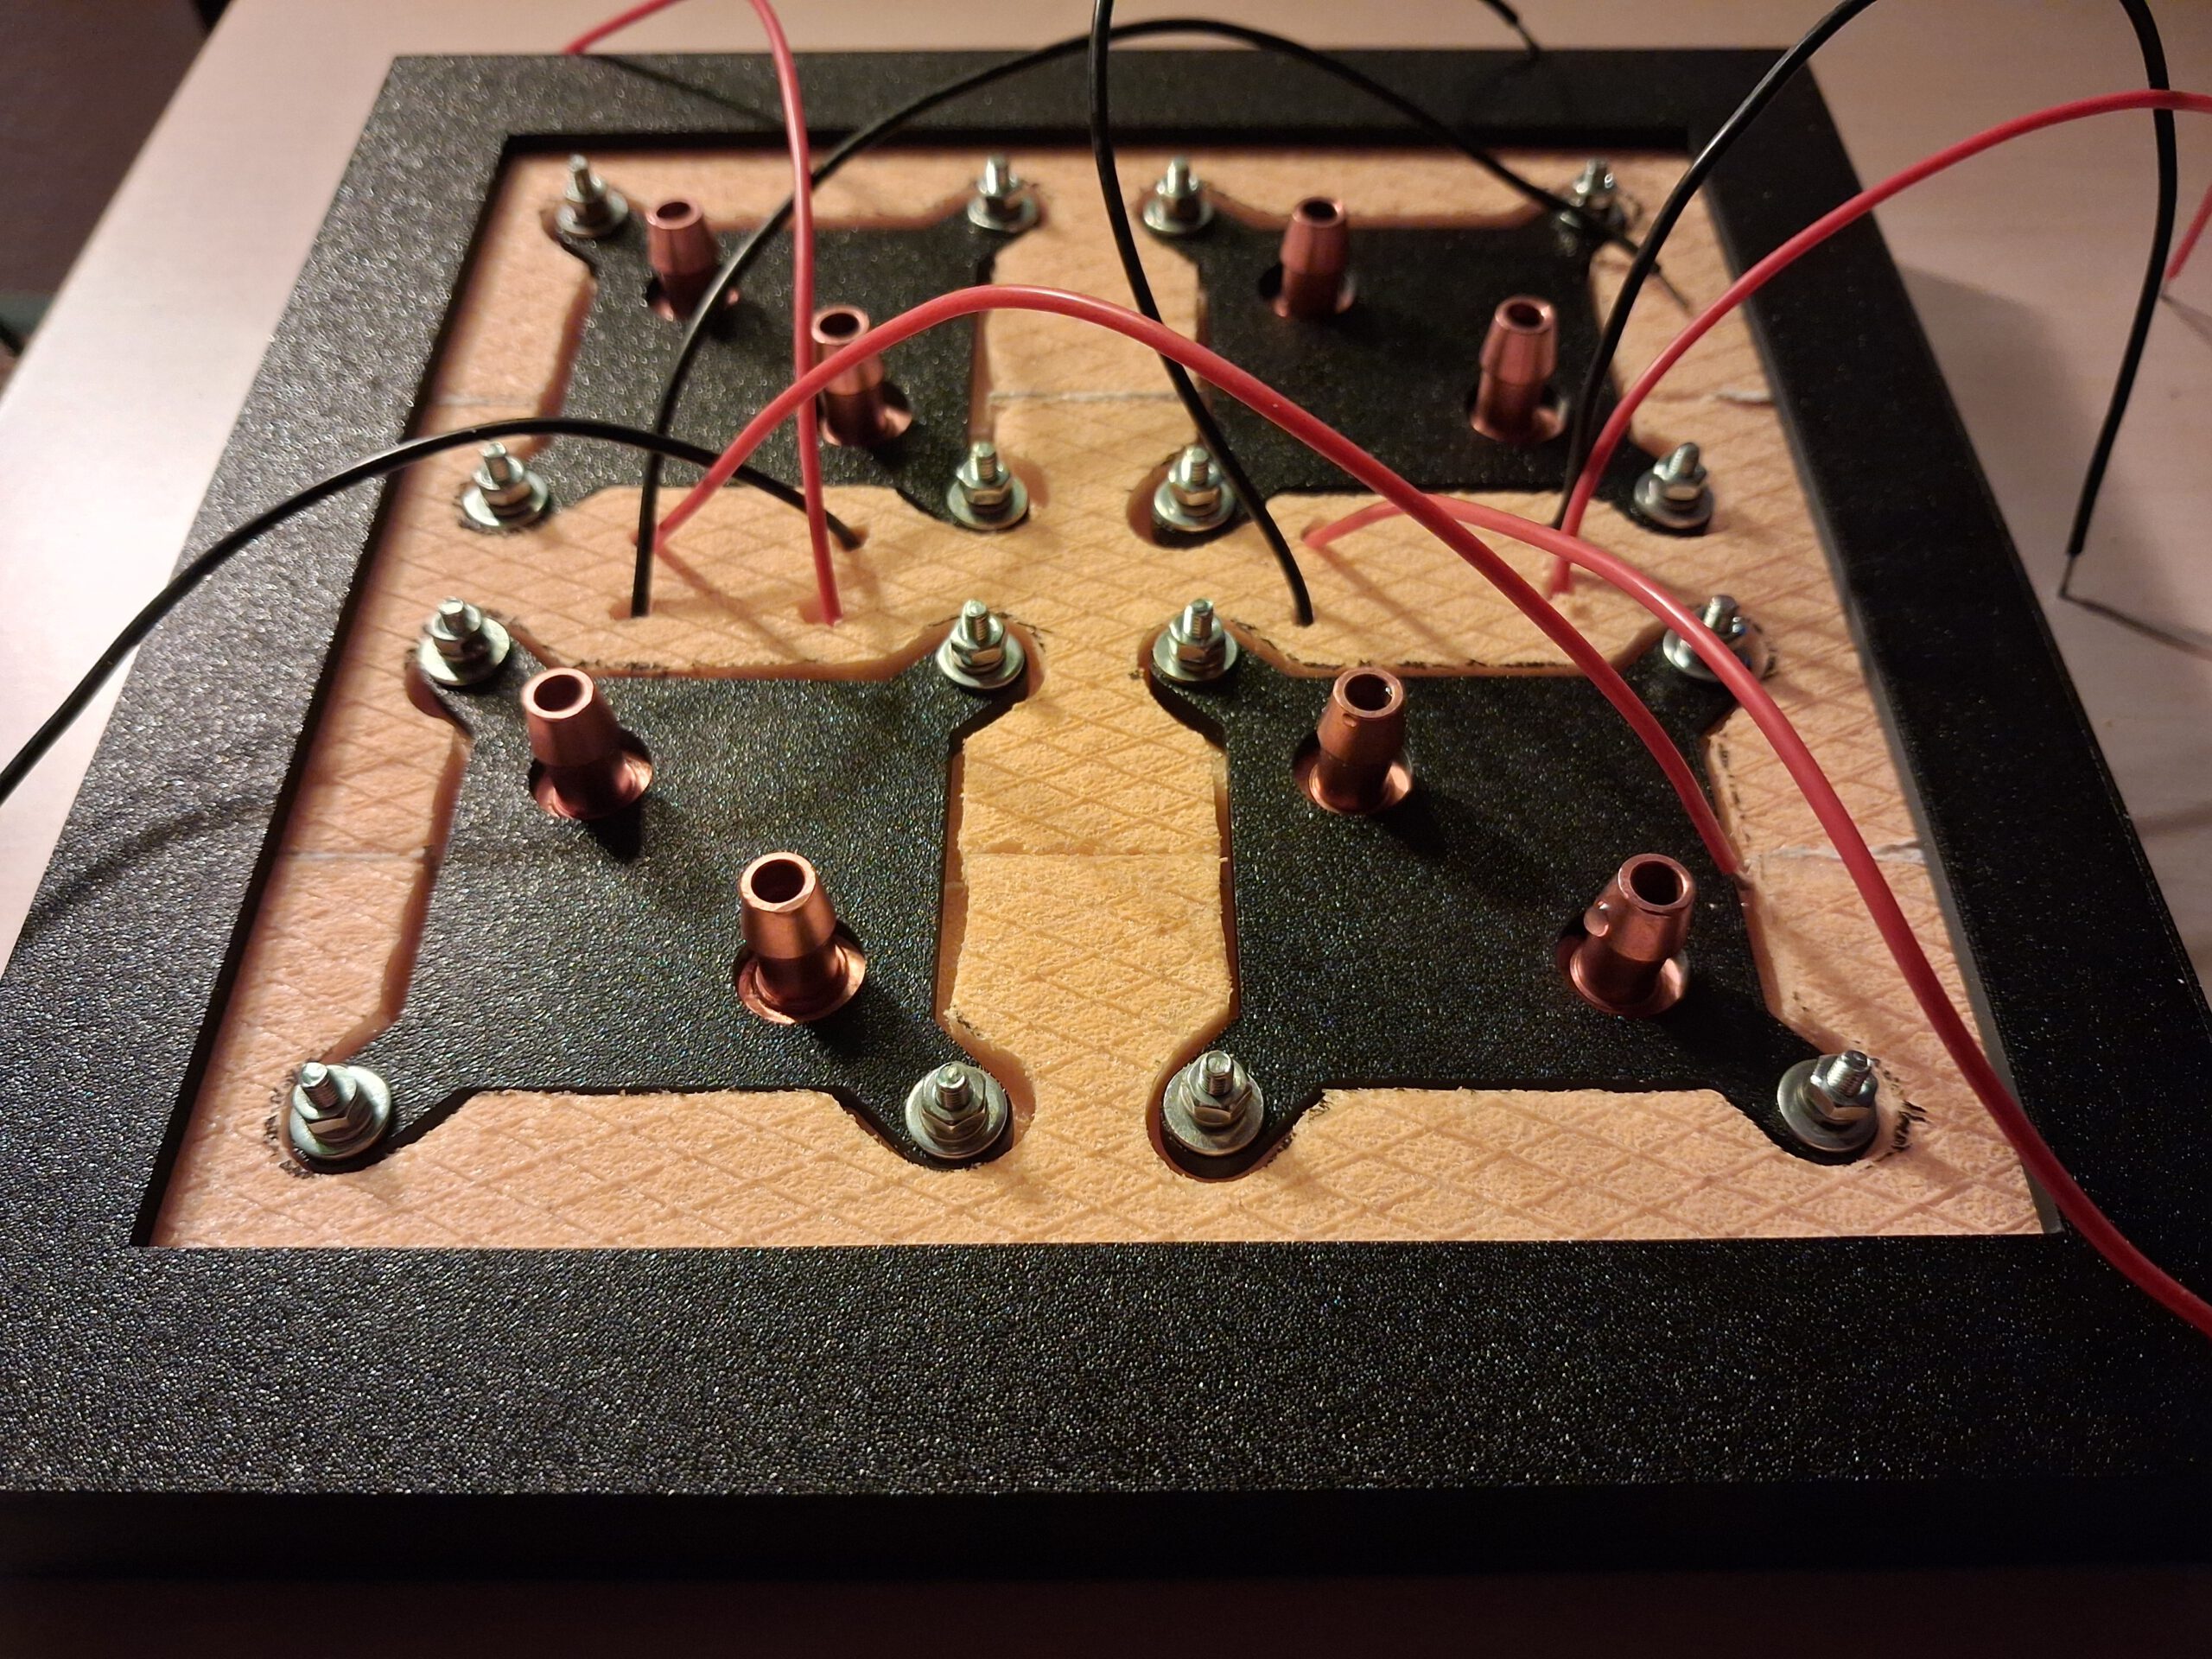
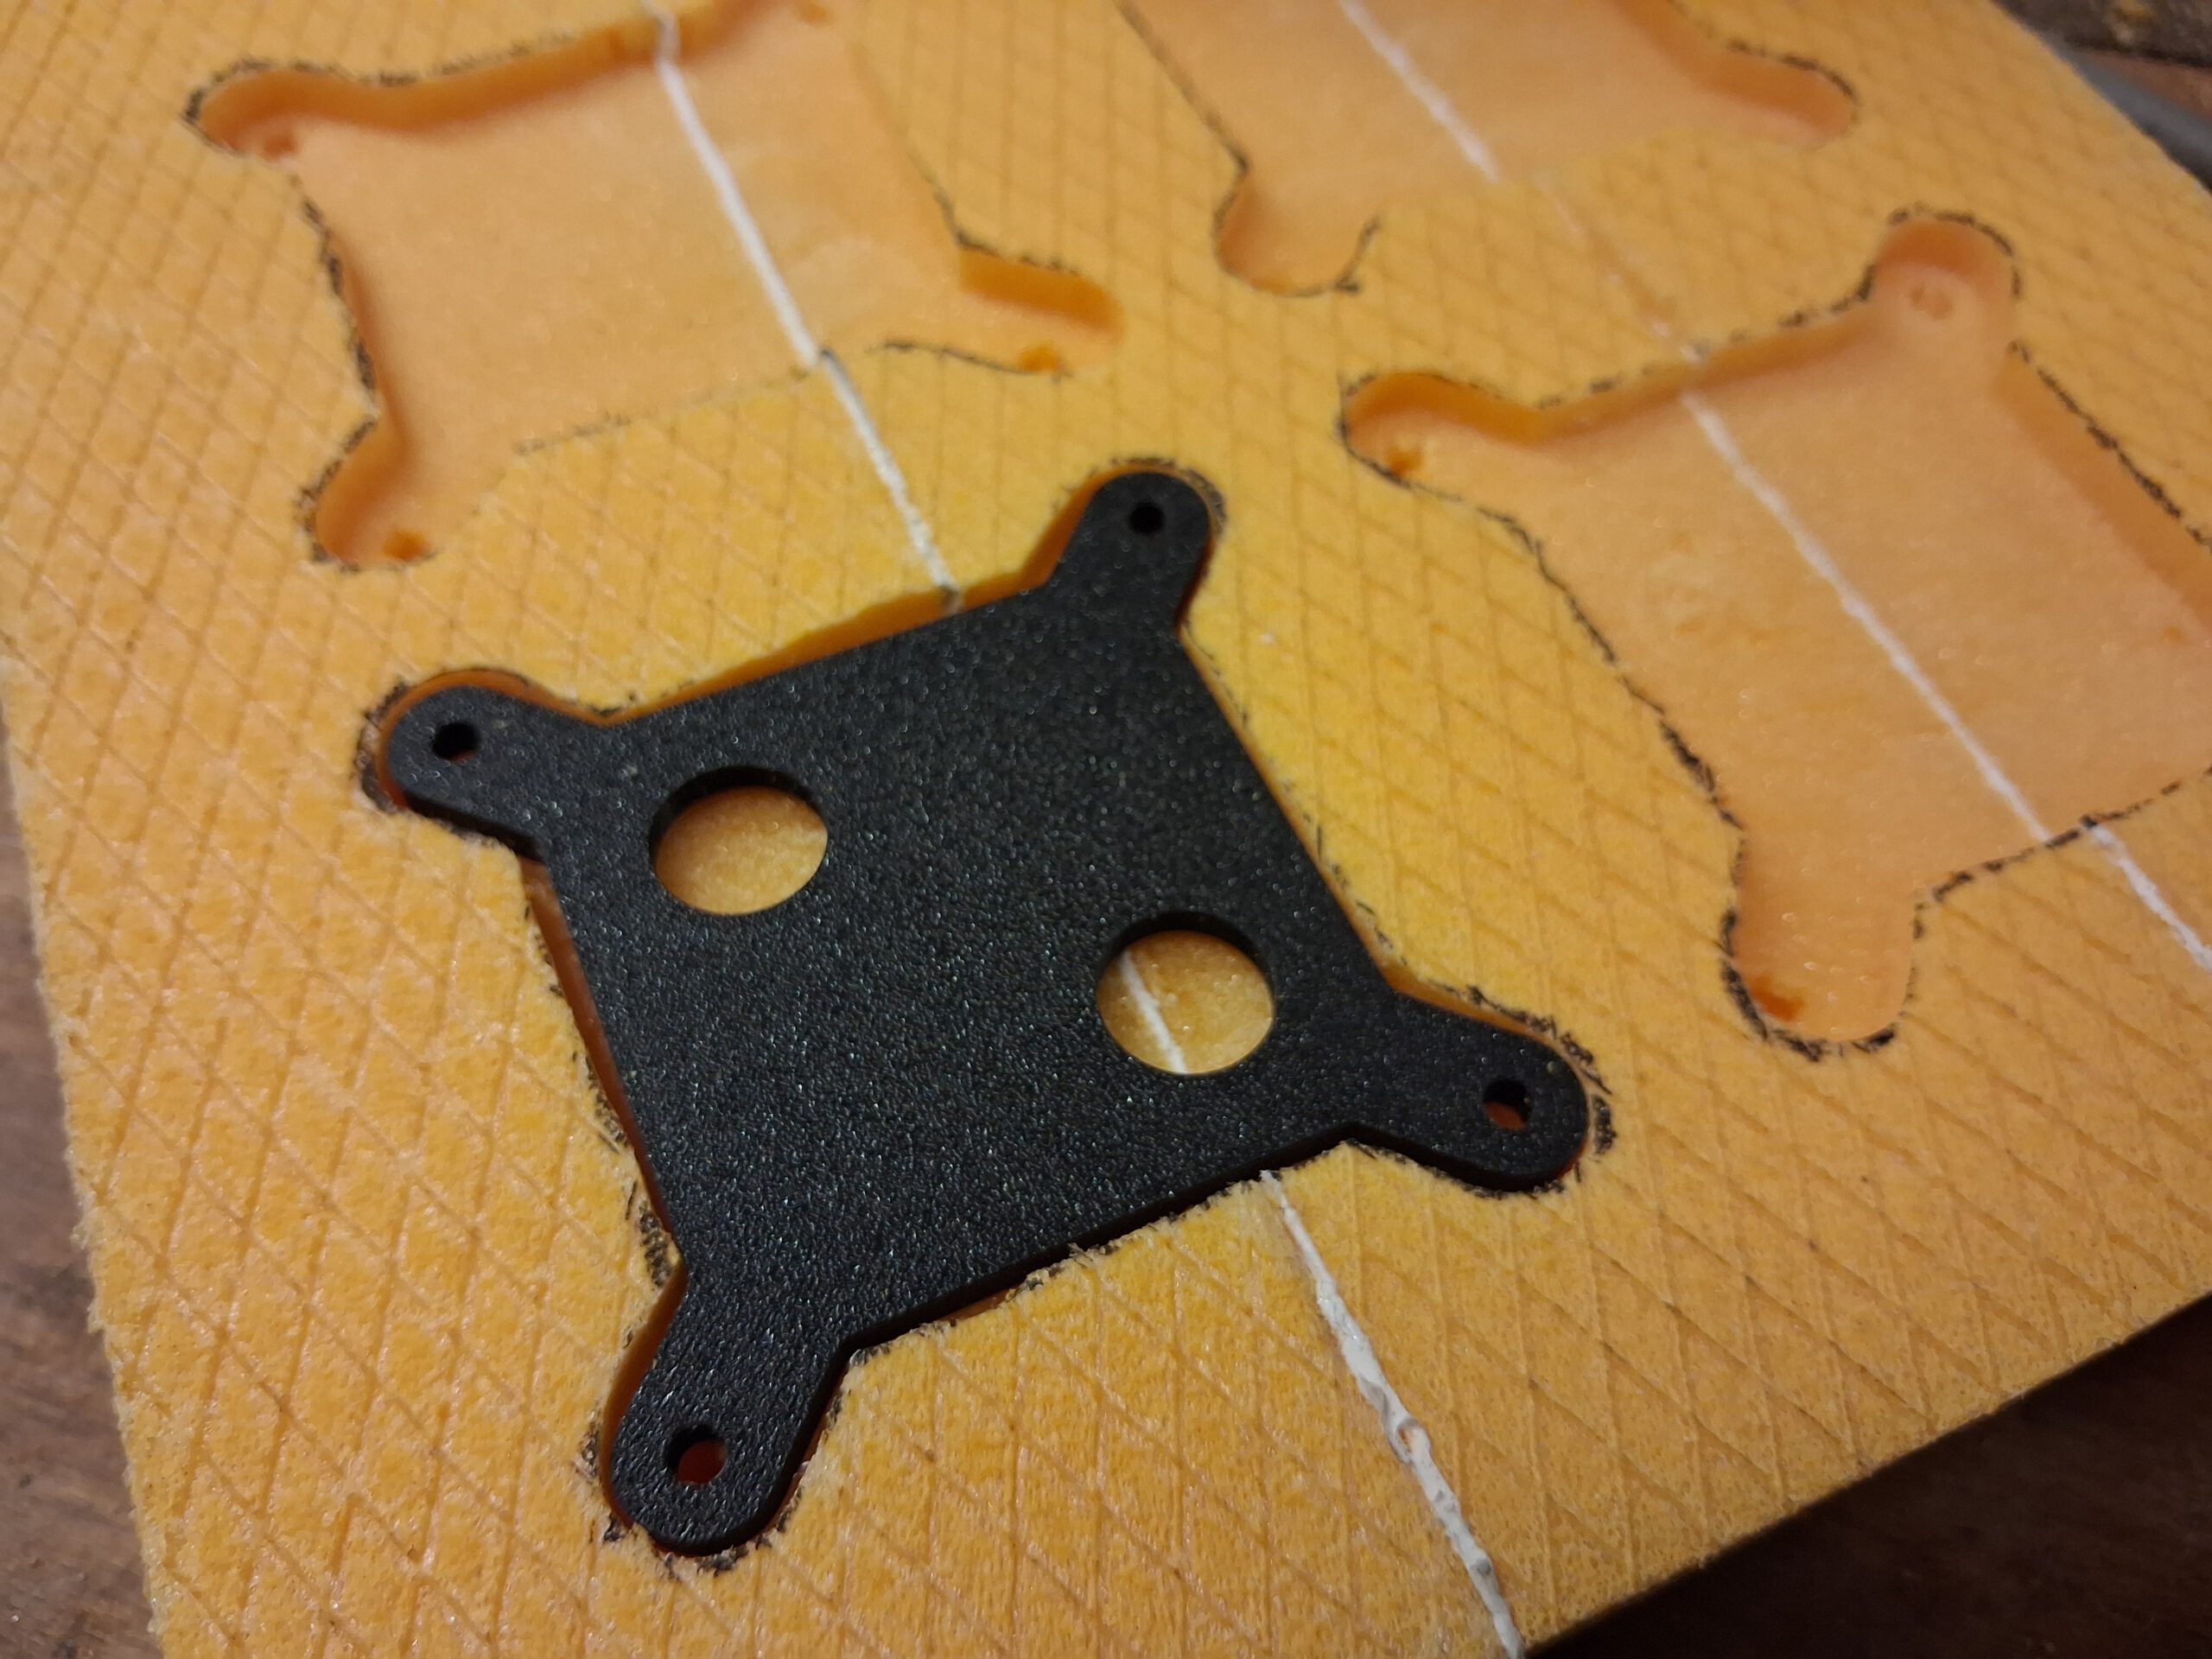
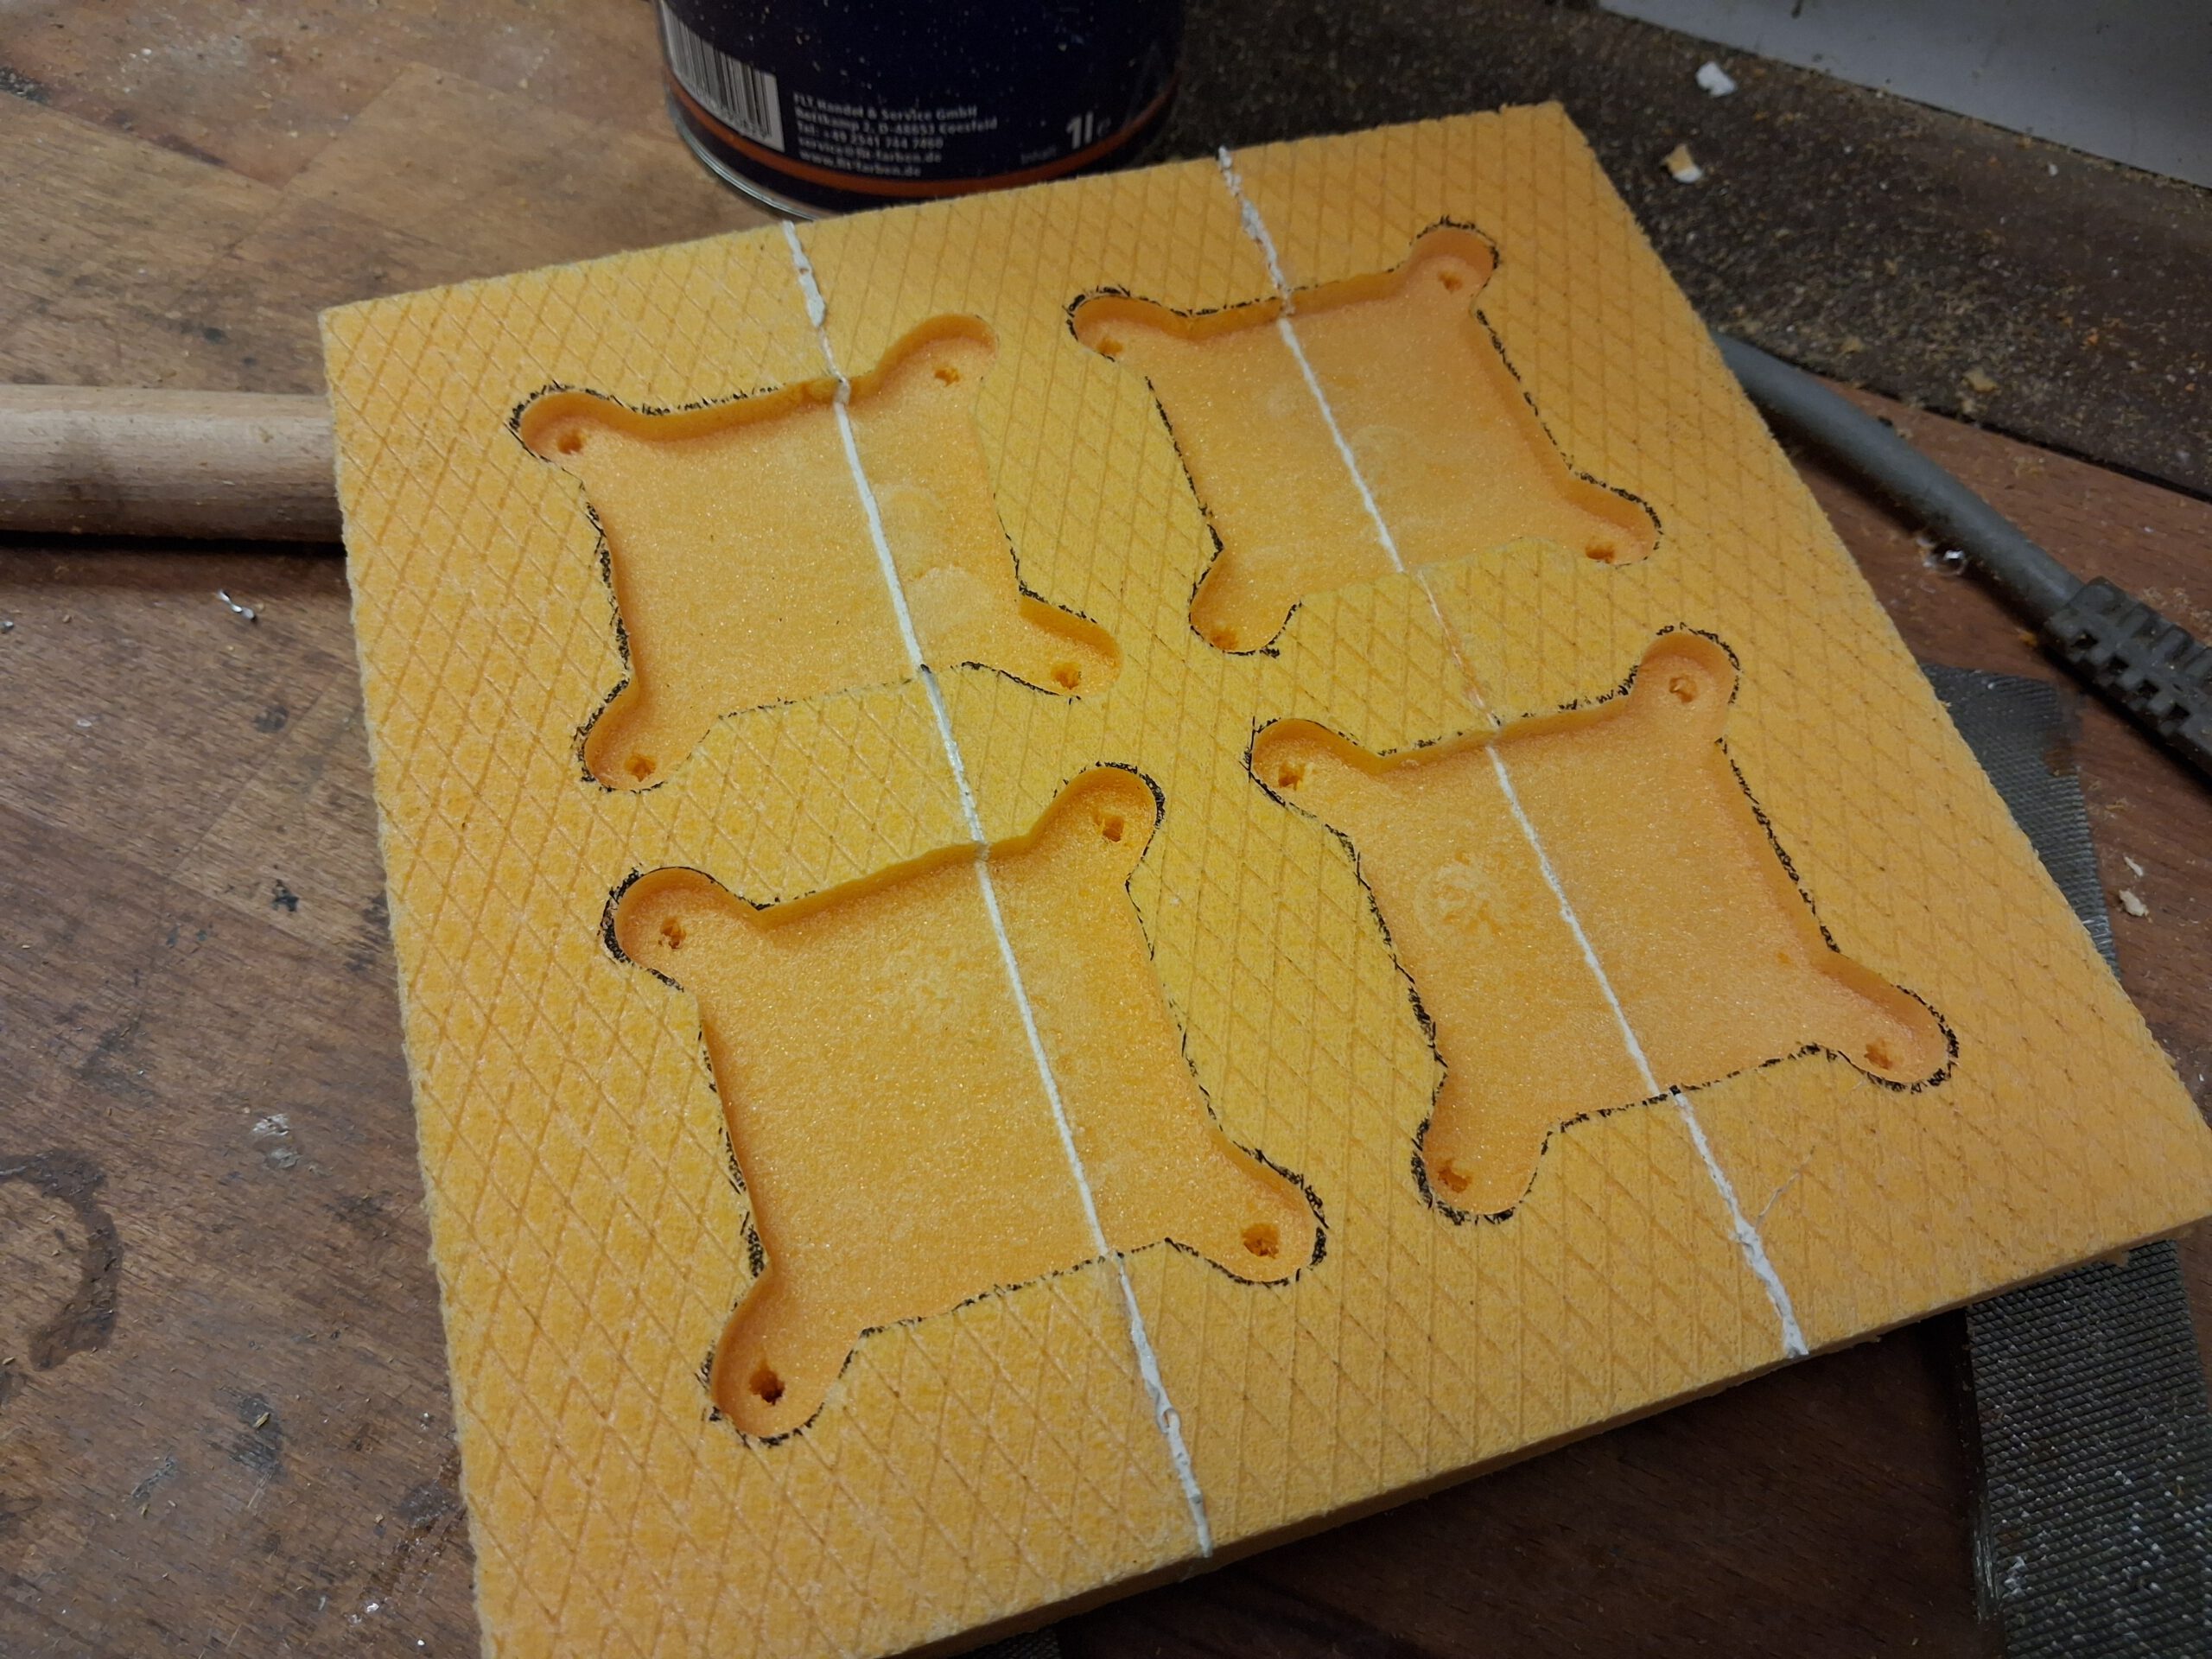
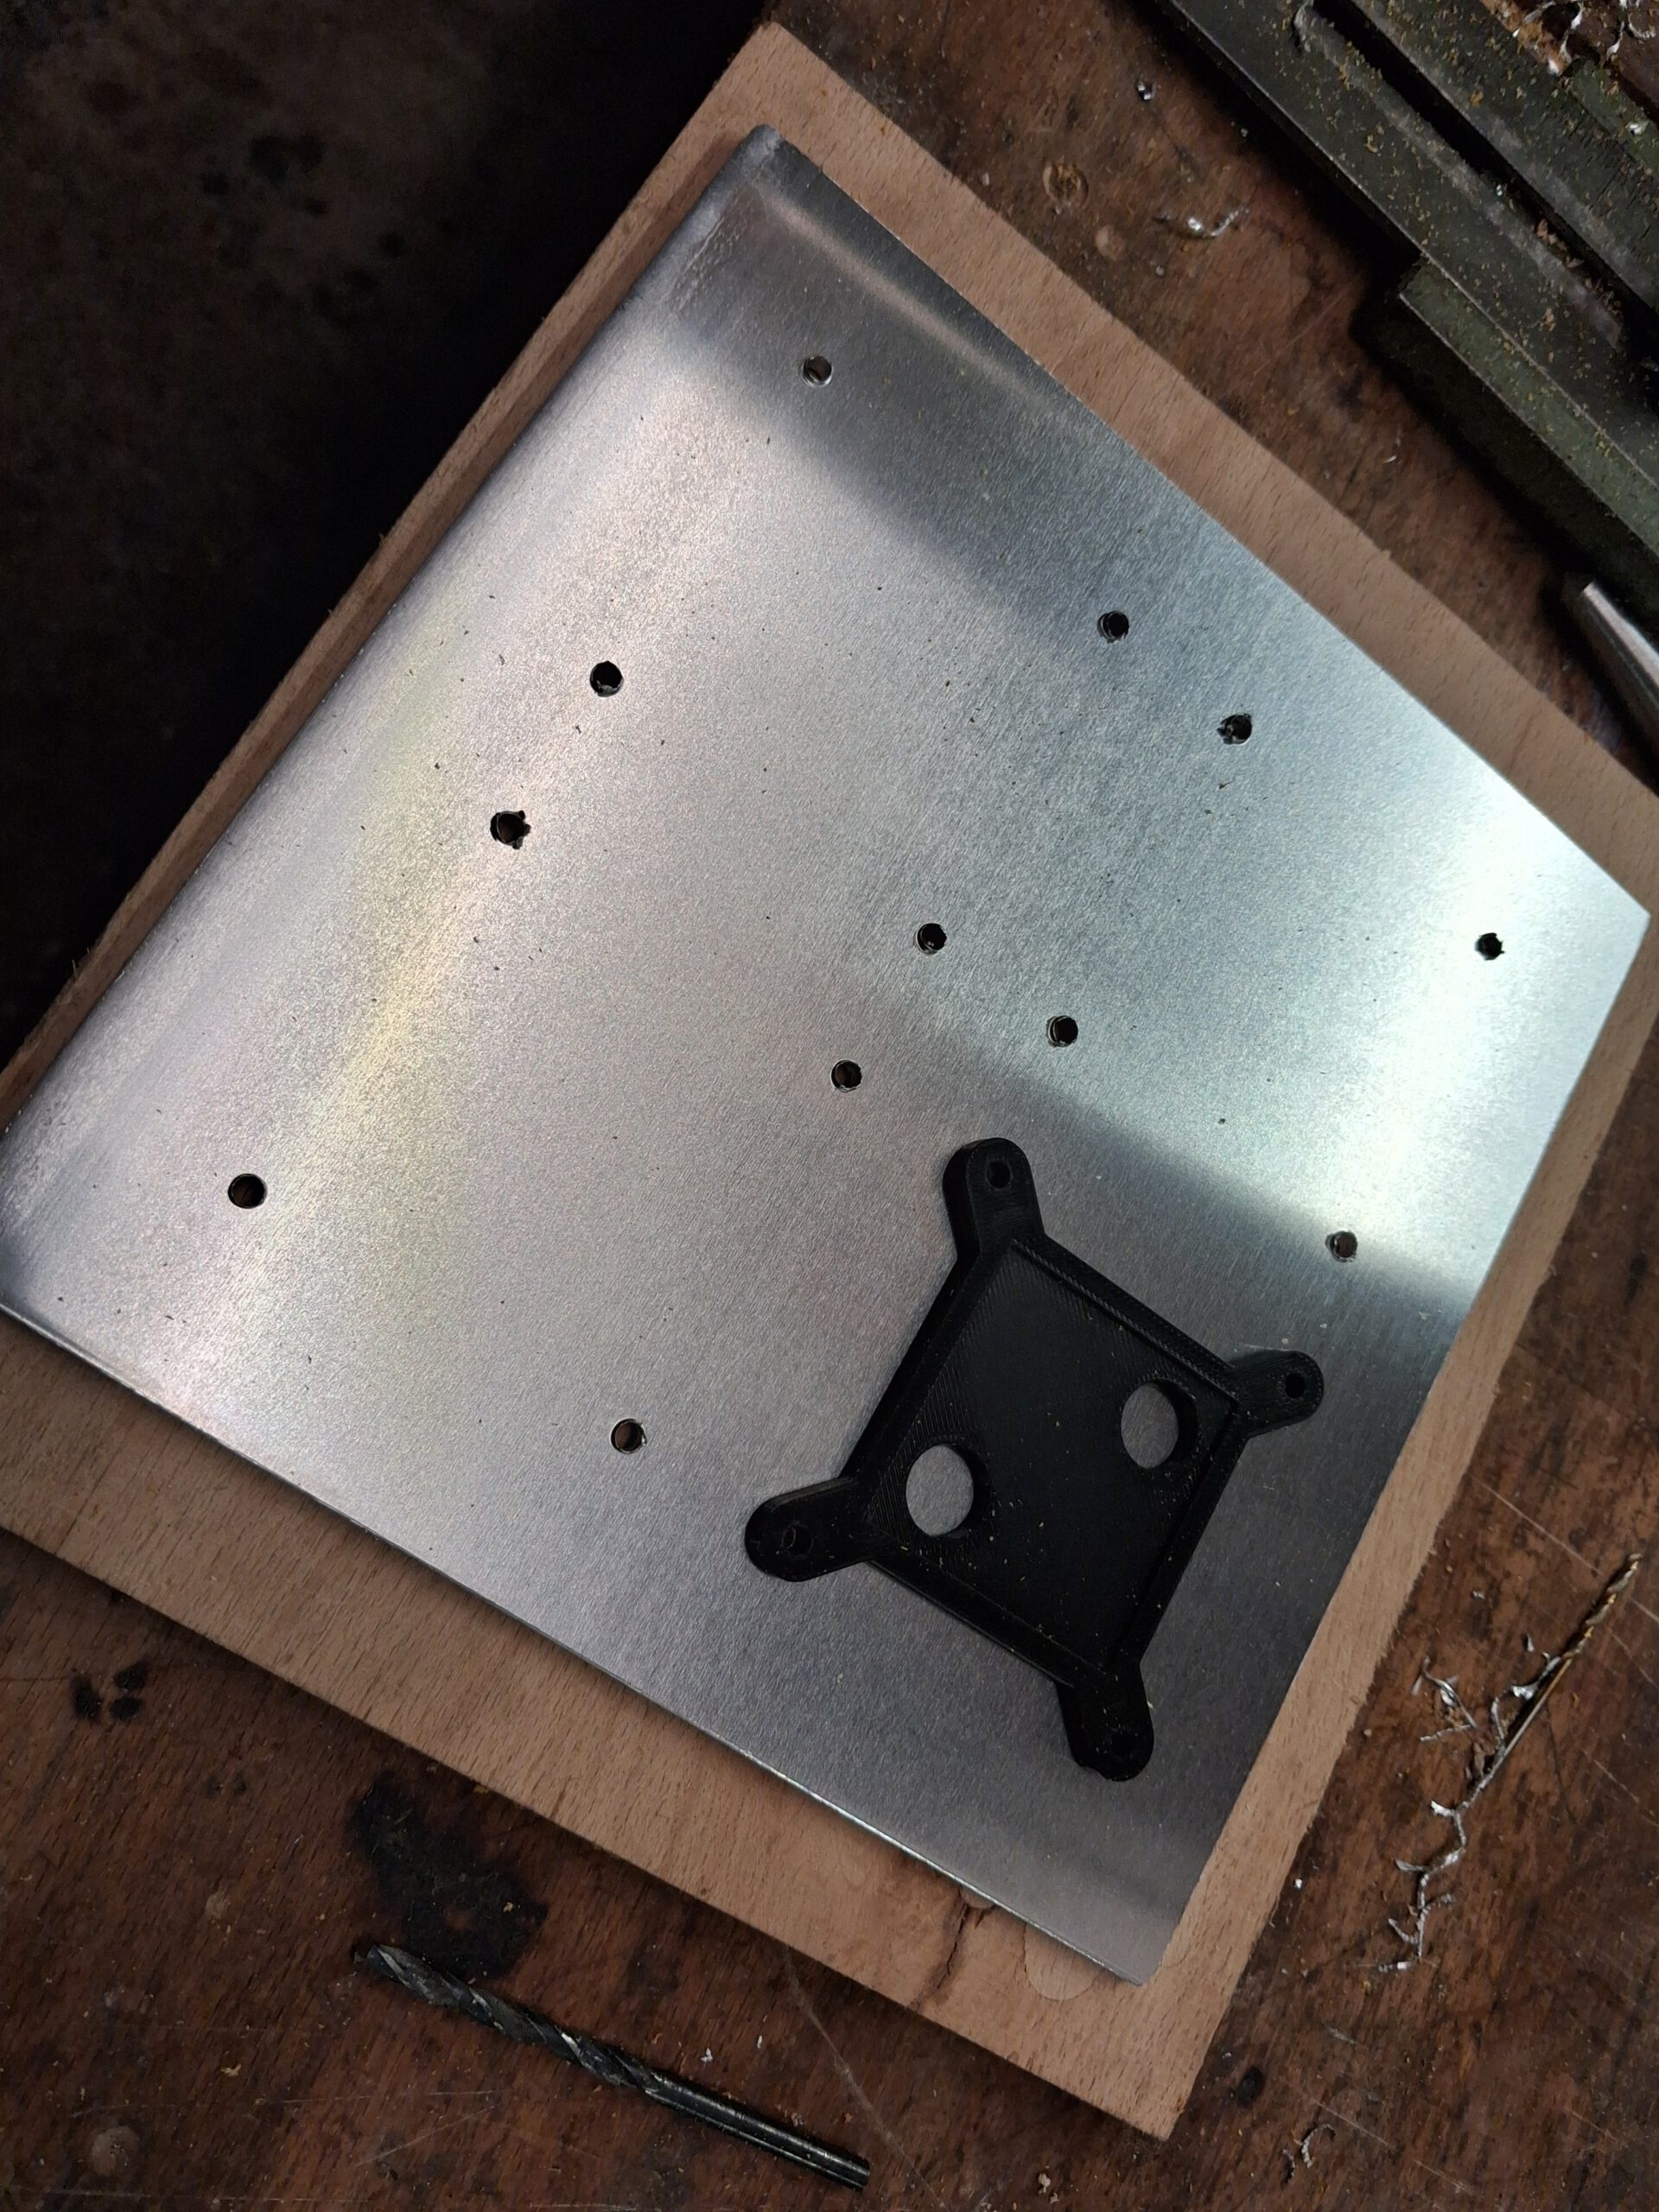
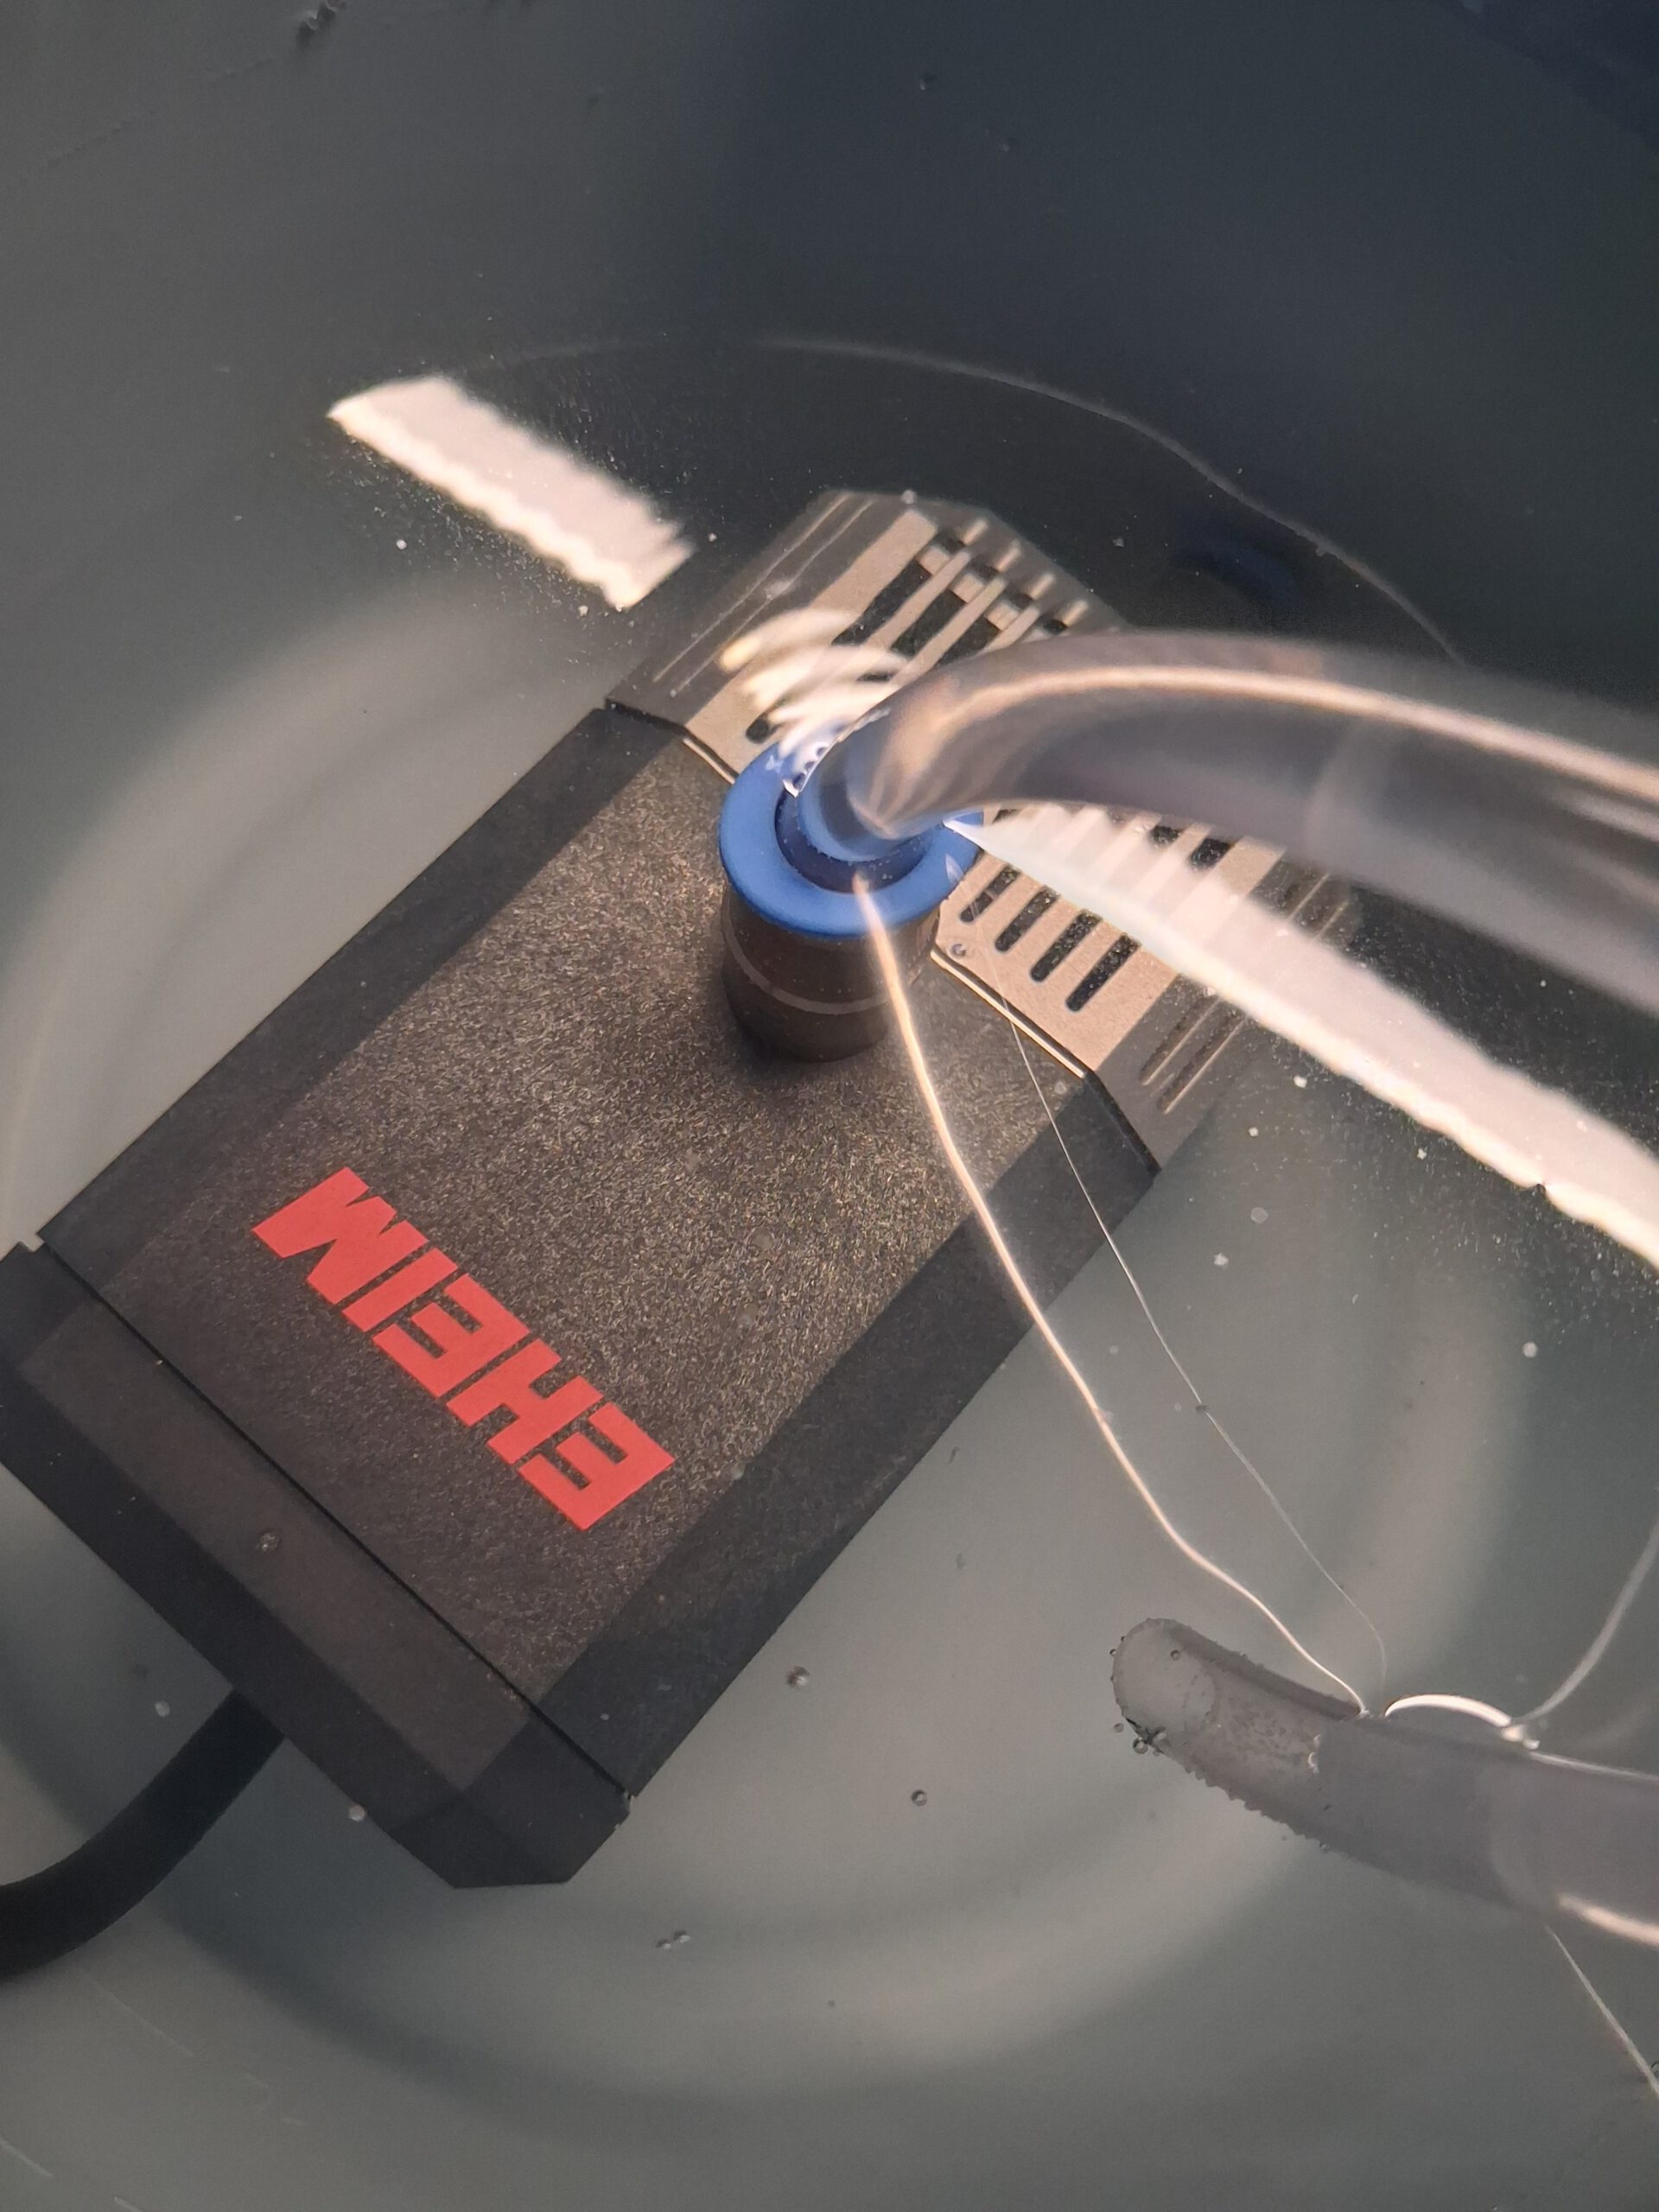
The cold side of the peltier elements is kept cool by a water cooling system. Each element has its own copper water cooler. The elements are clamped to a 3 mm aluminium sheet with 3D printed holders. I use 10 mm OD tubing to connect all the parts of the water cooler. The pump is rated to do 600 l/h, which is likely to be at zero height difference. I’m using a 120 by 240 mm radiator with two 120 mm 12 V PC fans. This turns out to be not enough cooling. I barely reach -25 or -26°C with this. Putting the pump into a bucket of water helps to reach -28°C. So either you need a few liters of reservoir or you need a bigger radiator. I’ll probably add another radiator because I already bought a small acylic water tank with 200 ml volume. I would have like a bigger one but right now I don’t want to build one.
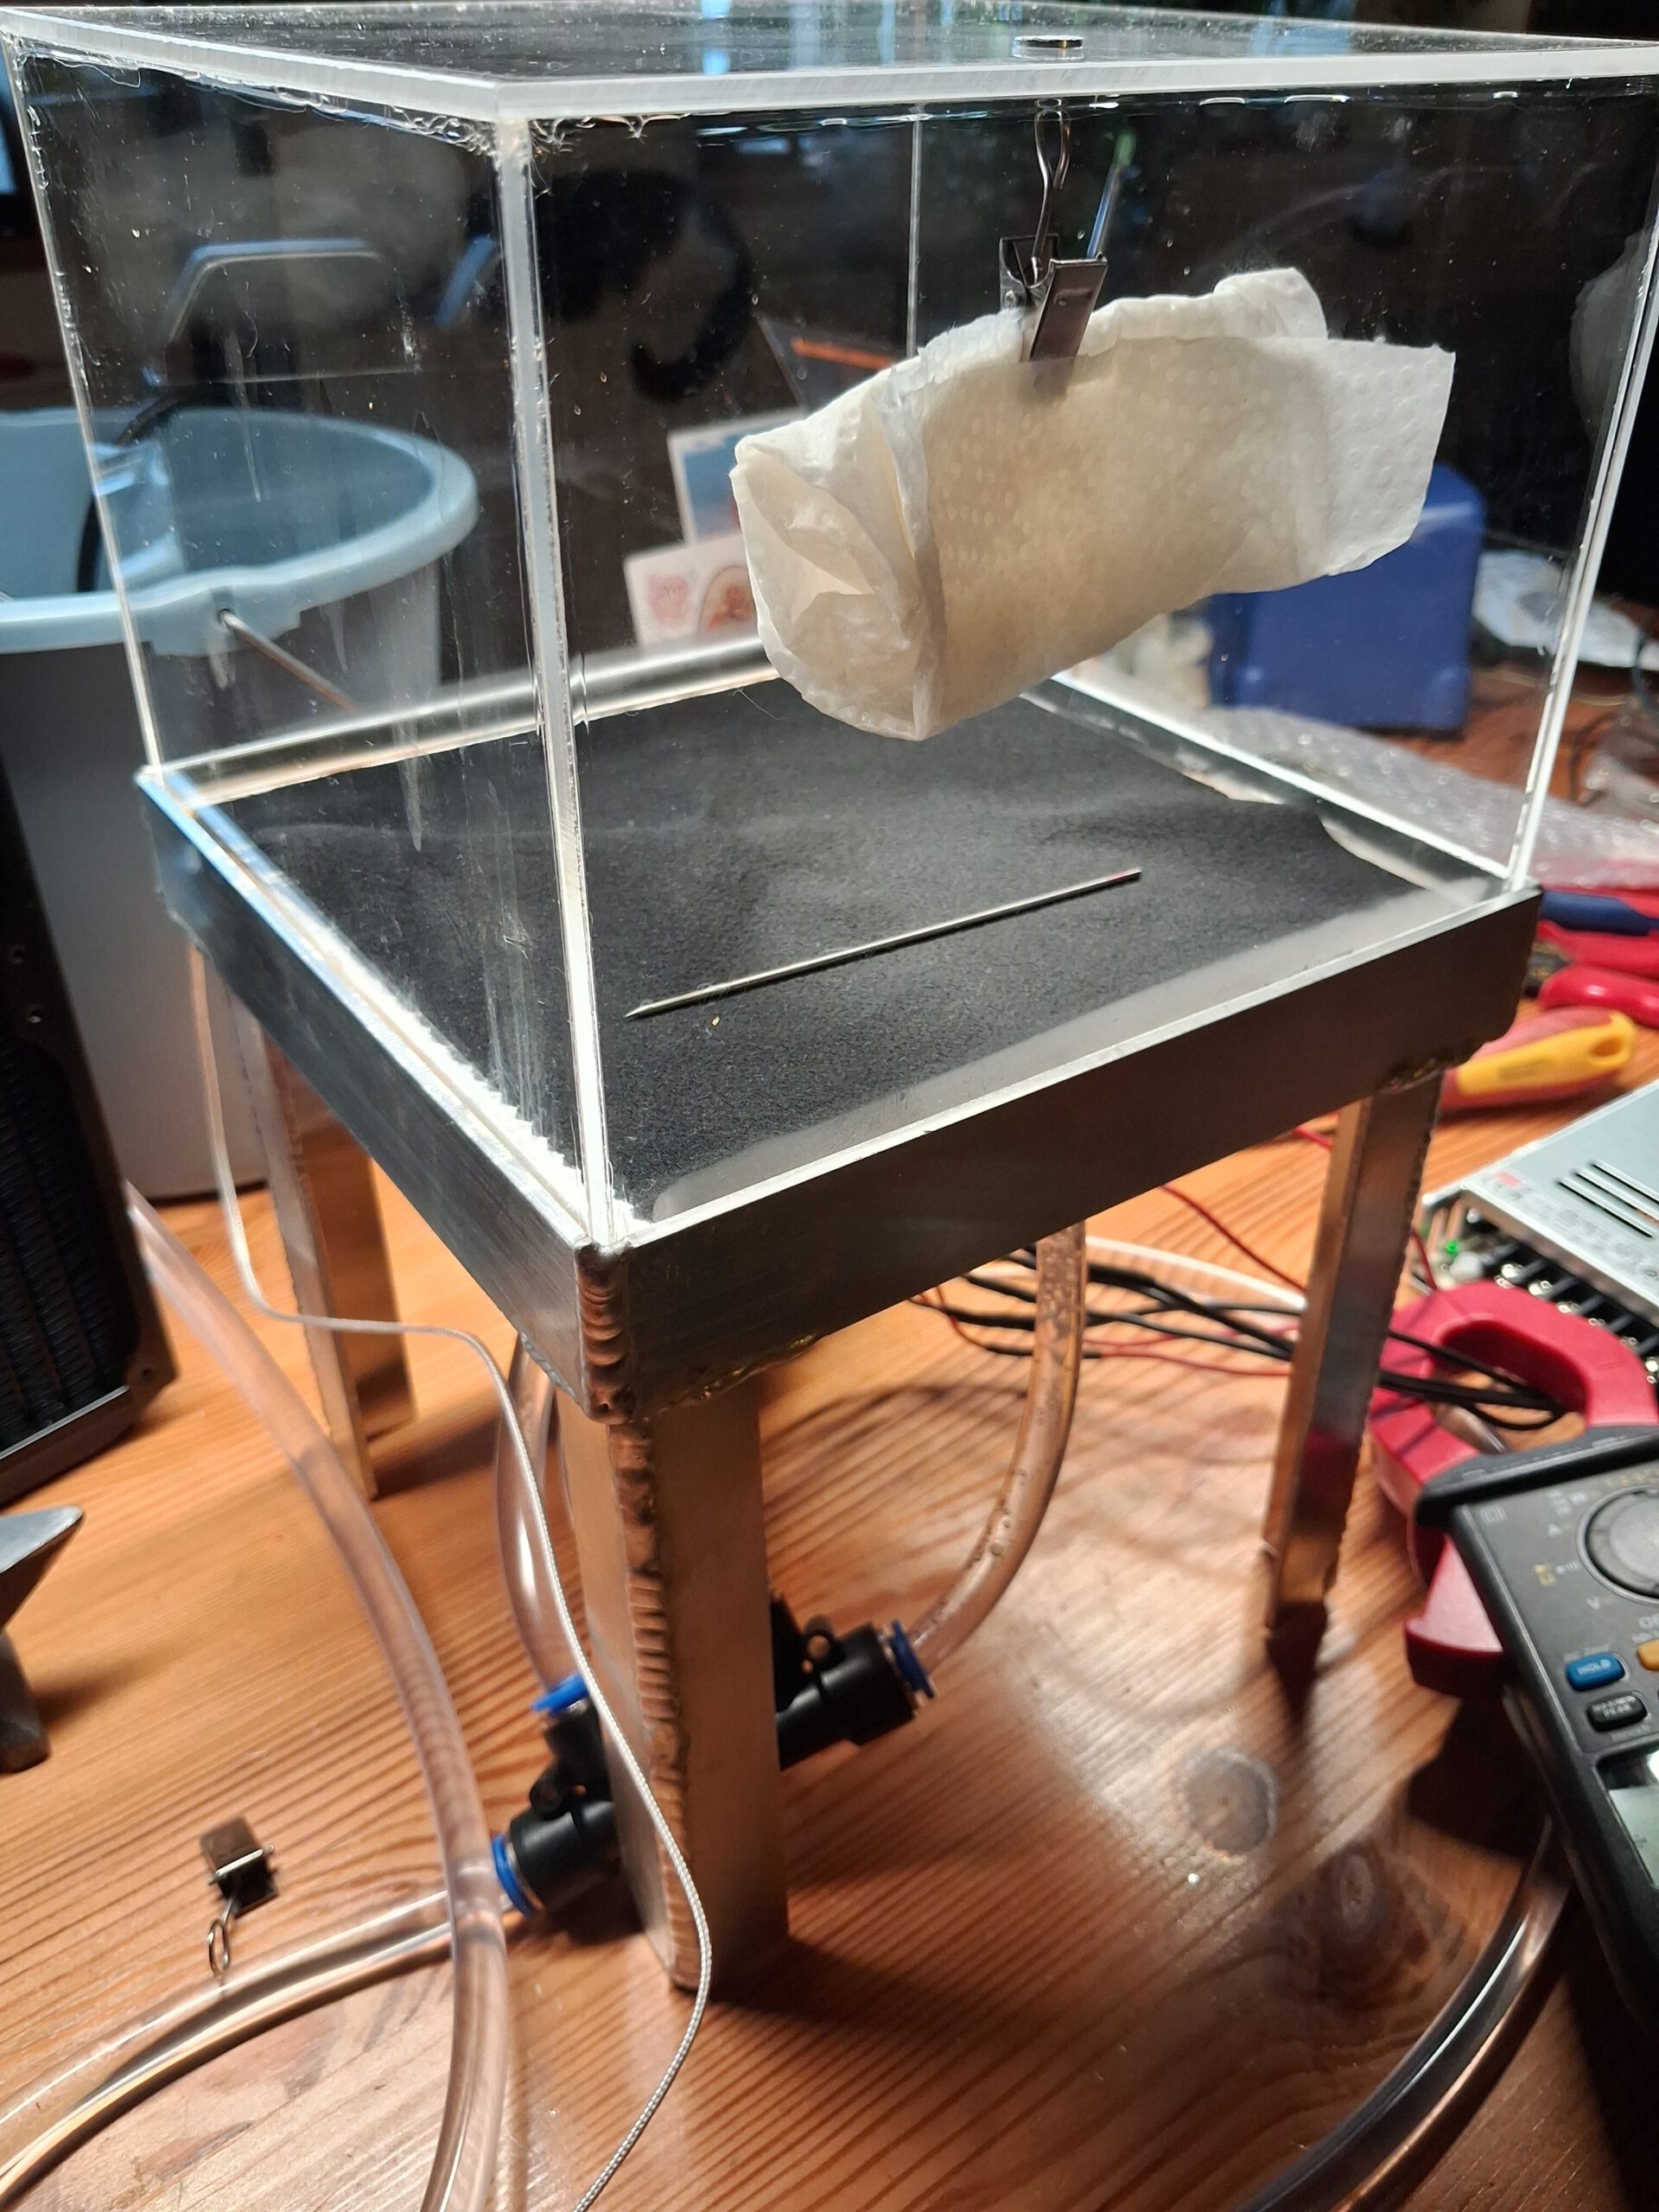
At -25°C I can see the typical particles forming above the cold plate but there are no traces. At -28°C you can clearly see the traces of the ionizing particles. To check if the chamber is working I places a thoriated tungsten electrode into the chamber. These electrodes used to be very common for TIG welding but I stopped using them. Overall they are pretty save and easy to get.
I think it’s important to have insulation on the bottom of the cold plate so you don’t have too big of a heat flow to pump away with the peltiers. I think the 19006 elements can only move around 35 W, which is under best conditions (small temperature difference I guess). Temperature difference is probably around 50 to 60 K. I didn’t measure the water temperature yet. But I did tape a K-type thermocouple to the cold plate. It’s really helpful to monitor the temperature at least until you get a feeling of how long it takes to cool down. Otherwise it’s guesswork and you always wonder if there’s something wrong or it just needs a few more minutes to cool down enough.
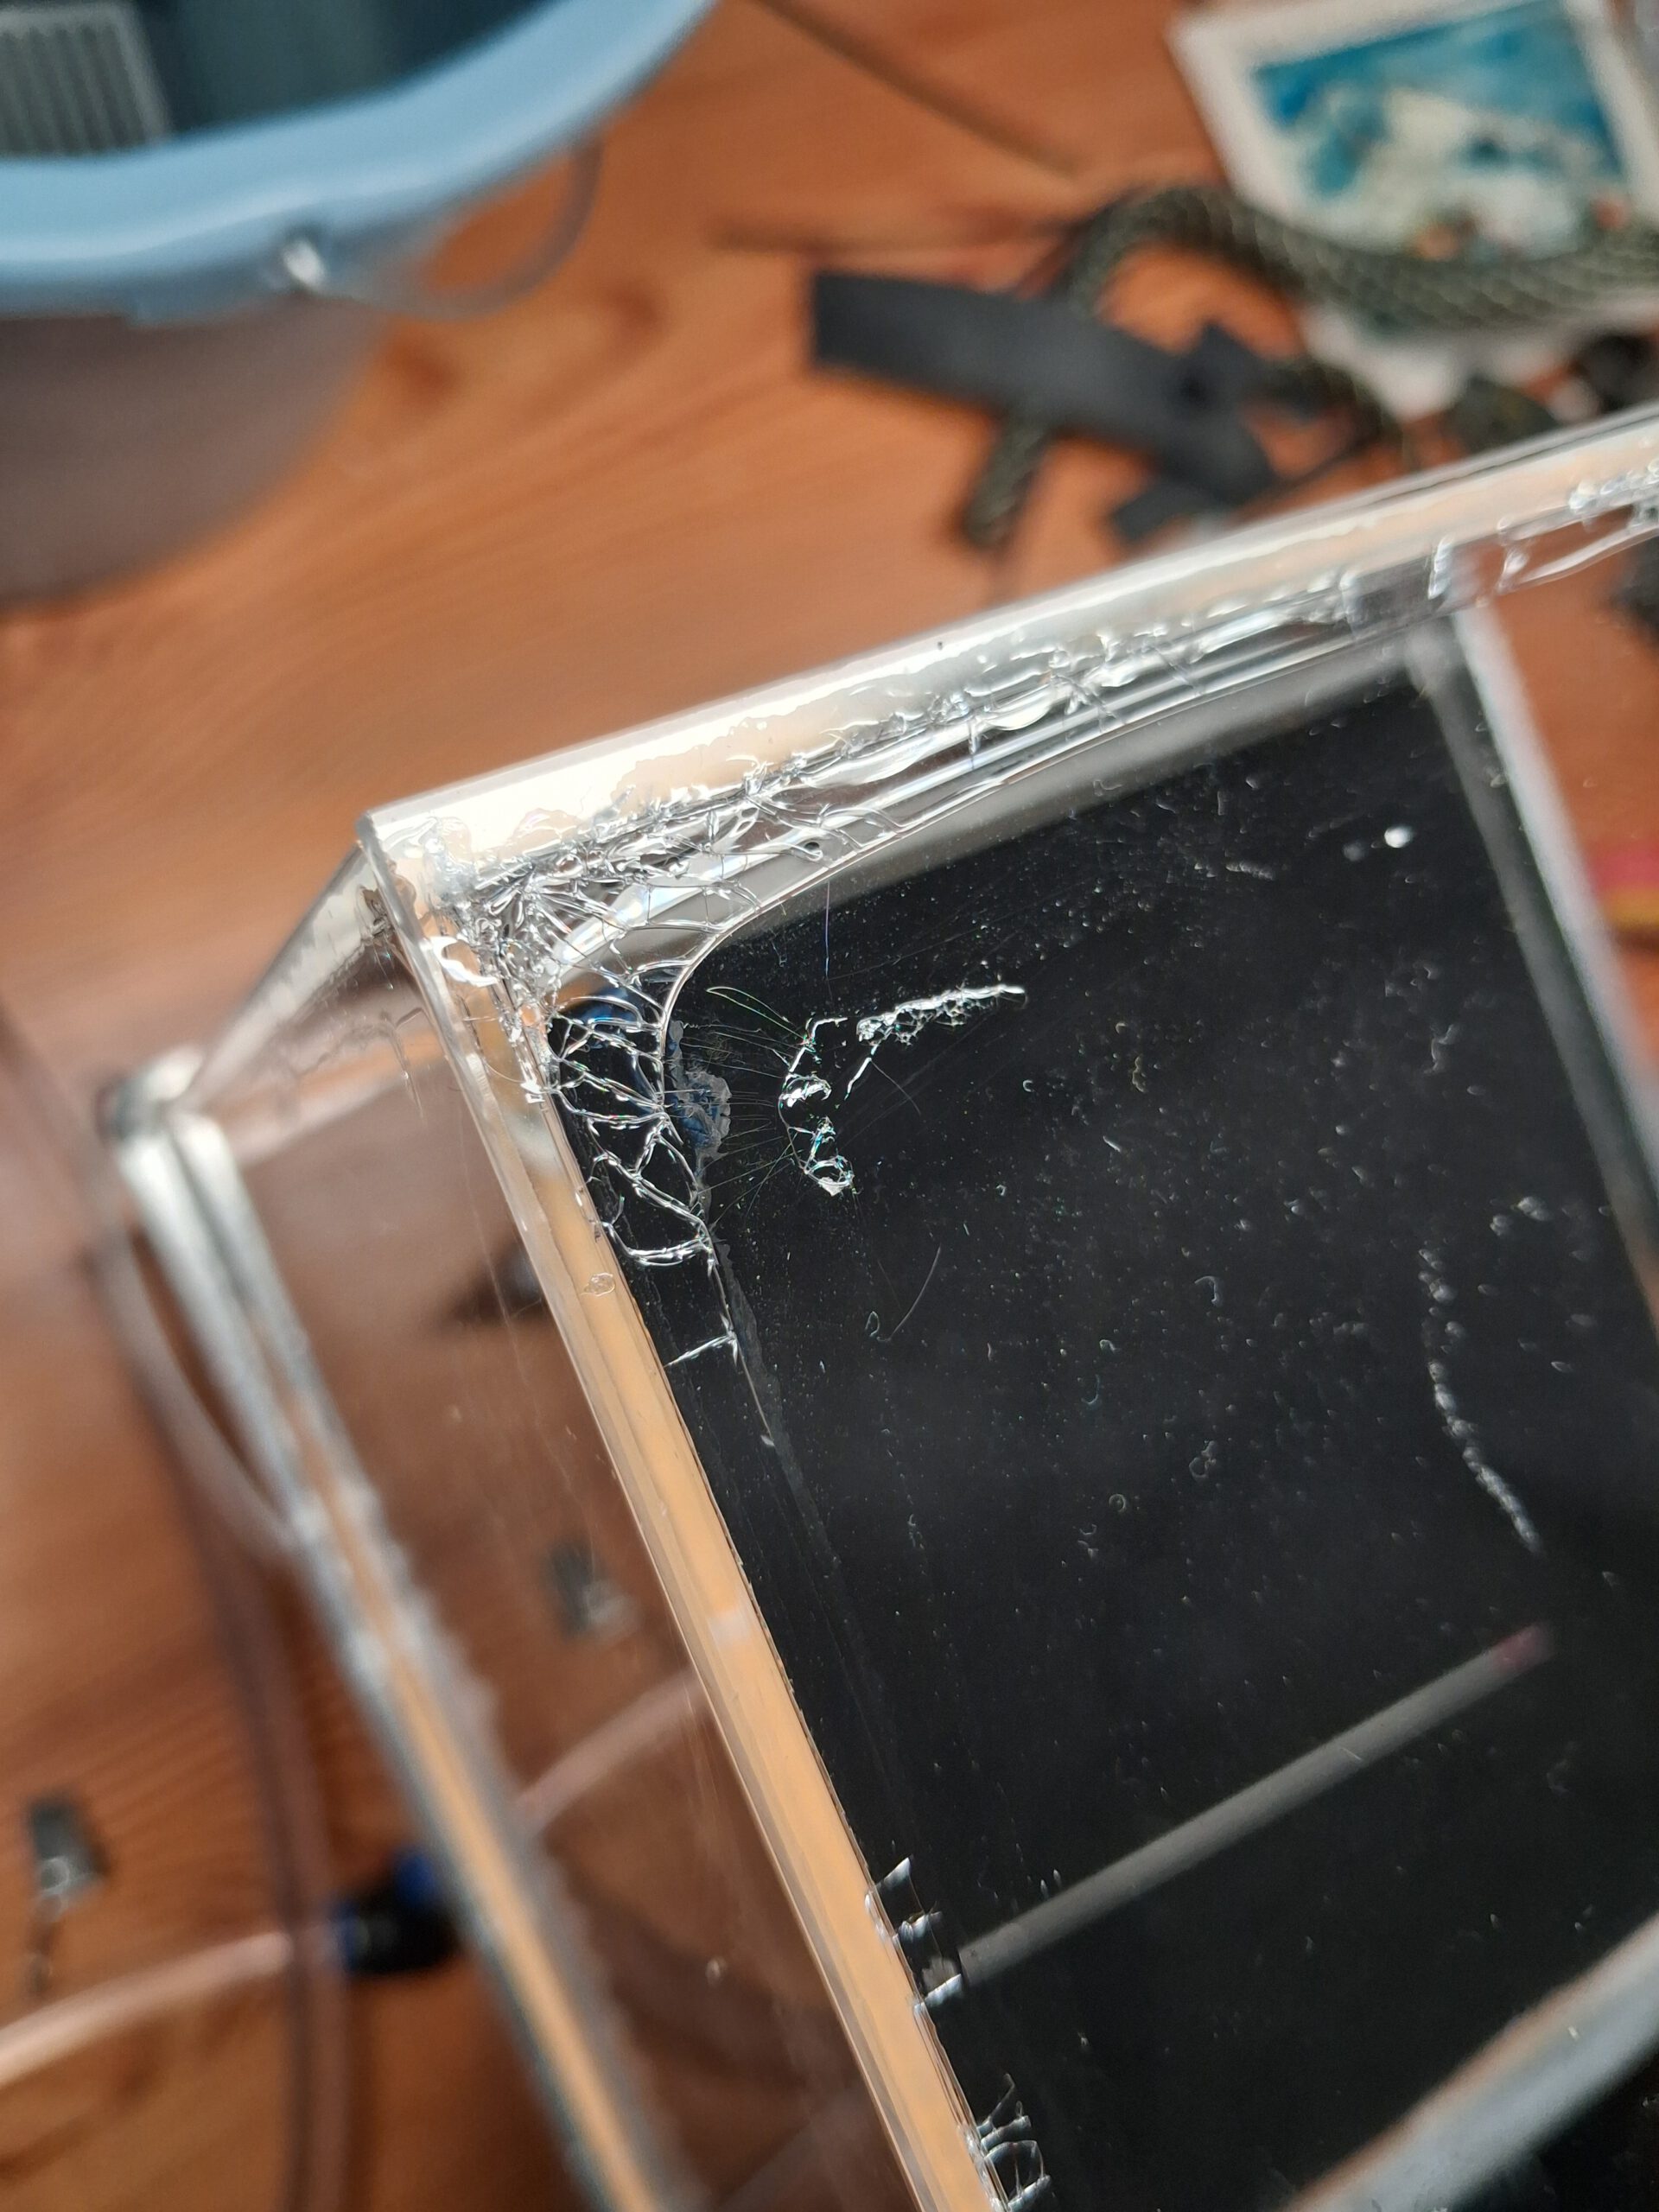
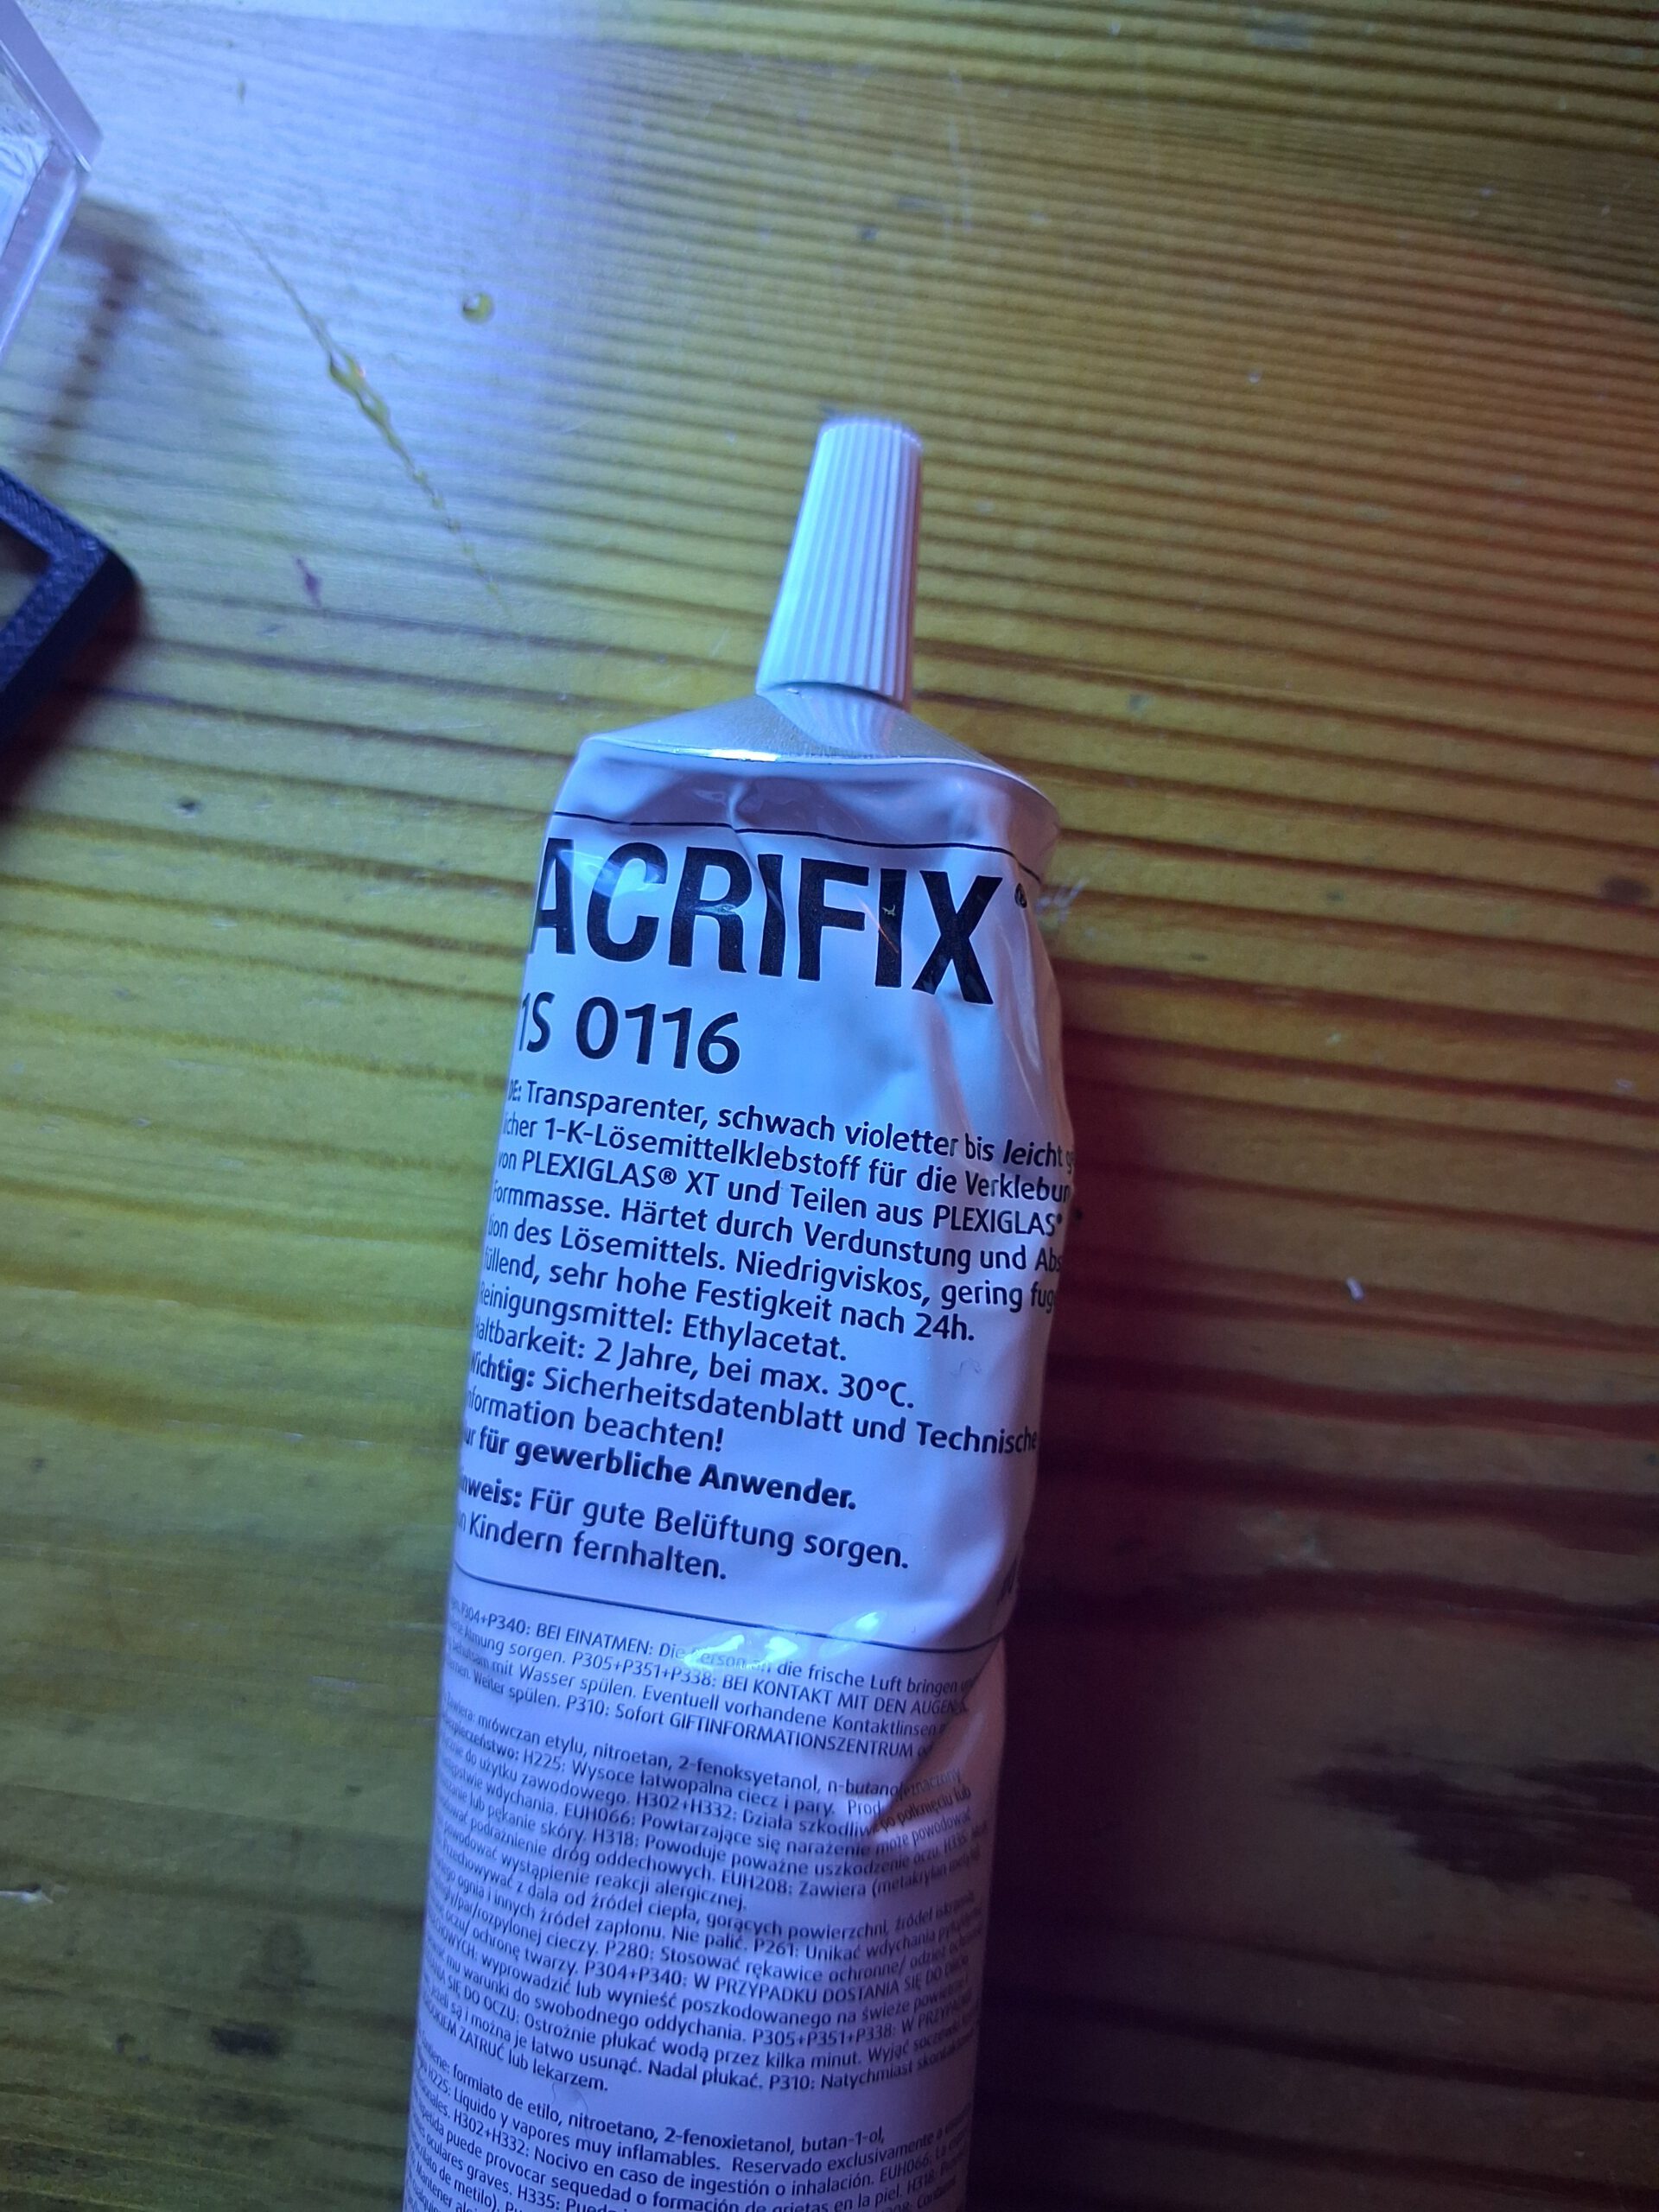
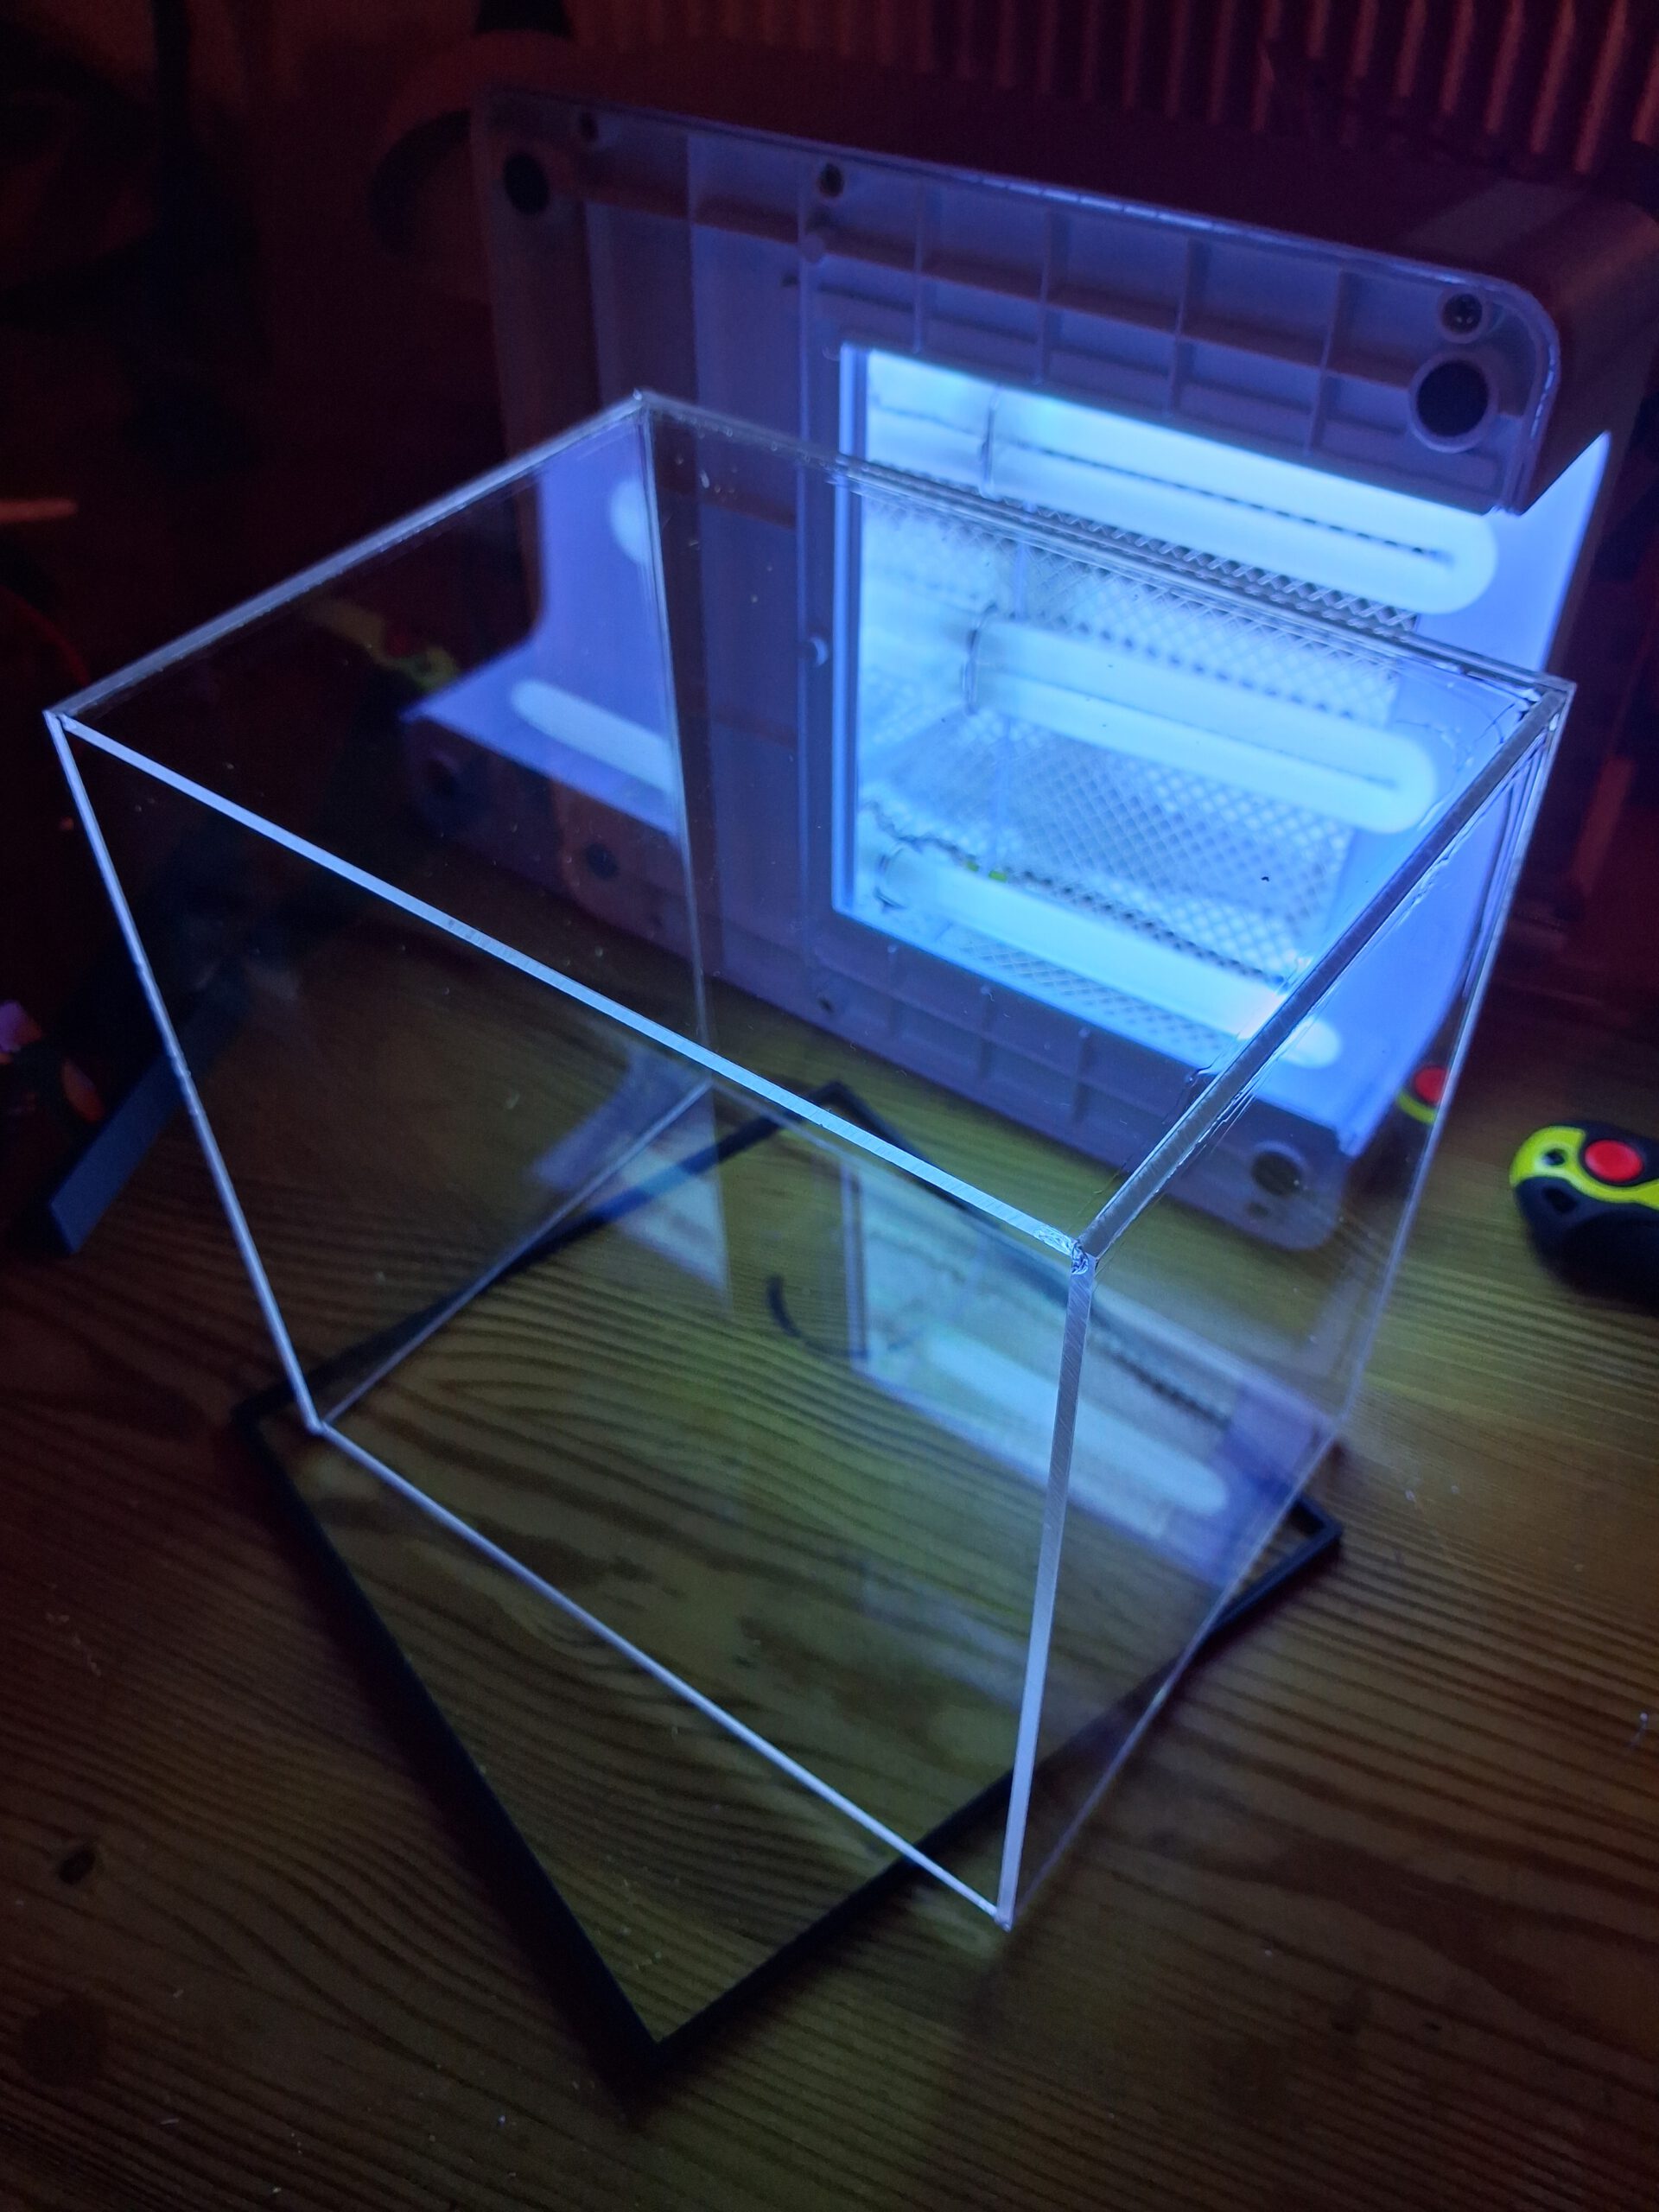
The chamber itself is made of 3 mm acrylic sheets which I bought precut and just glued together using acrifix glue. This turned out to be a bad choice. It would have been better to study the chemical resilience of the materials. Acrylic is rather poor with isopropyl alcohol. At least for saturated vapour and longer exposure it won’t last. But the acrifix glue seems to be worse. It got lots of cracks after one or two times of using the cloud chamber. Polycarbonate might be slightly better but still is said to be not great long term. Real glass would be best but it’s the hardest to work with I feel. I’m undecided what to use.